In this step, you add Salesforce as the data source for the index.
-
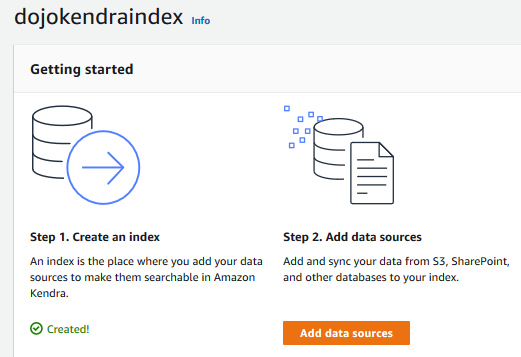
Goto Kendra Management Console. Click on the dojokendraindex index to see the details. Then click on the Add data sources button.
-
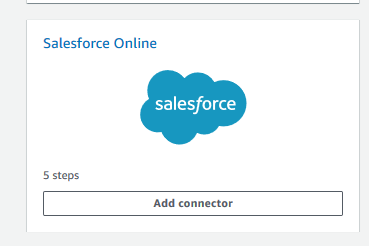
On the next screen, click on the Add connector button for the Salesforce.
-
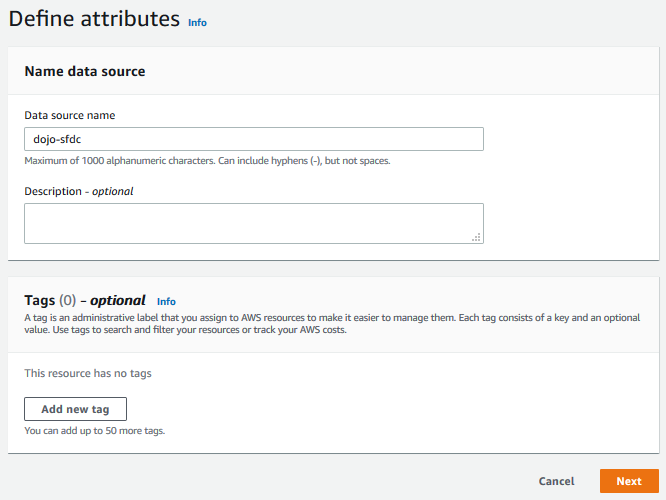
On the next screen, type in dojo-sfdc as the Data source name and click Next button.
-
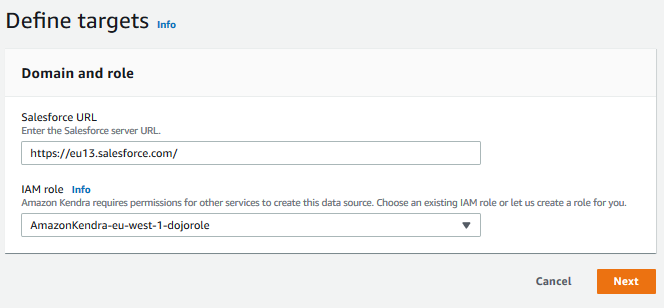
On the next screen, type in Salesforce URL and select AmazonKendra-eu-west-1-dojorole as the IAM Role. The workshop is using a trail version of the Salesforce Developer Edition and it is the URL of the same. The Salesforce account you use here might have a different URL. Click on the Next button.
-
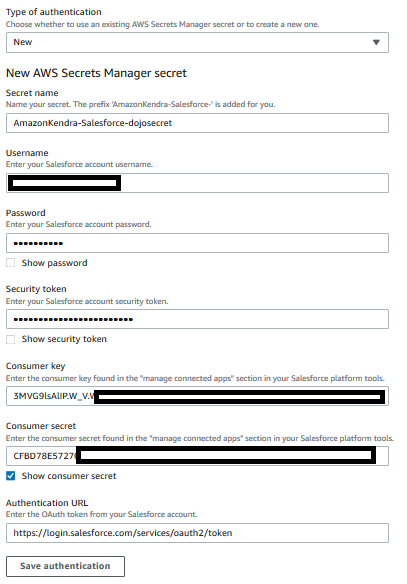
On the next screen, under the Authentication section, select New for the Type of Authentication. Type in Secret name as AmazonKendra-Salesforce-dojosecret. Type in the Username and Password for the Salesforce account. Also copy-paste Security token, Consumer key and Consumer secret from the Salesforce which you made note of in the previous step. Finally type in https://login.salesforce.com/services/oauth2/token as the Authentication URL and click on the Save authentication button.
-
When you save the authentication setting; it stores all the security details in Amazon Secret Manager in the encrypted form.
-
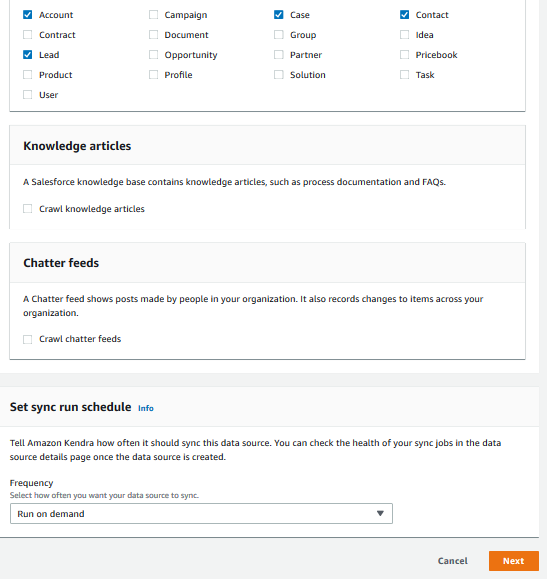
Once the authentication setting is saved. Under the Crawl settings, select Account, Lead, Contact and Case as the objects to be crawled. The workshop is using only these objects but in the production deployment you can select more objects including attachments, chatter feeds and knowledge articles. Select Run on demand as the schedule and then click on the Next button. In production, you would like to schedule the indexing for certain frequency rather running it on demand.
-
The next screen shows the default mapping for the indexing. Keep it as the default and click on the Next button.
-
On the Review and create screen, click on the Create button.
-
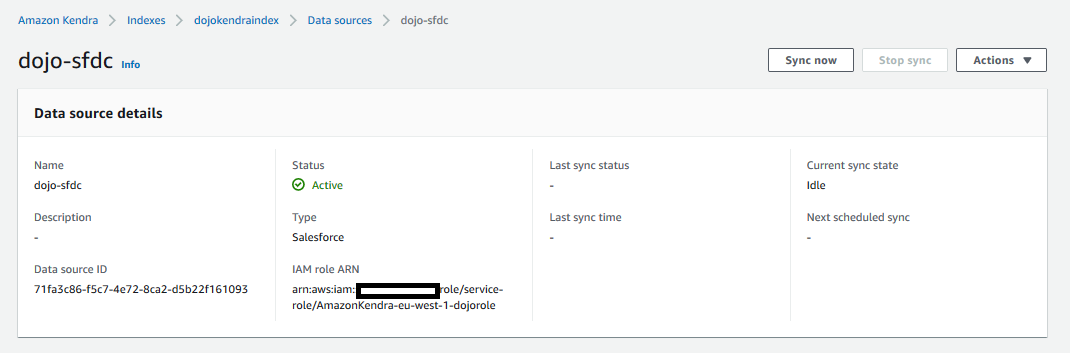
The data source will be ready in no time. Click on the Sync now button to start crawling and indexing the data. This process might take some time.
-
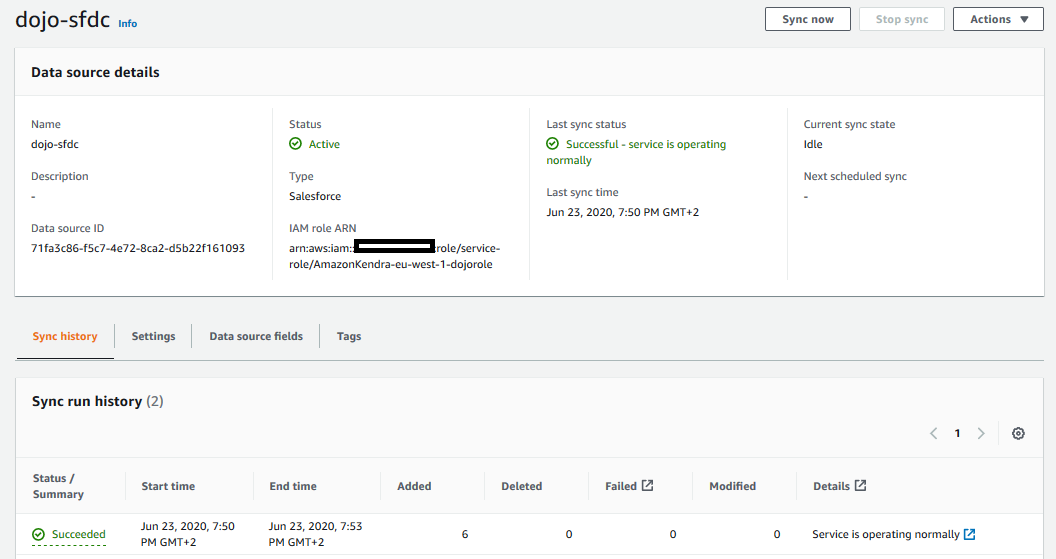
The sync job will finish in a while and you can see the status in the sync history as Succeeded.
-
Salesforce as the data source is configured and also synced. Let’s move to configure Amazon S3 bucket as the other data source.