The workshop would use Postman to call Elasticsearch domain endpoint to create, update, delete and search data. Postman is used as an API client. You can use another tool or API Client which you are comfortable with. Please download Postman from the link and install on your local machine.
for the workshop, you create index with the name organization. The index will have employee as the type. The type will have multiple records with the fields name, department, age and duration.
-
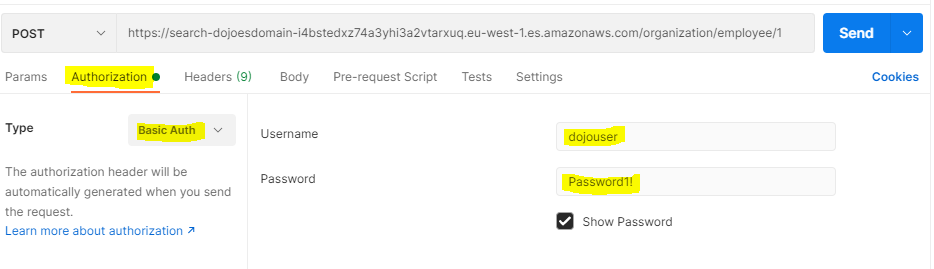
Open Postman desktop client. Create a new request and select POST as the method / action. Type in the following as the URL. Replace {ES_ENDPOINT_URL} with Elasticsearch Endpoint which you made note of in the previous step.
URL : {ES_ENDPOINT_URL}/organization/employee/1

-
On the same screen, select Authorization tab. Select Basic Auth as the type. Type in dojouser as the user name and Password1! as the password.
-
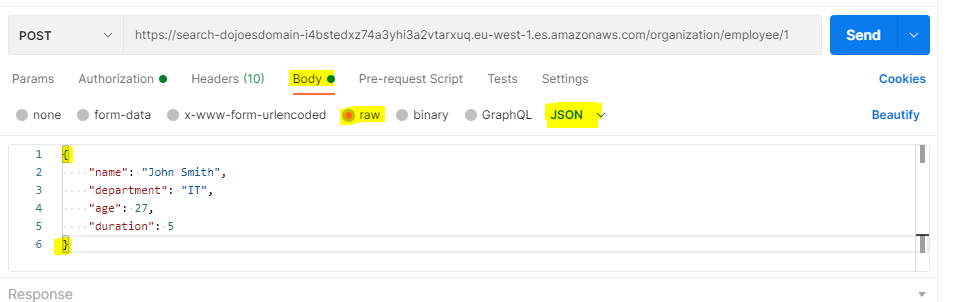
On the same screen, select Body tab. In body tab, select raw option and then JSON option for the content type. Copy-paste the following json as the message and click on the Send button. It will create a record with id = 1.
{
    "name": "John Smith",
    "department": "IT",
    "age": 27,
    "duration": 5
}
`
-
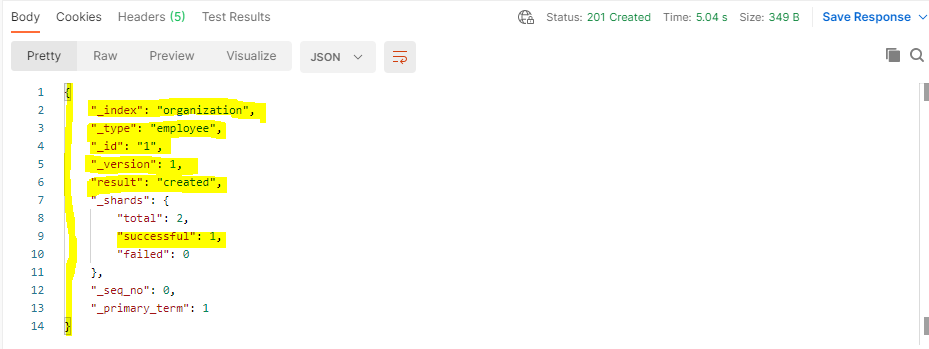
The record is created successfully. You can see that in the response message body.
-
You should follow the steps and configuration used in 1 to 4 to send any message to the Elasticsearch domain. Here onwards, the instructions would mention the URL, the action / method and the message to be posted. Please make sure you take care of the rest of the configuration stated in the steps 1 to 4.
-
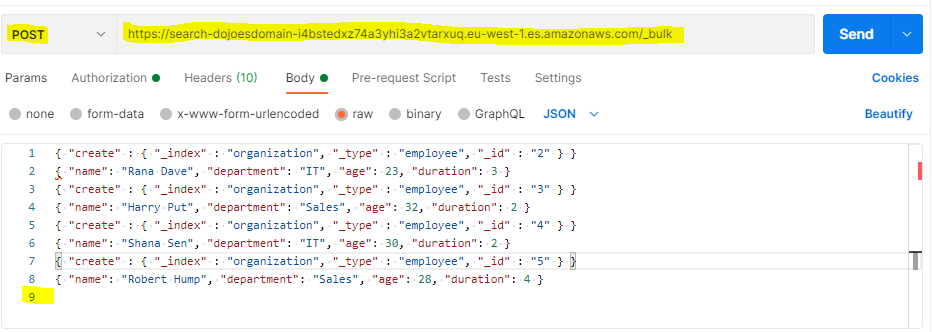
Let’s create multiple records. Send (Post) the following message to the URL to create multiple records. Replace {ES_ENDPOINT_URL} with Elasticsearch Endpoint. It is very important to add a blank line in the end of the message.
URL: {ES_ENDPOINT_URL}/_bulk
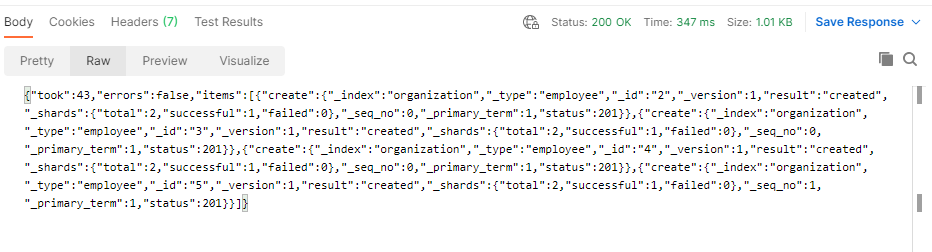
{ "create" : { "_index" : "organization", "_type" : "employee", "_id" : "2" } }
{ "name": "Rana Dave", "department": "IT", "age": 23, "duration": 3 }
{ "create" : { "_index" : "organization", "_type" : "employee", "_id" : "3" } }
{ "name": "Harry Put", "department": "Sales", "age": 32, "duration": 2 }
{ "create" : { "_index" : "organization", "_type" : "employee", "_id" : "4" } }
{ "name": "Shana Sen", "department": "IT", "age": 30, "duration": 2 }
{ "create" : { "_index" : "organization", "_type" : "employee", "_id" : "5" } }
{ "name": "Robert Hump", "department": "Sales", "age": 28, "duration": 4 }
`
-
The bulk records are created successfully with their respective ids and field values. You can see that in the response message body.
-
Having worked with record creation. Let’s do some record query and search.