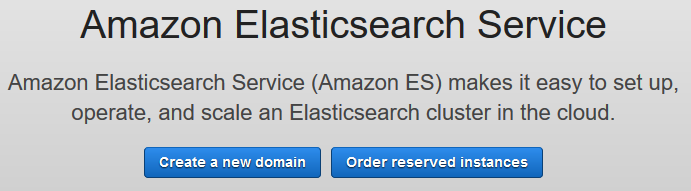
You start with creation of Amazon Elasticsearch Service domain.
-
Login to AWS Management Console and change the region to Ireland.
-
Goto Amazon Elasticsearch Service Management console and click on the Create a new domain button.
-
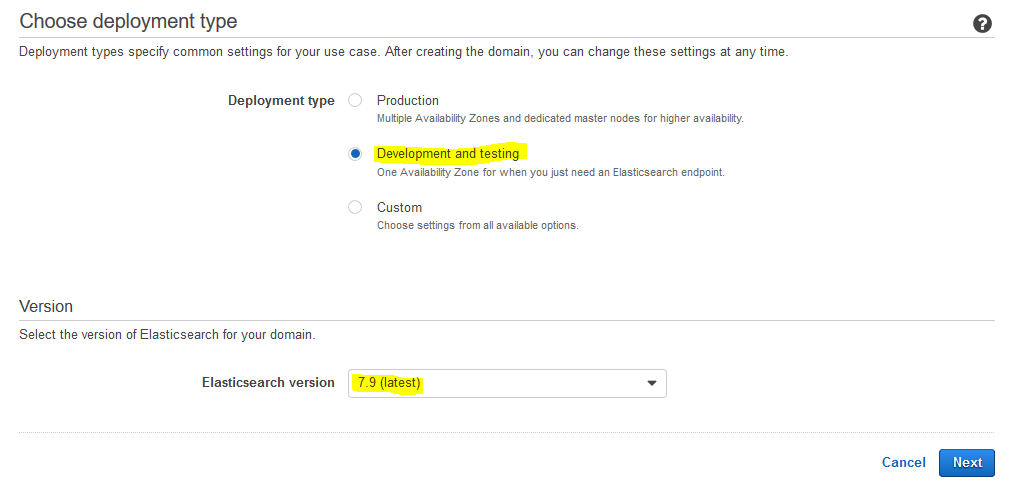
On the next screen, select Development and testing option for the deployment type. Select the latest Elasticsearch version and click on the Next button.
-
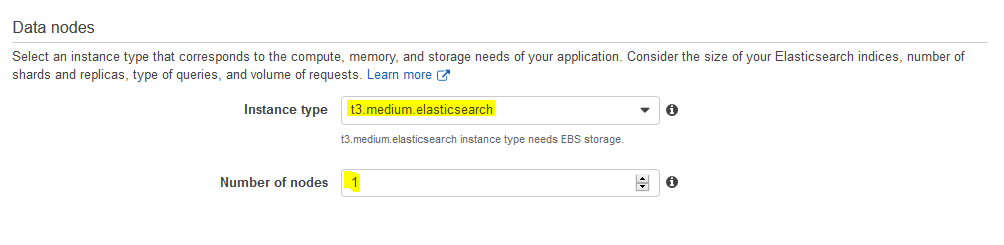
On the next screen, type in dojoesdomain for the domain name. Select t3.medium.elasticsearch instance type for the data nodes. Select 1 as the number of nodes for the data nodes. Keep rest of the configuration to the default and click on the Next button.

-
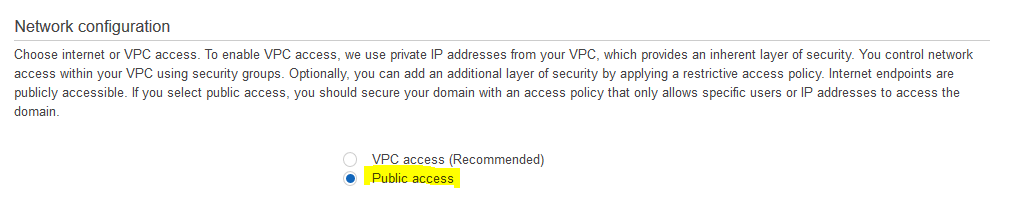
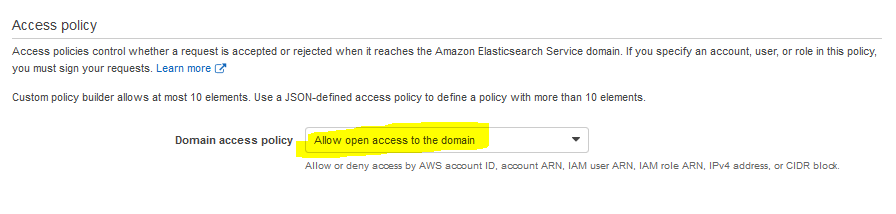
On the next screen, select Public access option (not recommended for the production usage) for the network configuration. For access control section, select Enable fine-grained access control option. Select Create master user option. Type in dojouser as the user name and Password1! as the password. In Access Policy section, select Allow open access to the domain option. Keep rest of the configuration to the default and click on the Next button.

-
On the next Add Tags screen, click on the Next button.
-
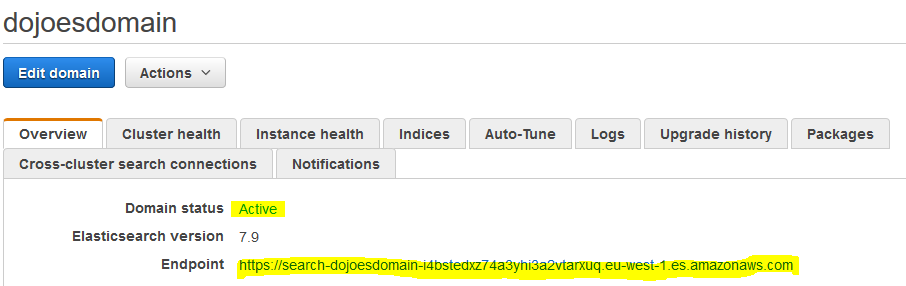
Finally, on the next Review screen, click on the Confirm button. It will start creating the Elasticsearch domain. Wait till the domain status changes to Active. Make note of the Endpoint as you need it later in the workshop.
-
The Elasticsearch domain is ready. Let’s start working with the data in the domain.