You use the sample data loaded in the S3 bucket to train a model for text classification. The model can predict whether a news title text is Real or Fake.
-
Goto the Amazon Comprehend console, click on the Custom classification menu in the left and then click on the Train classifier button.

-
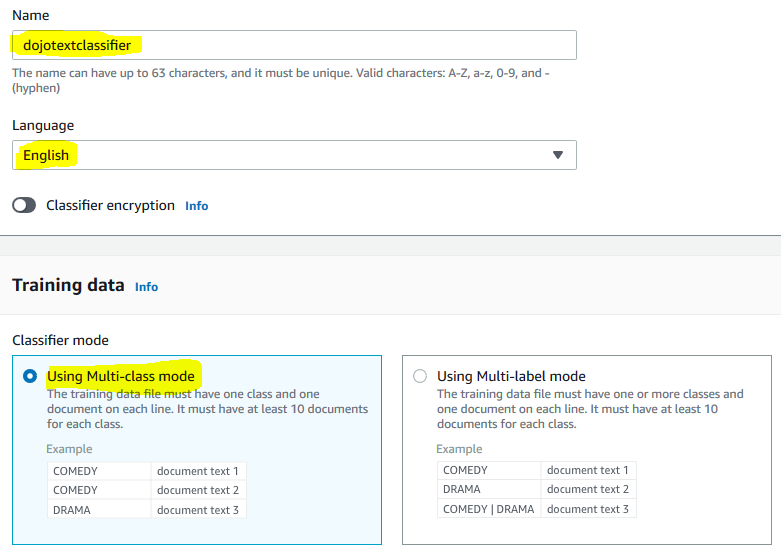
On the next screen, type in dojotextclassifier for the name. Select English for the language. Select Using Multi-class mode option for the Classifier mode.
-
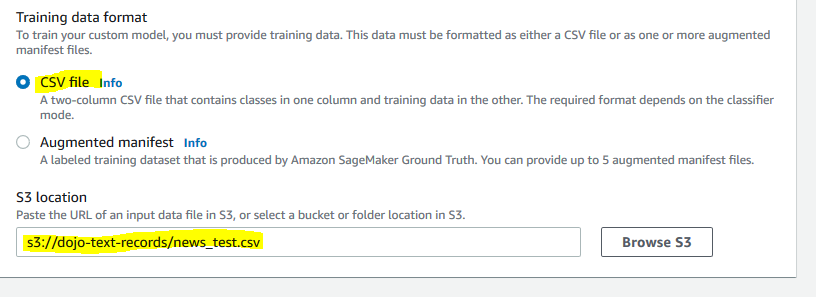
On the same screen, select CSV file for the Training data format. Select s3://dojo-text-records/news_test.csv for the S3 location. If you created bucket with a different name, then use that bucket.
-
On the same screen, select Create an IAM role option. Type in dojoclassifierrole for the name suffix. Finally, click on the Train classifier button.

-
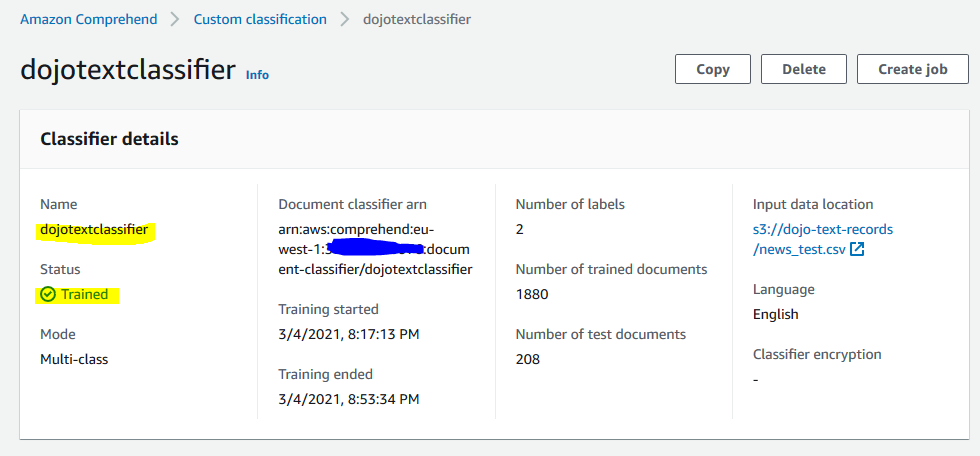
It will start training the model. Wait till the status changes to Trained. It might take upto an hour to train the model.
-
Once the model is trained, on the classifier details screen, click on the Create endpoint button.

-
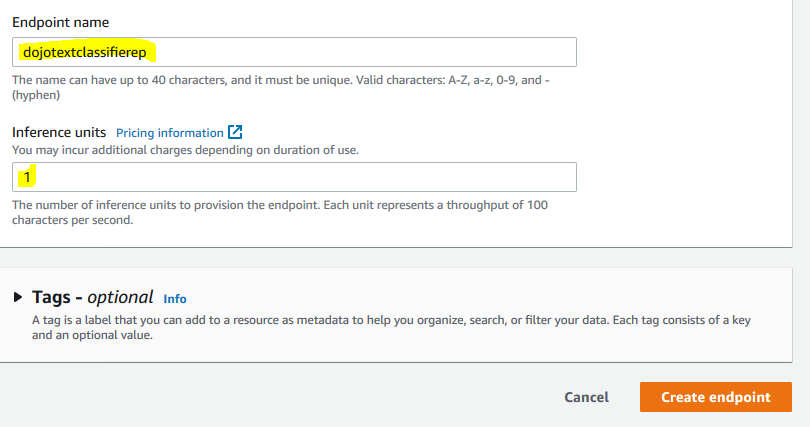
On the next screen, type in dojotextclassifierep as the endpoint name. Type in 1 for Inference units. Finally, click on the Create endpoint button.
-
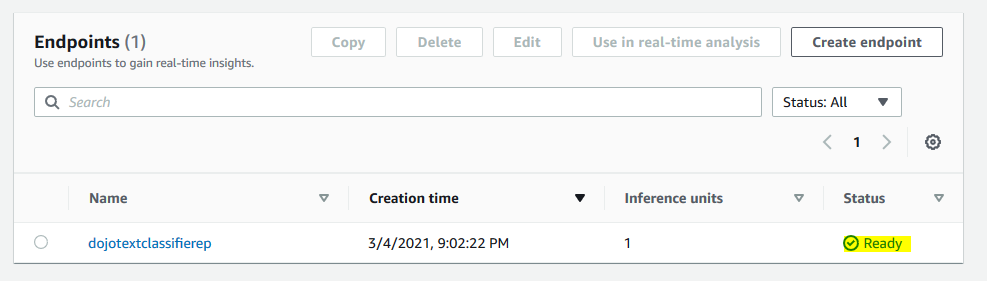
It will throw pop up and ask for the confirmation, click on the Confirm button in the pop up. The endpoint creation will start. Wait till the status changes to Ready.
-
Once the endpoint is ready, make note of the endpoint ARN as you need it later in the workshop.

-
The model and endpoint are ready. Create SageMaker Notebook Instance in the next step which you use to call the endpoint.