The workshop will use Amazon SageMaker Notebook as the client to call classifier endpoint to check if the news title text is Real or Fake. Before you launch the SageMaker Notebook, you create an IAM role which SageMaker Notebook will use to authorize call to the Amazon Comprehend.
-
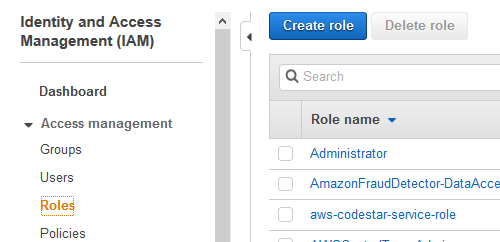
Goto the IAM Management console, click on the Roles menu in the left and then click on the Create role button.
-
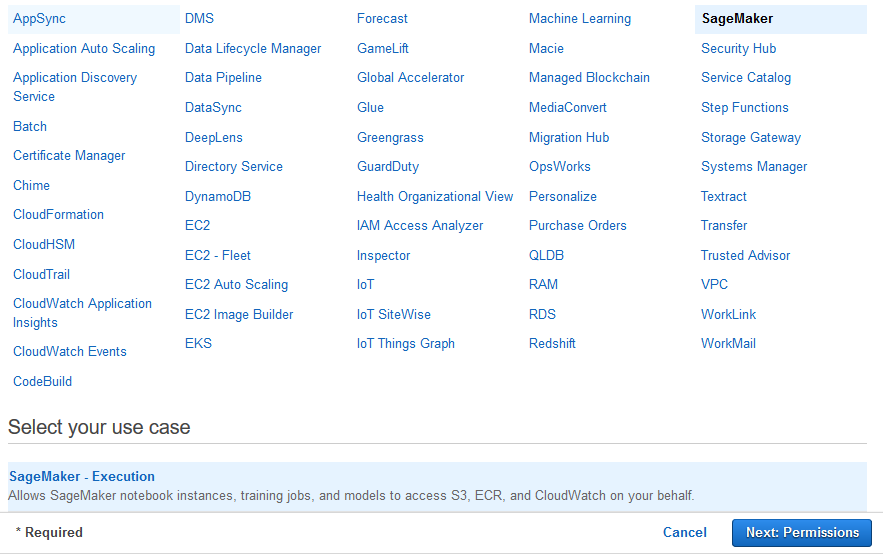
On the next screen, select SageMaker as the service and click on the Next: Permissions button.
-
On the next screen, click on the Next: Tags button.
-
On the next screen, click on the Next: Review button.
-
On the next screen, type in dojosagemakerrole as the role name and click on the Create role button.

-
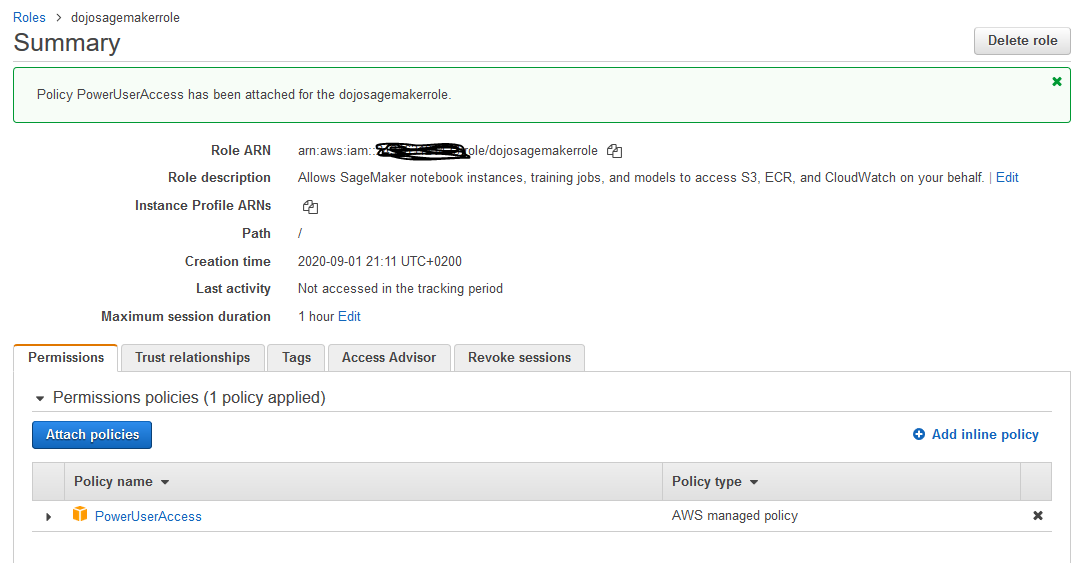
The role is created in no time. Open the dojosagemakerrole role details, remove AmazonSageMakerFullAccess policy and attach PowerUserAccess policy to the role.
-
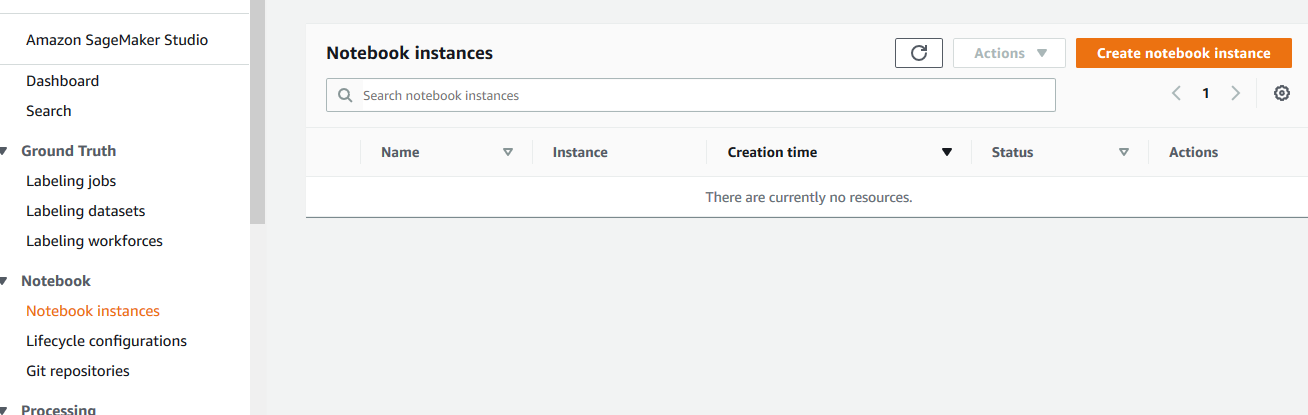
The role is ready. Let’s launch the Notebook Instance next. Goto Amazon SageMaker console. Select Notebook instances in the left and then click on the Create notebook instance button.
-
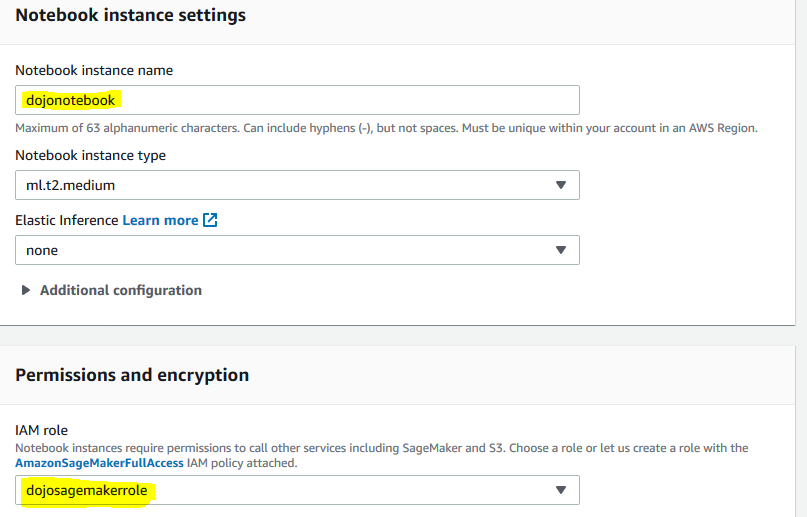
On the next screen, type in dojonotebook as the notebook instance name, select dojosagemakerrole as the IAM role. Leave rest of the configuration as the default and click on the Create notebook instance button.
-
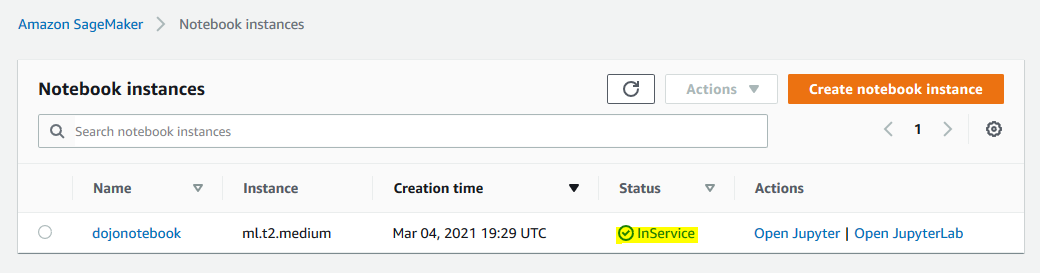
The notebook instance launch starts. Wait till the status changes to InService.
-
The notebook is ready. Let’s write client code for the text classification in the next step.