In the step, you configure Glue Job in Glue Studio to work with RDS database table. The job will fetch data from the RDS Instance Database and write to the S3 bucket.
-
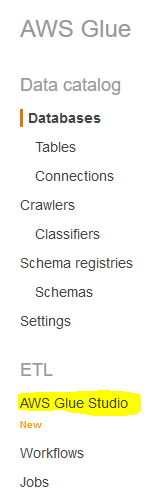
Goto the Glue console, click on the AWS Glue Studio option in the left menu.
-
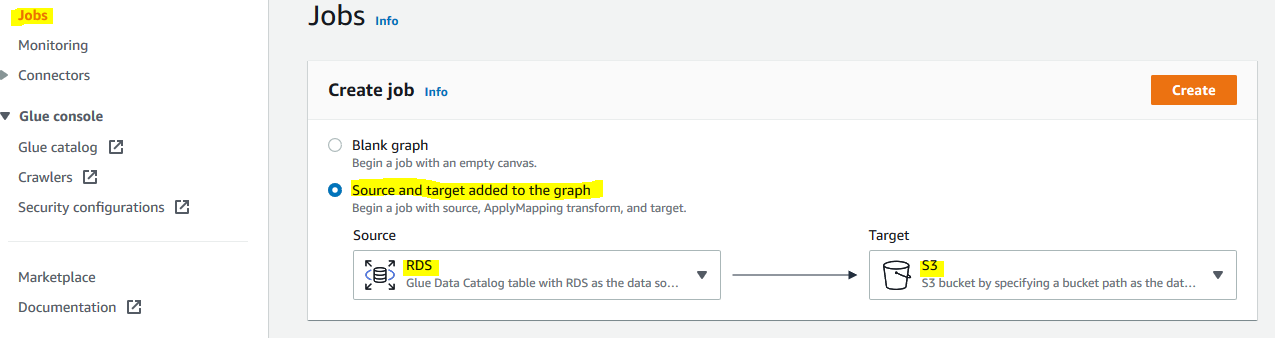
On the next screen, click on the Jobs menu in the left. Select Source and target added to the graph option. Select RDS for the source and S3 for target. Finally, click on the Create button.
-
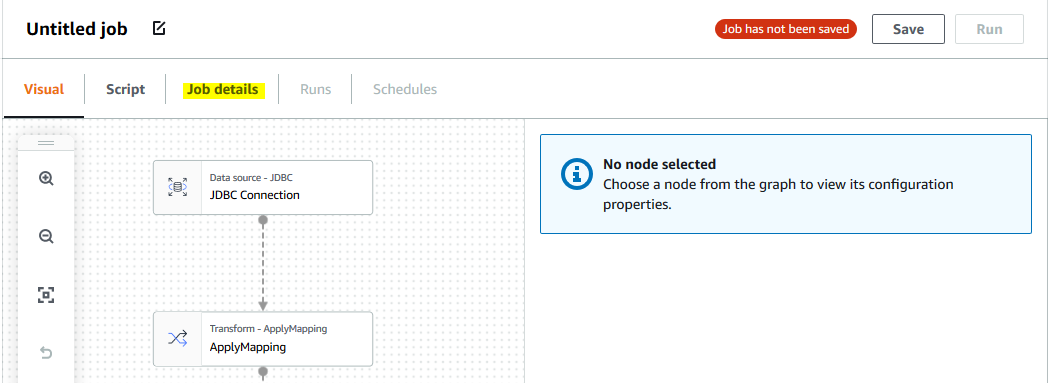
It will initiate the job configuration. Click on the Job details tab.
-
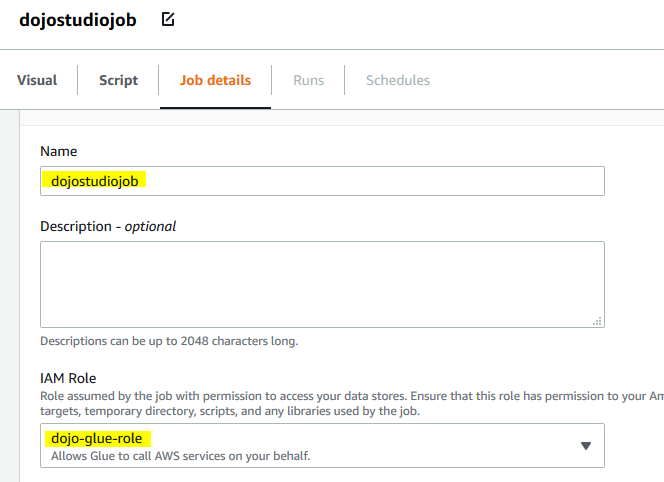
On the next screen, type in dojostudiojob for the job name and select dojo-glue-role for the IAM Role. Keep rest of the configuration to the default and click on the Visual tab.
-
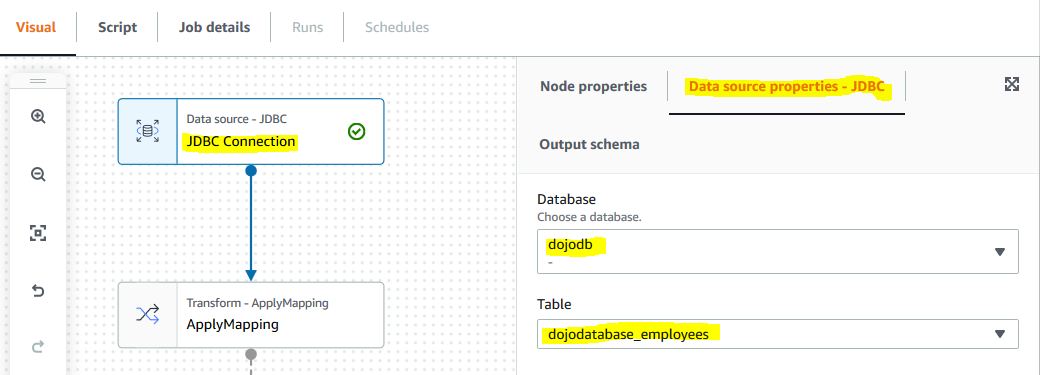
On the next screen, select first node JDBC Connection and in the right hand side panel, under Data source properties - JDBC tab, select dojodb for the database and select dojodatabase_employees for the table.
-
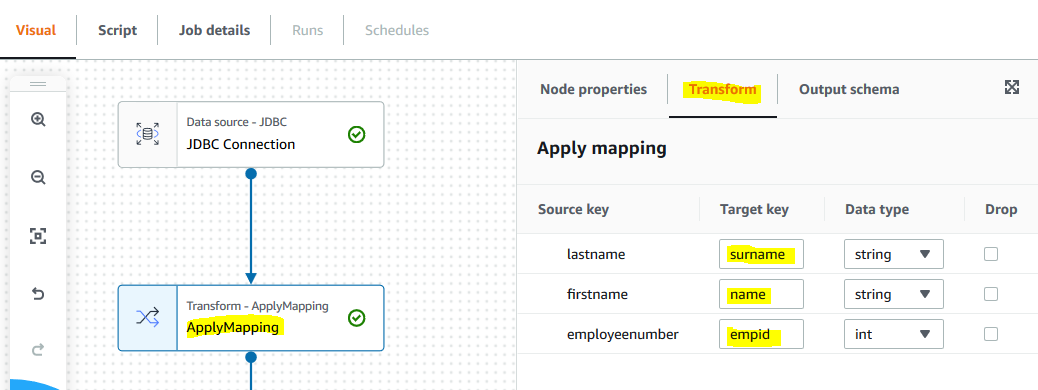
The first node is configured now. Click on the second node Apply Mapping. In the right hand side panel, under Transform tab, type in surname for the target key of the lastname source key. Type in name for the target key of the firstname source key. Type in empid for the target key of the employeenumber source key. You are basically changing the column names for the target data as part of the configuration.
-
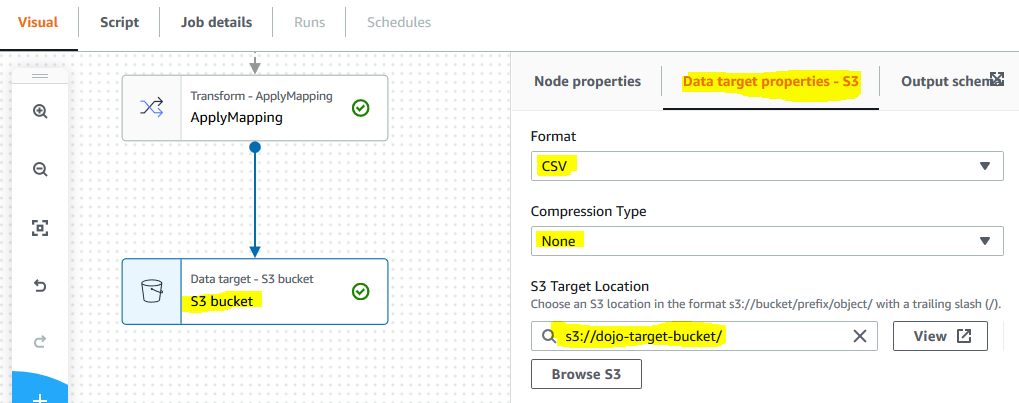
The second node is configured now. Click on the third node S3 Bucket. In the right hand side panel, under Data target properties -S3 tab, select CSV for the format. Select None for the compression type. Select s3://dojo-target-bucket/ for the S3 target location. If you created bucket with a different name, then select that bucket. You are configuring the job to write data to S3 bucket as target location in CSV format wihout any compression.
-
All nodes in the graph are configured now. Click on the Save button to save the job configuration.

-
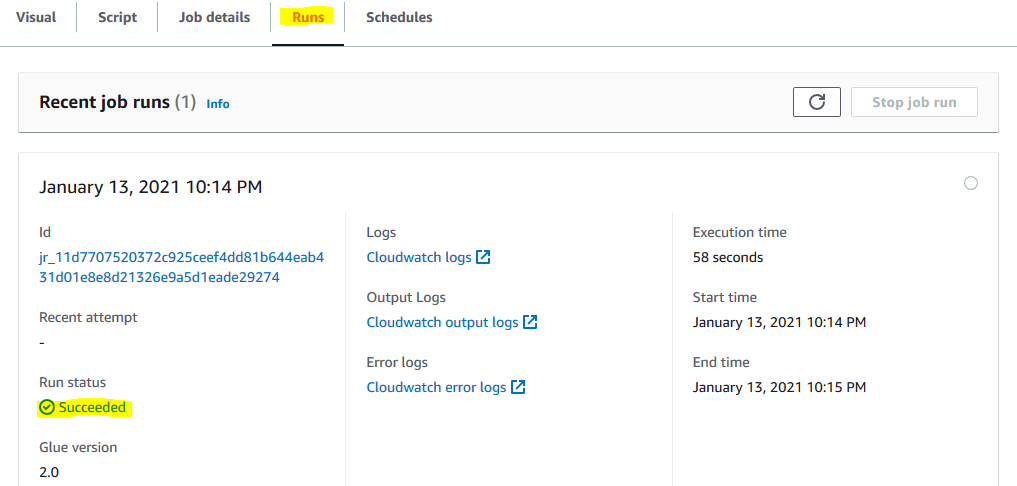
The job configuration is saved successfully. Click on the Run button to start the job execution. Click on the Runs tab to check job execution status.

-
In the Runs tab, wait till the status of the job changes to Succeeded.
-
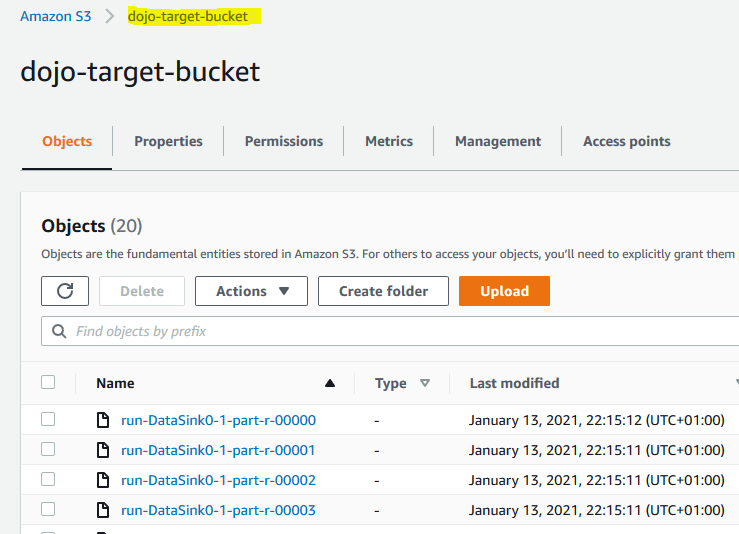
The job has created the data file at the configured S3 bucket location. Goto S3 bucket location and you can see the files created.
-
You can open the files to see if it has done transformation as per configuration in the job. This finishes the workshop. Follow the next step to clean-up the resources so that you don’t incur any cost post the workshop.