You configure AWS Glue in this step. You first create database and then configure Glue Connection to the RDS Instance and use connection to catalog the RDS database table using the crawler.
-
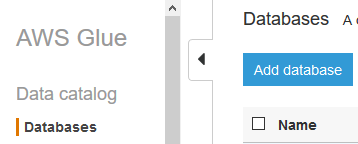
In the AWS Glue console, click on the Databases option in the left menu and then click on Add database button.
-
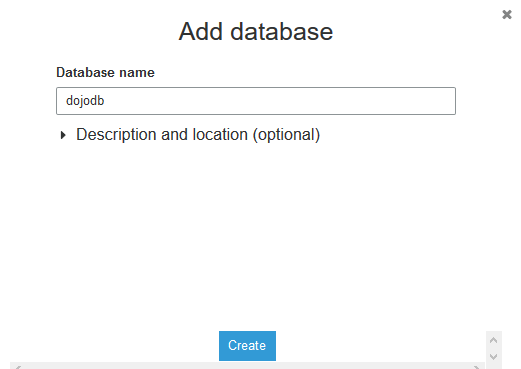
On the next screen, type dojodb as the database name and click on Create button.
-
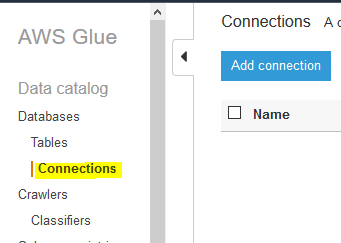
The database is added in no time. It is time to create Glue Connection to the RDS database. In the Glue Management console, select Connections menu in the left and then click on the Add connection button.
-
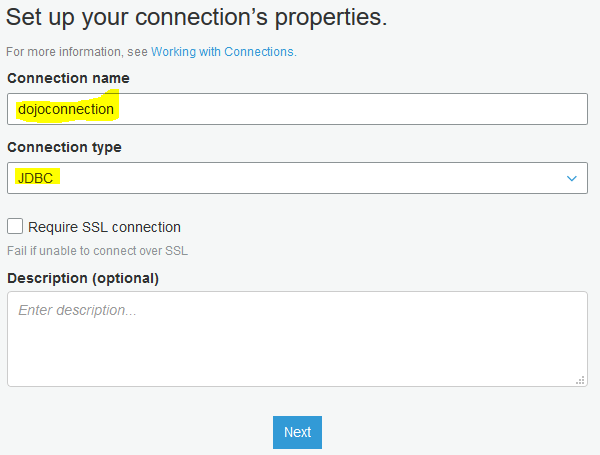
On the next screen, type in dojoconnection for the connection name. Select JDBC as the connection type. Click on the Next button.
-
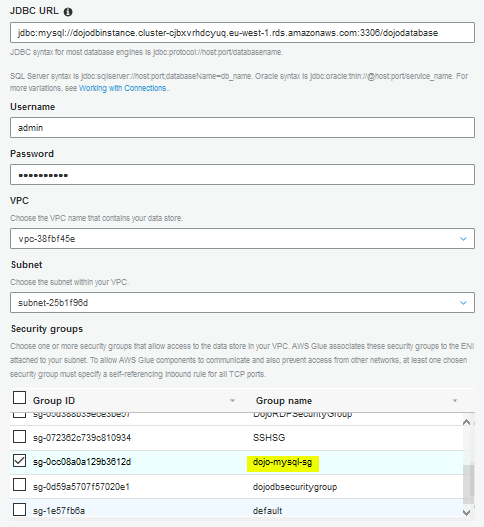
On the next screen, type in JDBC URL in the format jdbc:protocol://host:port/databasename. The protocol is mysql, the host is the RDS endpoint URL you noted in the earlier steps, the port is 3306 and the database name is dojodatabase. Type in admin as the username. Type in Password1! for the password. Select the default VPC. Select one of the subnets listed. Select dojo-mysql-sg for the security group. Click on the Next button.
-
On the next screen, click on the Finish button to create the connection. When the connection is created, select the connection and click on the Test connection button.

-
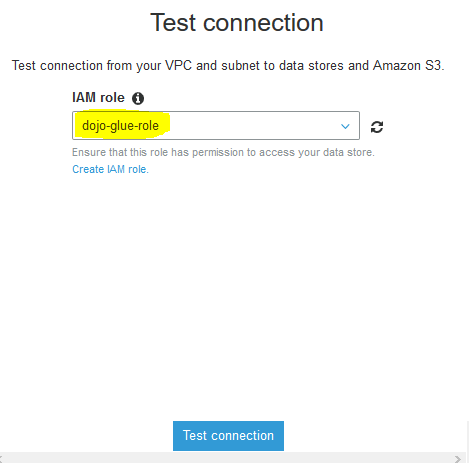
In the popup window, select dojo-glue-role as the IAM Role and click on the Test connection button.
-
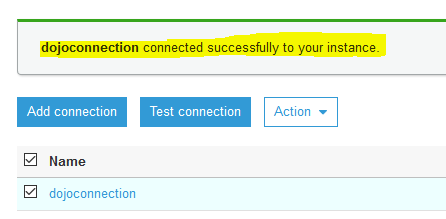
The connection testing will start. Wait till you see connection status as Successful.
-
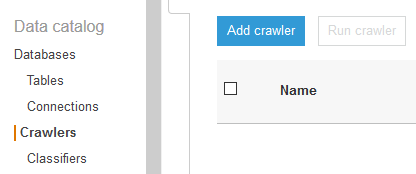
The connection is ready. You now configure Glue Crawler to catalog the table in the RDS database. In the Glue Management console, select Crawlers menu in the left and then click on the Add Crawler button.
-
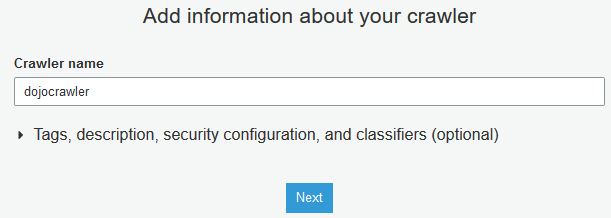
On the next screen, type in dojocrawler as the name and click on the Next button.
-
On the next screen, keep the configuration to the default and click on the Next button.
-
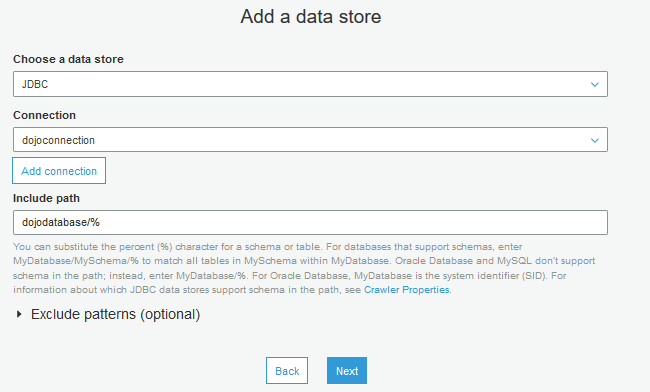
On the next screen, select JDBC for the data store. Select dojoconnection for the connection. Type in dojodatabase/% for the include path and click on the Next button. You are including all the tables under dojodatabase for the catalog.
-
On the next screen, keep the configuration to the default and click on the Next button.
-
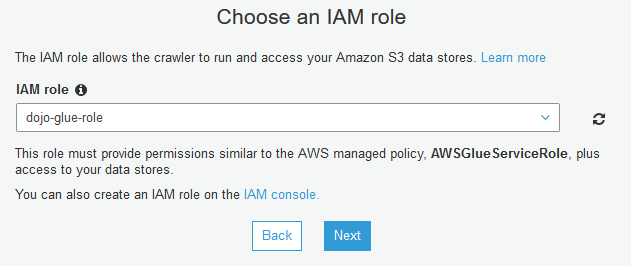
On the next screen, select dojo-glue-role for the IAM role and click on the Next button.
-
On the next screen, select Run on demand for the frequency and click on the Next button.

-
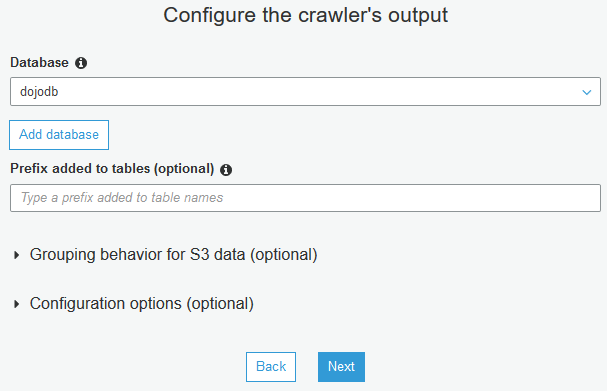
On the next screen, select dojodb for the database and click on the Next button.
-
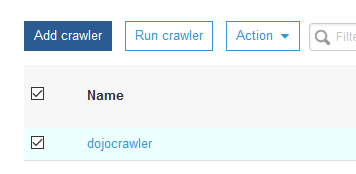
On the next screen, click on the finish button. The crawler is created in no time. Select the crawler and click on the Run crawler button.
-
The crawler will start running and it will take some time to finish. Once it finishes, you can see that it has cataloged one table.

-
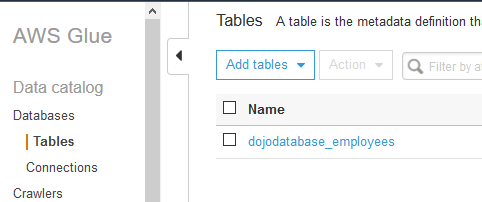
In Glue console, if you check the tables, you can see dojodatabase_employees table cataloged by the crawler.
-
The RDS databased table is cataloged. In the next step, you will use catalog to access the RDS database table in Glue Studio for the job configuration.
