In the step, you configure Glue Databrew to work with RDS database table. You perform manual transformation on the data and then convert that into a job.
-
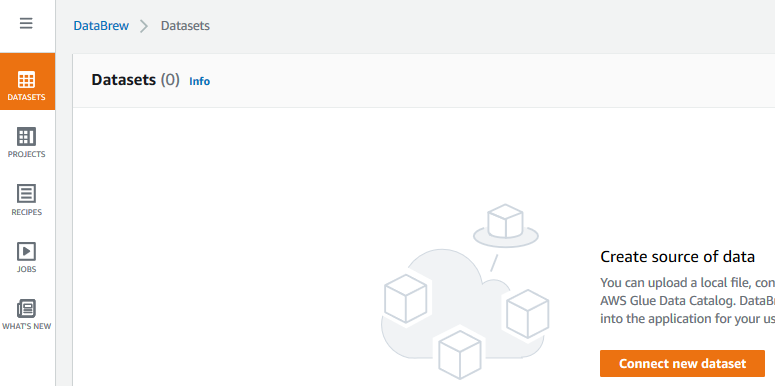
Goto the DataBrew console, click on the DATASETS option in the left menu and then click on the Connect new dataset button.
-
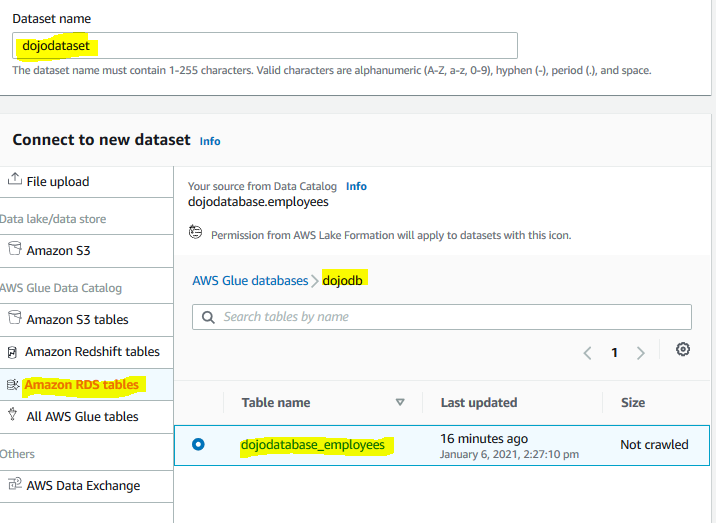
On the next screen, type in dojodataset as the dataset name. Select Amazon RDS tables option for the dataset. Select dojodatabase_employees table under the dojodb database. Finally, click on the Create dataset button.
-
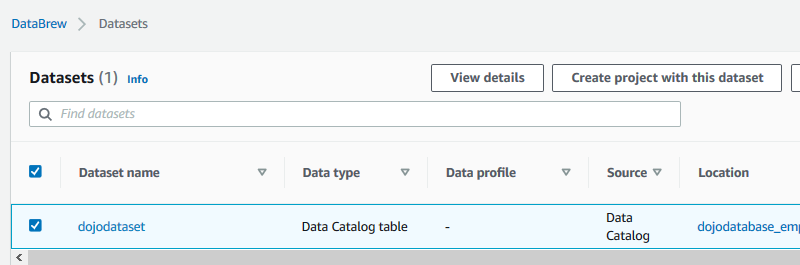
The dataset is created in no time. Select the dataset and click on the Create project with this dataset button.
-
On the next screen, type in dojoproject as the project name. Leave the dataset selection configuration to the default.

-
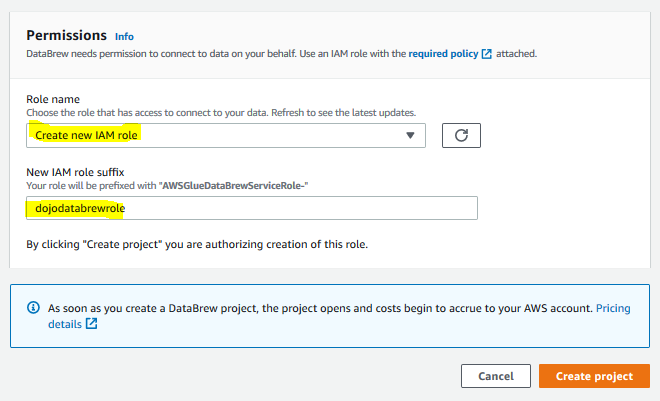
On the same screen, for the permissions, select Create a new IAM role as the role name option. Type in dojodatabrewrole for the role suffix. Finally, click on the Create project button.
-
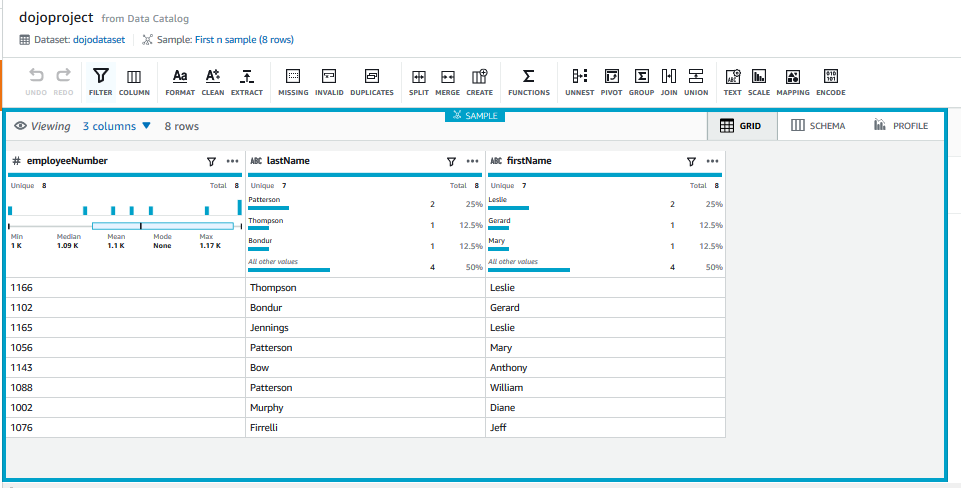
The project environment creation will start. It might take a while for the environment to be ready. Wait till the project environment is up and running. Once the environment is ready, you can see the data from the RDS table.
-
As part of transformation, you will merge firstname and lastname fields into a single field fullname. You will also remove the firstname and lastname fields. In the project menu, click on the MERGE menu button.

-
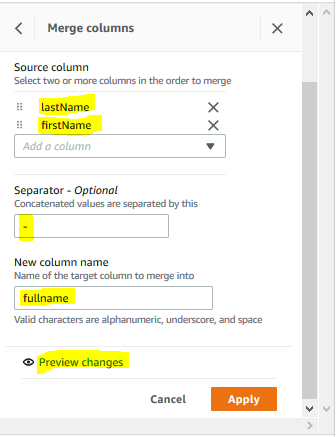
For the merge configuration, in the right panel, select lastname and firstname in the source column. Type in - for the separator. Type in fullname for the new column name. Then, click on the Preview changes link.
-
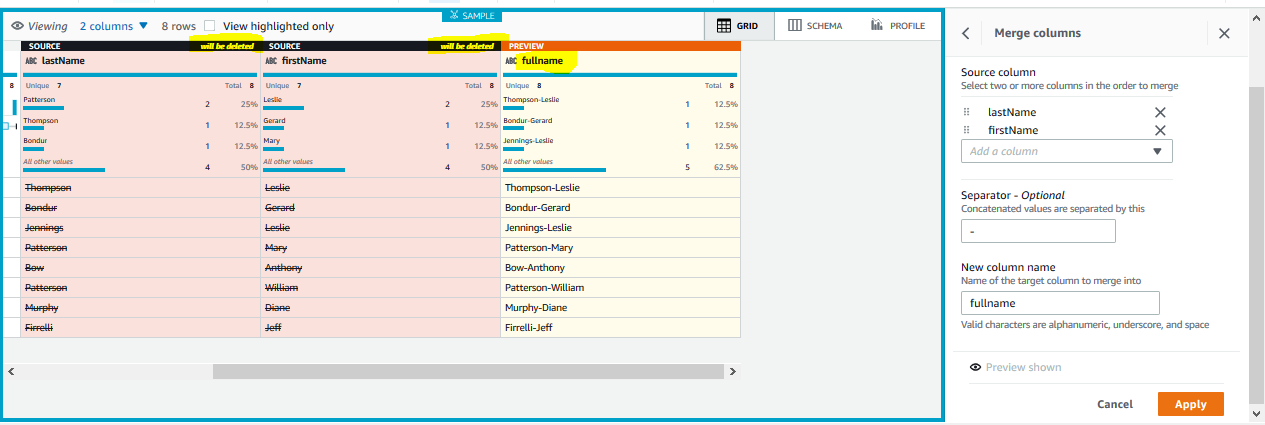
In the preview, you can see that lastname and firstname columns are deleted and a new column fullname is created. Finally, click on the Apply button.
-
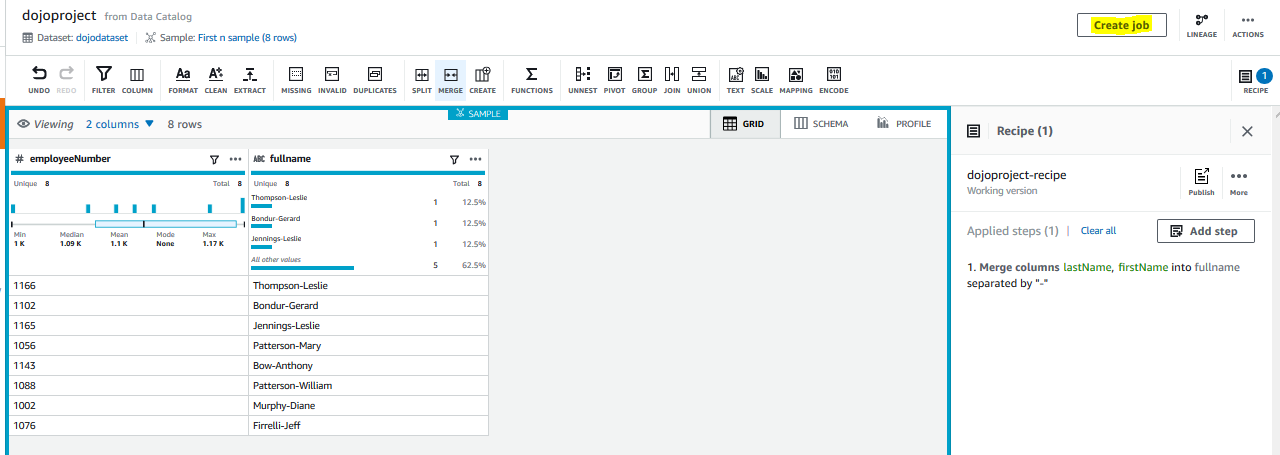
When you click Apply, the transformation is applied on the data view in the DataBrew. You now want to convert the manual transformation performed into a repeatable and automated job. Click on the Create job button in the right-top corner.
-
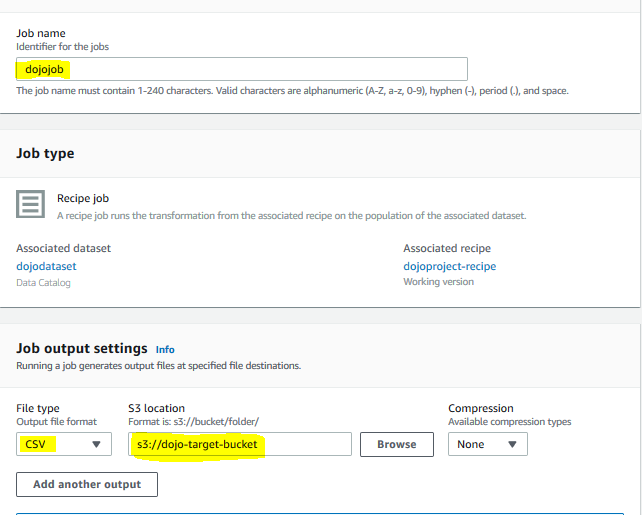
On the next screen, type in dojojob for the job name. Select CSV for the file type. Select s3://dojo-target-bucket for the S3 location. If you created bucket with a different name, select the bucket you created.
-
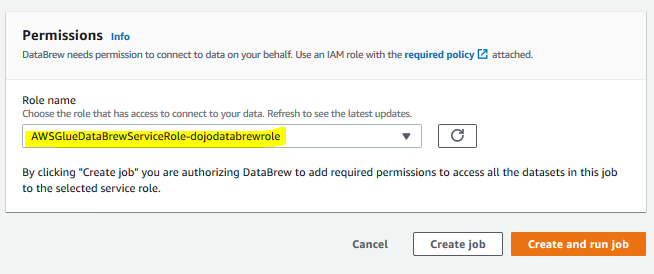
On the same screen, select the role AWSGlueDataBrewServiceRole-dojodatabrewrole for the permissions. Keep rest of the configuration to the default and click on the Create and run job button.
-
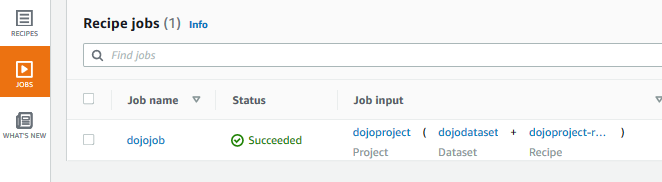
It will create the job and start the execution. Click on the JOBS menu in the left and you can see the job in the Running status. Wait till the status changes to Succeeded. When the job finishes, it would have completed the transformation and written the data to the configured S3 bucket location.
-
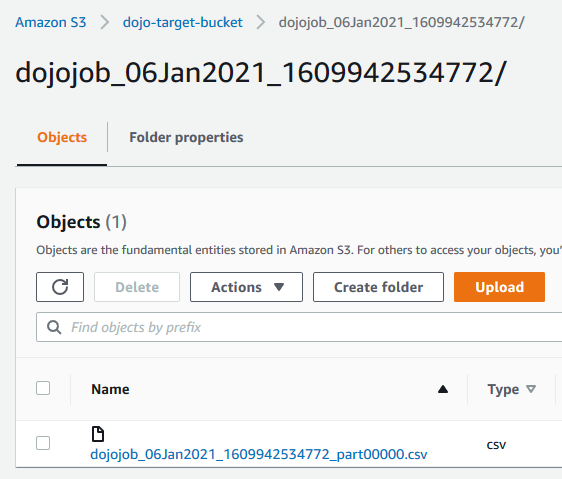
If you goto the S3 bucket used in the configuration (in this instance - s3://dojo-target-bucket), you can see the CSV file created out of the job. You can open this file and confirm the data.
-
This finishes the workshop. Follow the next step to clean-up the resources so that you don’t incur any cost post the workshop.