The data lake and user permissions are configured now. Let’s test it. When you created the users salesuser and customersuser, it provided a console sign-in URL https://<AWS-ACCOUNT_NUMBER>.signin.aws.amazon.com/console to login using these usernames and the password.
-
Login to AWS using the URL for the user salesuser. The username is salesuser and the password is the password you entered at the time of creating the user account.
-
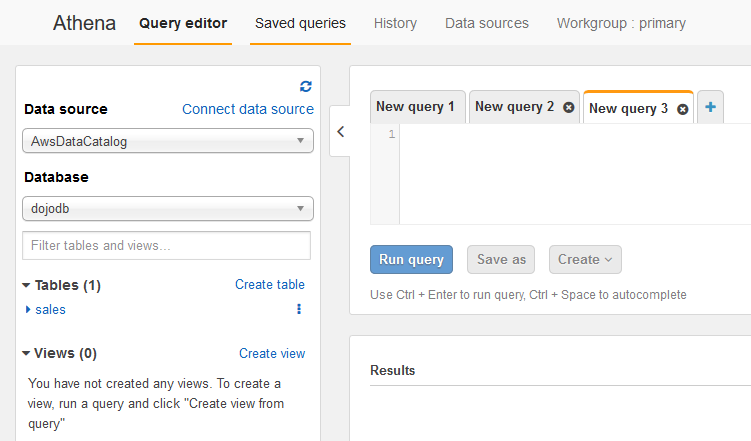
Once logged in, make sure you choose the same region you used to setup the data lake. Then, go to Athena Service console. Under Query editor tab, on the left side, you can see the database dojodb and the table sales. Remember this user has permission to query this table only that is why the user can see only one table.
-
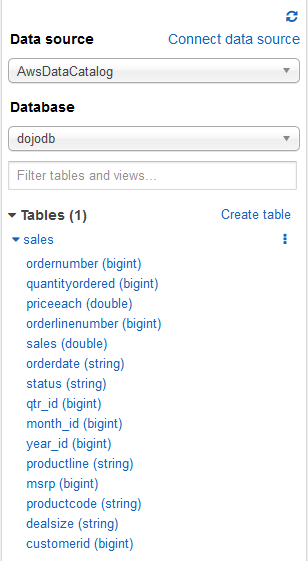
You can click on the table to see the schema of the table. Again the user can see all the columns.
-
Before you run query, you need to configure Query result location for AWS Athena. It is an Amazon S3 bucket which Athena uses in order to execute the queries. It is configured once per user. Click on the Settings link, it will open a popup. In the popup, enter s3://dojo-datalake/script/ for the Query result location. If you created the bucket with a different name in the earlier tasks, then replace dojo-datalake name with that. Click on the Save button.

-
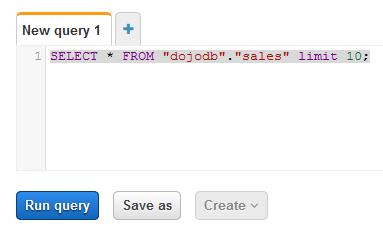
Run the following query in the query editor. Copy-Paste the query and click on the Run query button.
SELECT * FROM "dojodb"."sales" limit 10;`
-
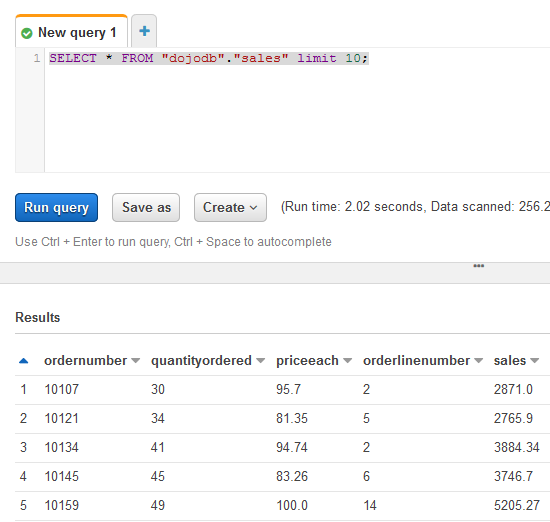
You can see the result in the Results panel.
-
You are free to write more queries with column selection and filter conditions.
-
Time to test the other user. Logout from the AWS console for this user. Login back to AWS using the URL for the user customersuser. The username is customersuser and the password is the password you entered at the time of creating the user account.
-
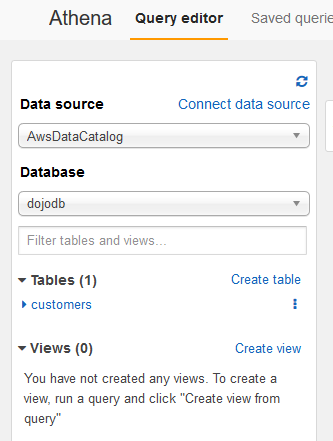
Once logged in, make sure you choose the same region you used to setup the data lake. Then go to Athena Service console. Under Query editor tab, in the left side, you can see the database dojodb and the table customers. Remember this user has permission to query this table only.
-
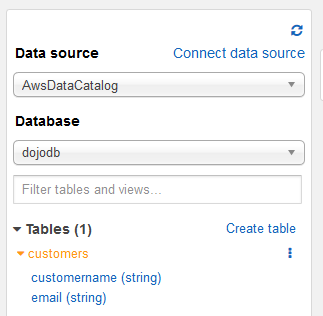
You can click on the table to see the schema of the table. Again the user can see only two columns for this table as per permission defined in the earlier tasks.
-
Before you run query, configure Query result location for AWS Athena for the customersuser also. Click on the Settings link, it will open a popup. In the popup, enter s3://dojo-datalake/script/ for the Query result location. If you created the bucket with a different name in the earlier tasks, then replace dojo-datalake name with that. Click on the Save button.
-
Run the following query in the query editor. Copy-Paste the query and click on the Run query button.
SELECT * FROM "dojodb"."customers" limit 10;
-
You can see the result in the Results panel.

-
You can try more queries. In fact, you should go back to the AWS Lake Formation to provide access to more than one table and then try to make join queries between the tables. customers and sales tables have customerid as the common key.
-
Great and congratulations for finishing the workshop. Please go to the next task to clean the AWS account so that you don’t incur any further cost.