The device and AWS IoT Core use publish-subscribe based communication model using MQTT protocol. You will write code which will use MQTT messages to get notified about new jobs. The code will process the job and will use MQTT messages to send the updates about the jobs processing status.
-
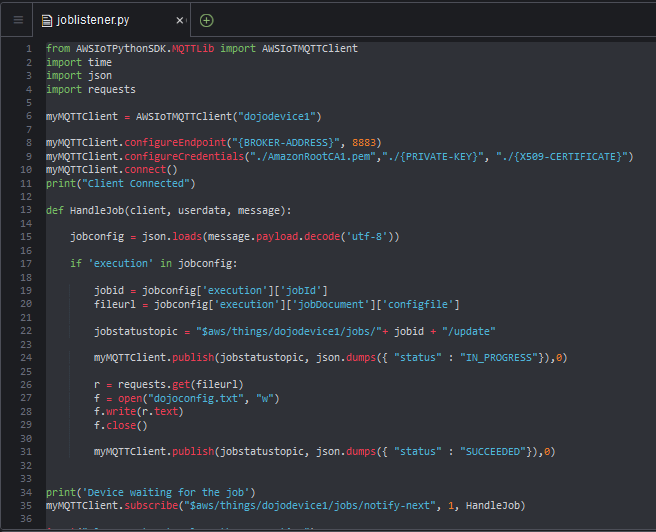
In Cloud9 dojoenvironment, create a new joblistener.py file. Copy-paste the following code in the file.
from AWSIoTPythonSDK.MQTTLib import AWSIoTMQTTClient
import time
import json
import requests

myMQTTClient = AWSIoTMQTTClient("dojodevice1")

myMQTTClient.configureEndpoint("{BROKER-ADDRESS}", 8883)
myMQTTClient.configureCredentials("./AmazonRootCA1.pem","./{PRIVATE-KEY}", "./{X509-CERTIFICATE}")
myMQTTClient.connect()
print("Client Connected")

def HandleJob(client, userdata, message):

    jobconfig = json.loads(message.payload.decode('utf-8'))

    if 'execution' in jobconfig:

        jobid = jobconfig['execution']['jobId']
        fileurl = jobconfig['execution']['jobDocument']['configfile']

        jobstatustopic = "$aws/things/dojodevice1/jobs/"+ jobid + "/update"

        myMQTTClient.publish(jobstatustopic, json.dumps({ "status" : "IN_PROGRESS"}),0)

        r = requests.get(fileurl)
        f = open("dojoconfig.txt", "w")
        f.write(r.text)
        f.close()

        myMQTTClient.publish(jobstatustopic, json.dumps({ "status" : "SUCCEEDED"}),0)


print('Device waiting for the job')
myMQTTClient.subscribe("$aws/things/dojodevice1/jobs/notify-next", 1, HandleJob)

input("Please enter to close the connection")

myMQTTClient.disconnect()
print("Client Disconnected")
`
-
In the code above, replace {BROKER-ADDRESS} with the broker-address, you noted down during device registration task earlier. Replace {PRIVATE-KEY} with private key file name which looks like XXXXXXXXXX-private.pem.key in the Cloud9 environment. Replace {X509-CERTIFICATE} with X509 certificate file name which looks like XXXXXXXXXX-certificate.pem.crt.txt in the Cloud9 environment.
-
The code above is very simple. It uses broker-address to connect to AWS IoT core using the certificates for the authentication. It subscribes to $aws/things/dojodevice1/jobs/notify-next topic to listen for the next job. When the job is published, it is handled using HandleJob method. The HandleJob method, extracts job id, extracts url for the dojoconfig.txt file, processes the job (which is download the dojoconfig.txt file) and also updates the status back by sending MQTT messages to $aws/things/dojodevice1/jobs/{jobid}/update topic. The status updates are refreshed back in the AWS IoT device management against the job execution status for the device.
-
The python code is ready. You run it later before submitting the job from AWS IoT Device Management. Let’s create job configuration and files in the next step.