Before you submit job in the next step and handle at the device using code, you need to create the job configuration file and dependency file.
You want to create a simple job for the workshop. The job will have location of a configuration file stored in S3 bucket. As part of the job processing, the device will download the configuration file.
-
The job configuration file is in json format and have no fixed schema. Create a file dojojob.json and copy-paste the following configuration text.
{
    "version" : "1.0",
    "configfile": "${aws:iot:s3-presigned-url:https://s3.eu-west-1.amazonaws.com/dojo-job/dojoconfig.txt}"
}
`
-
The configuration provides location to a file dojoconfig.txt in dojo-job bucket in the Ireland region. If you created bucket with a different name then replace dojo-job with that one. The device will use job configuration to download this file from the S3 bucket. When the job is submitted, AWS IoT Device Management will include a presigned-url for the S3 based file in order to facilitate the download.
-
Next, you create the dojoconfig.txt file which will have some dummy data for this workshop. Create a file dojoconfig.txt and copy-paste the following text.
Dummy Configuration for the workshop.`
-
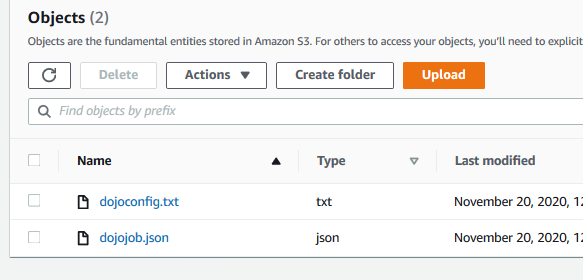
Finally, upload the dojojob.json and dojoconfig.txt files to the dojo-job bucket. If you created bucket with a different name, then upload there.
-
The job files are ready. It is time to submit job from the AWS IoT Device Management and see how the device processes it.