Let’s start the IoT side of configuration with the registration of the device as Thing in the AWS IoT Core.
-
You will first create an IoT policy which authorizes the device to perform actions within AWS IoT core. Goto the IoT Core Console, click on the Policies option under Secure menu in the left and then click on the Create a policy button.

-
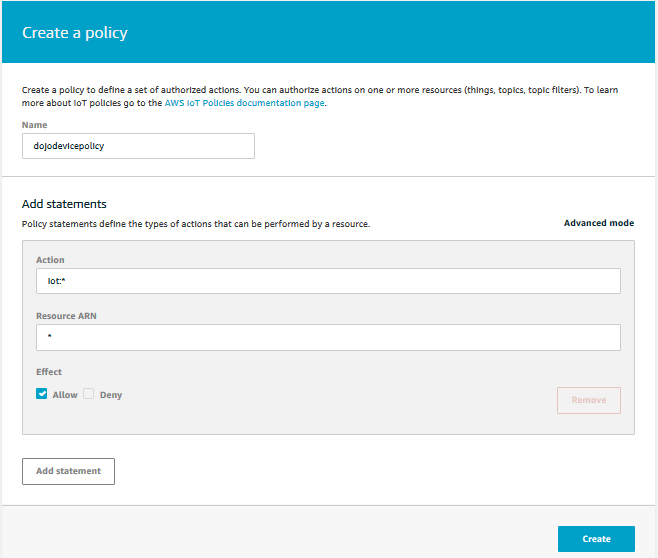
On the next screen, enter policy name as dojodevicepolicy, enter iot:* for the **Action**, enter * for the **Resource ARN**, select **Allow** for the **Effect** and click on the **Create** button. You are creating a no restriction type policy for the workshop. However, in the production implementation, you might want to configure policies with restrictions for the actions and the resources.
-
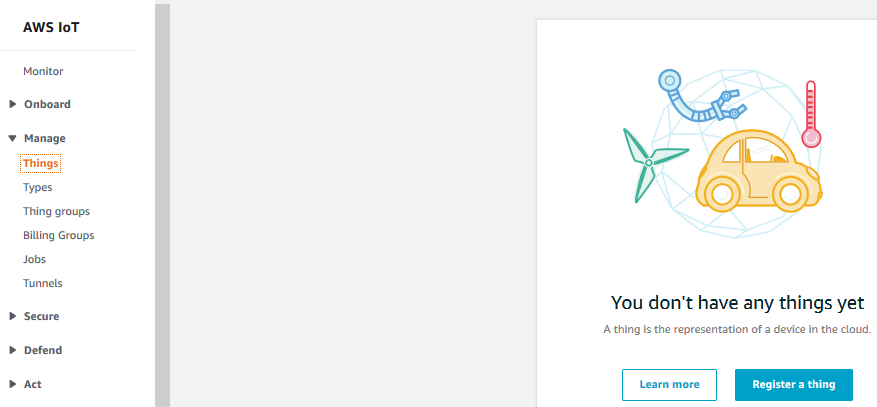
The policy is ready. After creating the policy, you now create a device as thing and attach the policy to it. On the AWS IoT Core console, click on Things option under Manage menu in the left and the click on the Register a thing button.
-
On the Creating AWS IoT things screen, click on the Create a single thing button.
-
On the Add your device to the thing registry screen, enter the device name as dojodevice1 and click on the Next button.

-
On the Add a certificate for your thing screen, click on the Create certificate button. It will create certificate files which the device uses for the authentication purpose. AWS IoT supports X.509 client certificates.
-
On the Certificate created screen, download all the certificate files - A certificate for this thing, A public key, A private key and A root CA for AWS. The files looks like as shown below - however the names would be different.
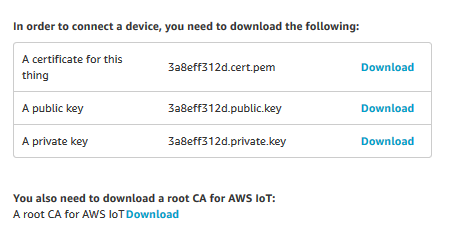

Note: Please note the location of the downloaded certificate files because you will need them later to configure authentication for the device.
-
Click on the Activate button to activate the certificate. Finally click on the Attach a policy button.
-
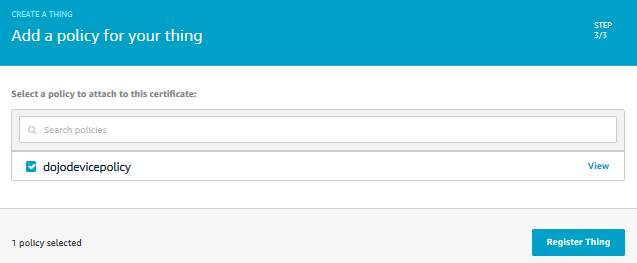
On the Add a policy for your thing screen, select dojodevicepolicy and click on the Register Thing button.
-
The device registration is complete now. Click on the device to check the details.
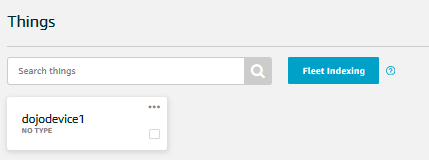
-
On the next screen, select Interact menu option and make note of the Rest API Endpoint. The endpoint is the Broker Address which is used by the devices to communicate to AWS IoT core.
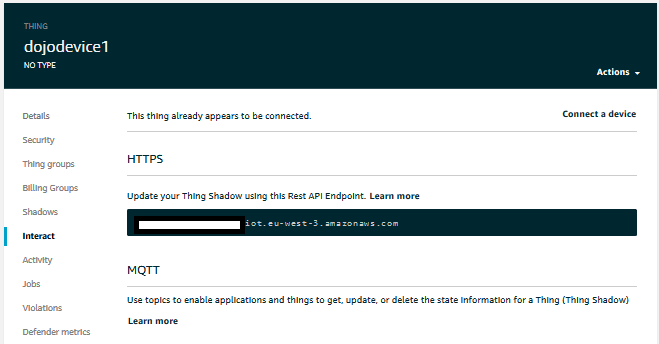
Note: Please make note of the endpoint as it will be used as “Broker Address” when connecting to the IoT core using python code.
- The next step is to create a security profile in the device defender.