
Amazon AppFlow to transfer data from Salesforce to S3
Amazon AppFlow is a fully managed integration service that enables secure transfer of data between Software-as-a-Service (SaaS) applications like Salesforce, Marketo, Slack, and ServiceNow, and AWS services like Amazon S3 and Amazon Redshift. AppFlow facilitates to run data flows at nearly any scale at the frequency of choice - Schedule, Event or On-demand. In this exercise, you learn to configure Amazon AppFlow to transfer data from Salesforce to S3 bucket.
Step1: Pre-Requisite
There are some pre-requisites in order to complete the exercise.
You need to have an AWS account with administrative access to complete the exercise. If you don’t have an AWS account, kindly use the link to create free trial account for AWS.
You also need access to Salesforce. Click to the link to learn the requirements for the Salesforce use in Amazon AppFlow.
For this exercise, AWS Dojo used free trial access to Salesforce Developer edition. The exercise used the developer edition because it by default has API access enabled which is a requirement for the AppFlow integration.
You can use the link to create Salesforce developer edition trial account.
Since you are using Salesforce as the source, it is assumed you have basic knowledge about Salesforce platform.
Step2: Create S3 Bucket for the destination
Login to the AWS Console. Select an AWS Region of your choice where Amazon AppFlow is available. You will see the exercise using the Paris region.
Let’s start with creating Amazon S3 bucket - aws-dojo-dest. This bucket is used for the destination of the data transfer. If the bucket name is not available then use a name of your choice which is available. Please make sure the bucket is created in the same region where you plan to run the exercise.
Step3: Configure Flow in Amazon AppFlow
You now create a flow for the data transfer.
-
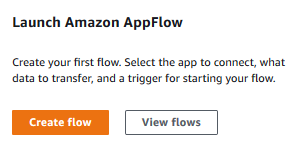
Goto the Amazon AppFlow console and click on the Create flow button.
-
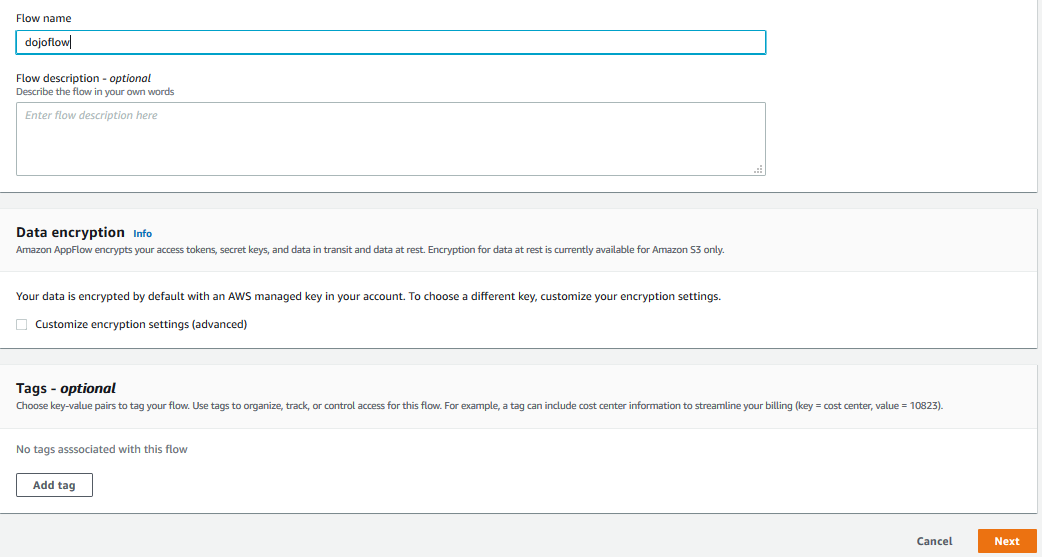
On the next screen, enter dojoflow as the flow name and click on the Next button.
-
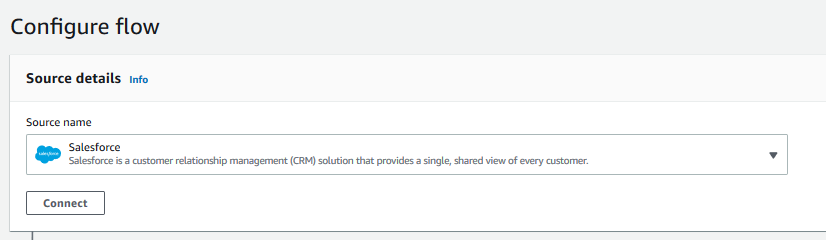
On the next screen, for the source configuration, select source name as Salesforce and click on the Connect button.
-
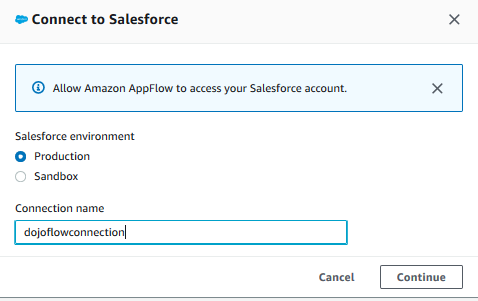
On the next screen, select Salesforce environment as Production and enter dojoflowconnection as the connection name and click on the Continue button.
-
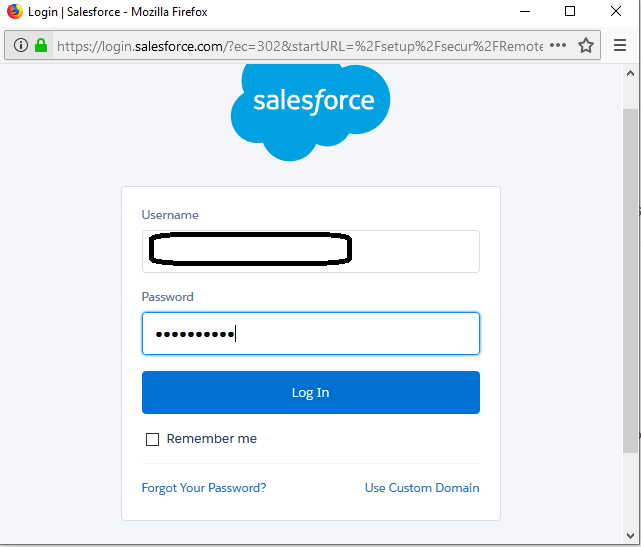
On the next screen, enter the Salesforce login name, password and click on the Log In button.
-
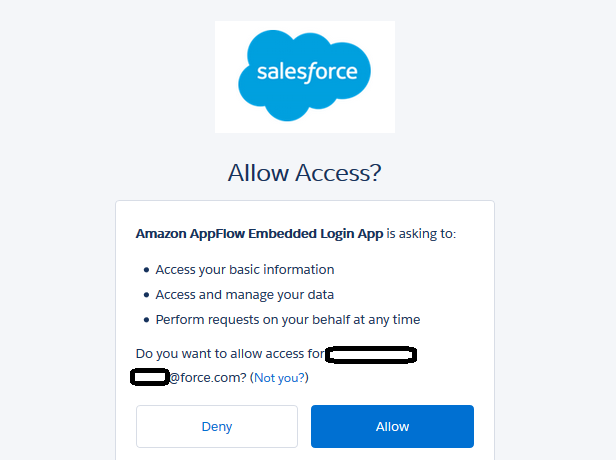
On the next screen, it asks for the confirmation to use the Salesforce username credential to access data and basic information in the Salesforce. Click on the Allow button.
-
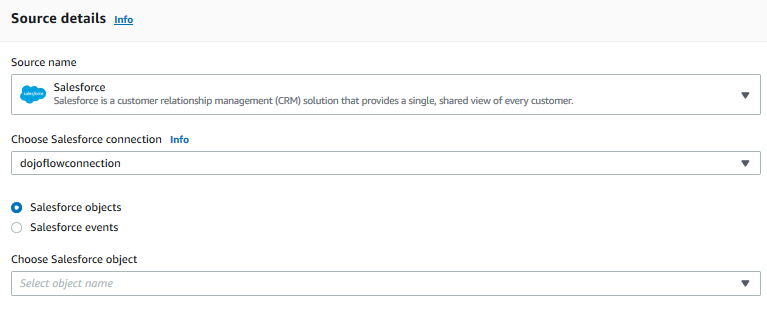
The connection is created in no time. There are two ways you can transfer data from Salesforce. Either you query object data for the bulk transfer or you get event triggered to transfer changes in the object. You might consider it as one time bulk transfer vs. incremental transfer. You will use bulk transfer for the exercise.
-
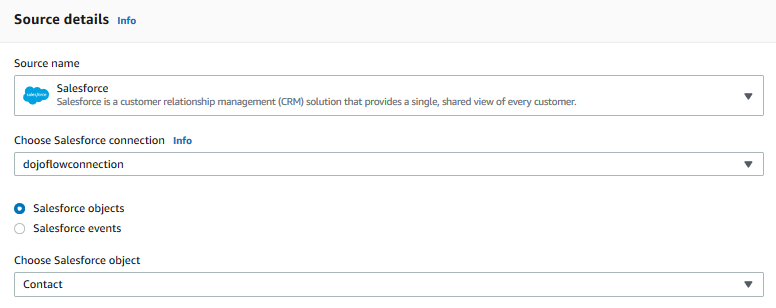
For the source, select Salesforce objects as the option and select Contact as the object. You are going to bulk transfer the contacts from the Salesforce.
-
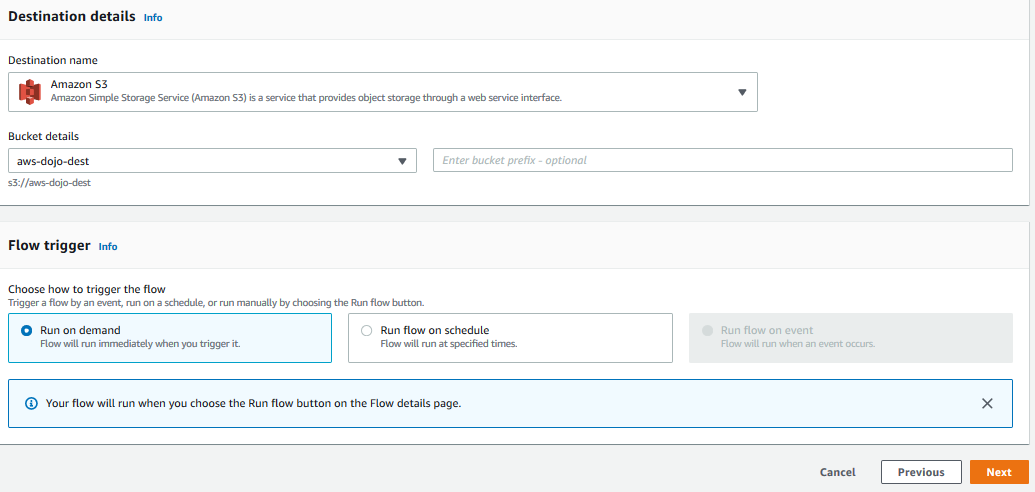
On the same screen, for the destination configuration, select destination name as Amazon S3, select aws-dojo-dest as the bucket name. If you used a different bucket name for the destination, then select that one. For Flow trigger, select Run on demand and click on the Next button.
-
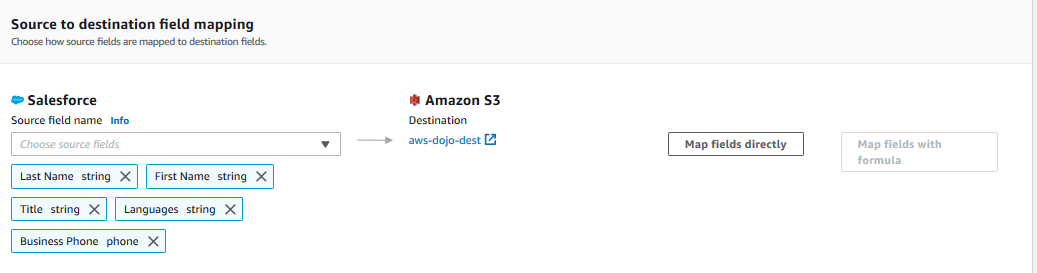
On the next screen, keep the Mapping method to Manually map fields. In the Salesforce source field name, select Last Name, First Name, Title, Languages and Business Phone as some of the sample fields and then click on the Map fields directly button.
-
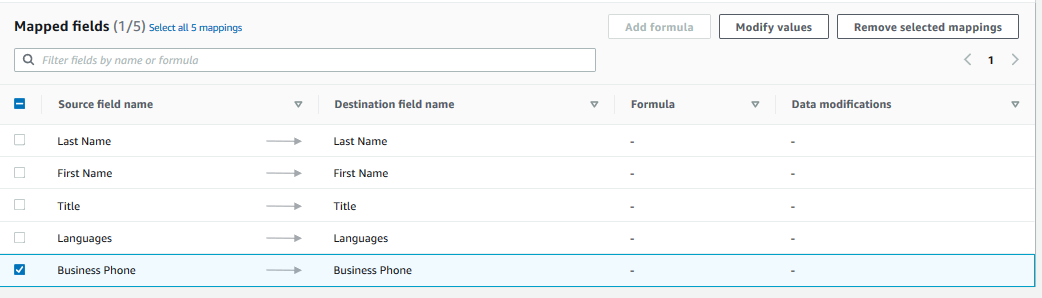
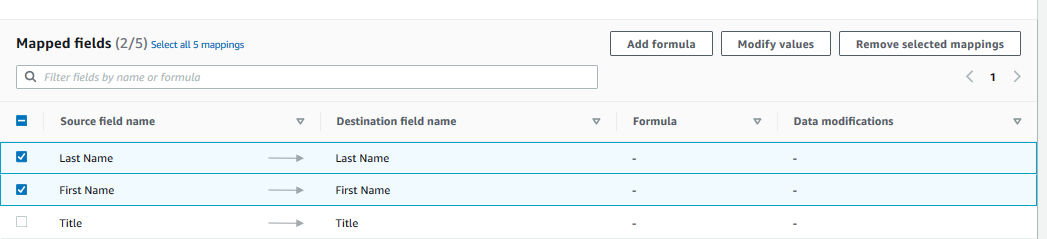
All selected fields are mapped one to one by default from the source to destination. You will now configure some transformations. Select Business Phone field and click on the Modify values button.
-
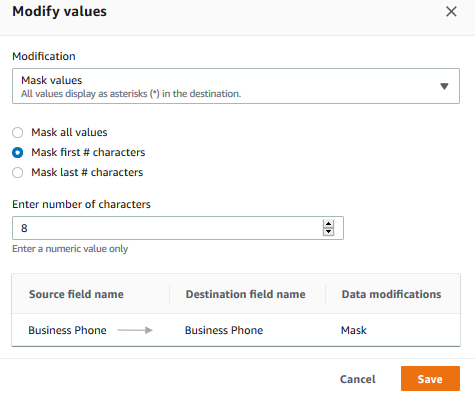
On the popup screen, select Mask values as the modification option, select Mask first # characters option, enter number of characters equal to 8 and the click on the Save button.
-
The phone field has been configured for the partial masking. Next, select First Name and Last Name fields and then click on the Add formula button.
-
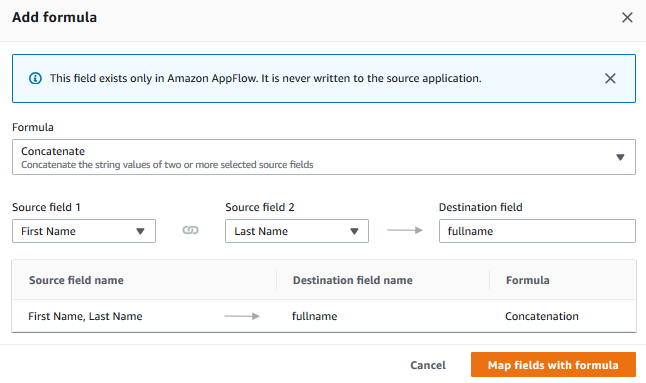
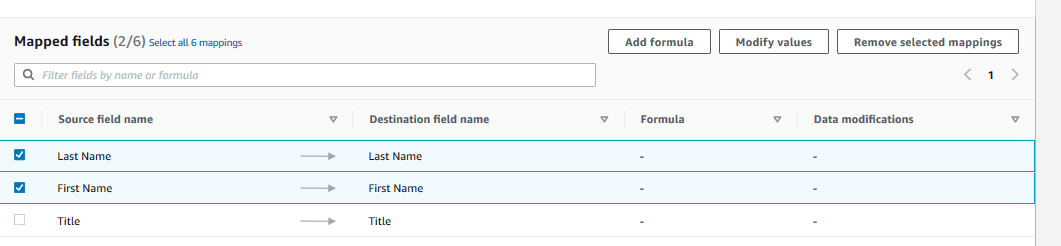
On the popup screen, select Concatenate as the formula, type in destination field name as fullname and then click on the Map fields with formula button.
-
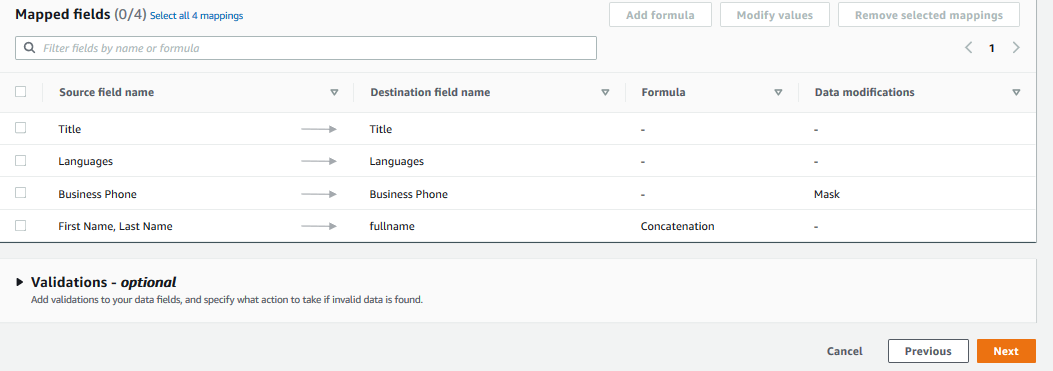
The concatenate formula for the name fields is also configured. Now that you have the fullname, you don’t need First Name and Last Name fields. Select these two fields and then click on the Remove selected mappings button.
-
The source to destination mapping is complete. You can also perform Validations configuration which is used to validate source fields and based on the validation, you can choose to ignore the record or terminate the flow. The exercise is not using the Validations configuration. Click on the Next button.
-
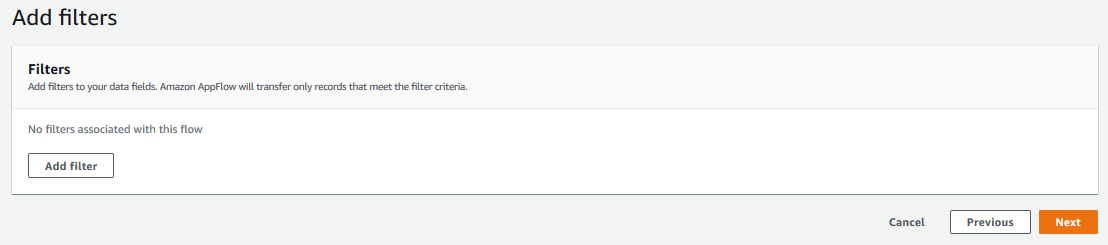
On the next screen, you can add filter conditions to filter down the records from the source for the transfer. The exercise will not use filters. Click on the Next button.
-
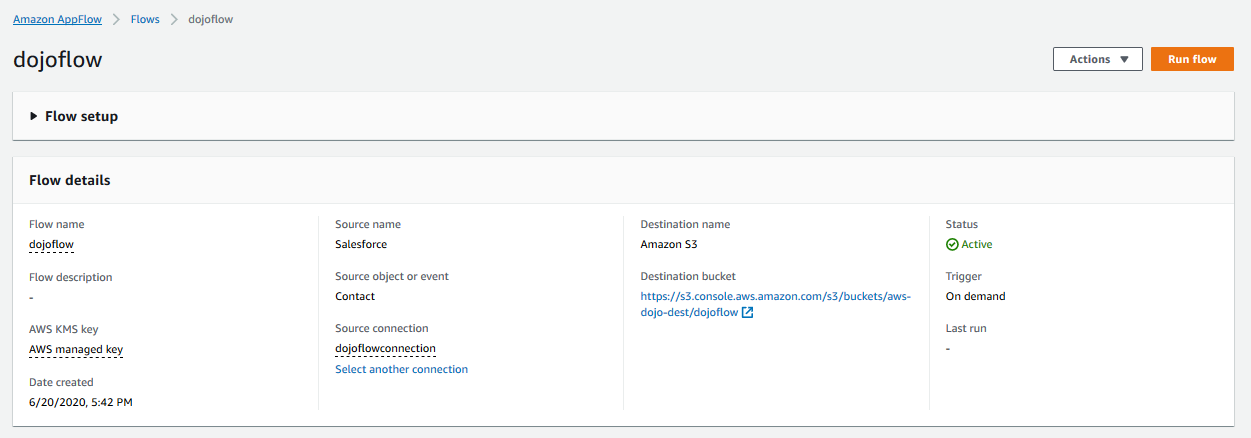
On the next screen, review the configuration and click on the Create flow button to create the flow.
-
The flow is created in no time. Click on the Run flow button to run the flow.
-
It will take couple of minutes to finish the execution. Please wait for the run to complete successfully.

-
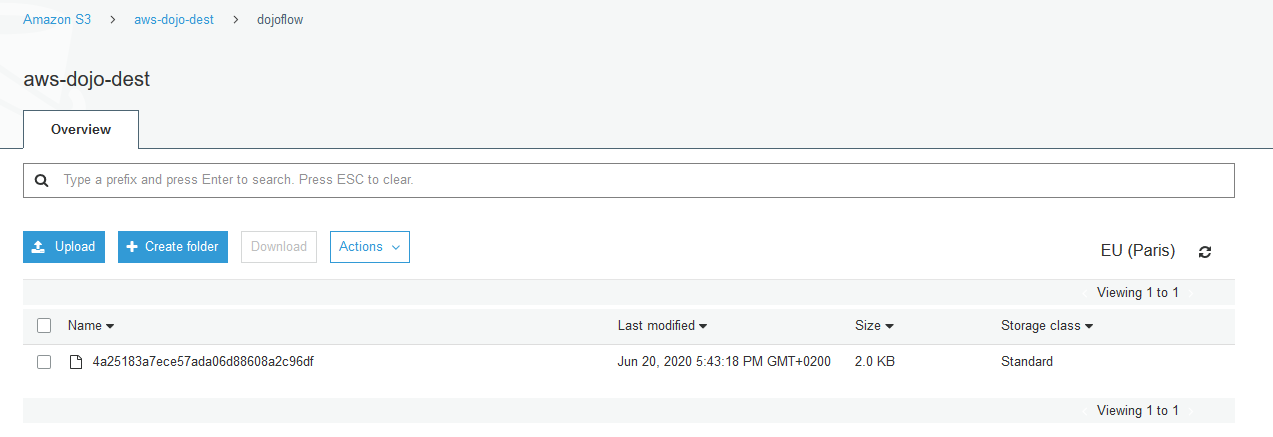
Once the flow run has completed, you can see the data transferred in the destination bucket.
-
Congratulations, you finished the exercise. Kindly follow the next step to clean the AWS account to avoid any further cost.
Step4: Clean up
Goto the Amazon S3 Console and delete aws-dojo-dest bucket. If you used different bucket name, then delete that bucket.
Goto the Amazon AppFlow console and delete the dojoflow flow. Also delete the dojoflowconnection connection which you can find under connections on the Amazon AppFlow console.
Thanks and hope you enjoyed the exercise.