
AWS Lake Formation - Tag Based Access Control
AWS Lake Formation supports controlling access to data lake resources like databases, tables and columns using tags. Tag-based access control (TBAC) decouples policy creation from resource creation which helps in simplifying and scaling governance for the large number of databases, tables, and columns in the data lake.
In this exercise, you use tags to control access to data lake resources like table.
Step1: Pre-Requisite
You need to have an AWS account with administrative access to complete the exercise. If you don’t have an AWS account, kindly use the link to create free trial account for AWS.
Step2: Configure Data Lake
You will configure data lake first. You will configure data lake with two data sets - sales and customers. The data sets are stored in Amazon S3. You will also create two users - salesuser and customersuser. These two users will be granted access to these data sets. The salesuser will have access to the sales data set only. The customersuser will have access to the customers data set.
Please use Data Lake Workshop to configure a data lake. Just follow steps 1 to 7 in the workshop and then continue from the next step onwards. You cannot continue unless you configure the data lake.
Step3: Configure Tag Policy
You configure tag policy and then define access control for the tags in AWS Lake Formation.
-
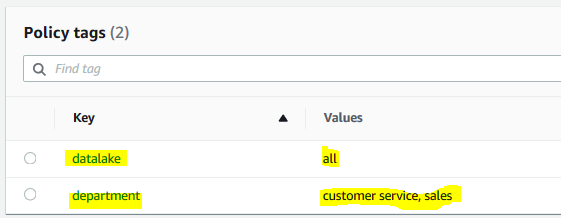
Goto AWS Lake Formation console, click on the Policy Tags in the left menu and then click on the Add tag button.

-
On the next popup screen, type in department as the key. Add sales and customer service as the values. Then, click on the Add tag button.

-
The policy tag is added. Repeat above step to add another policy tag with key as datalake and all as the value.
-
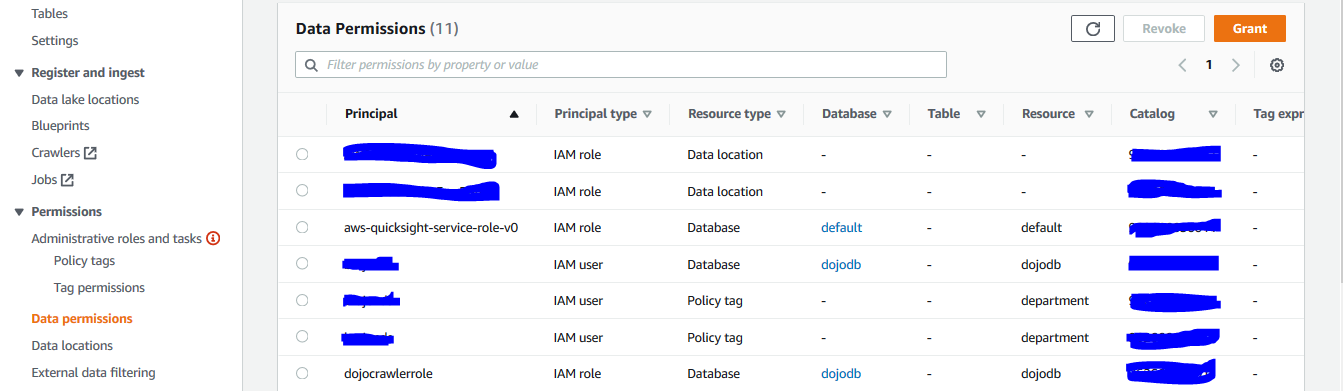
Next, click on the Data permissions in the left menu and then click on the Grant button.
-
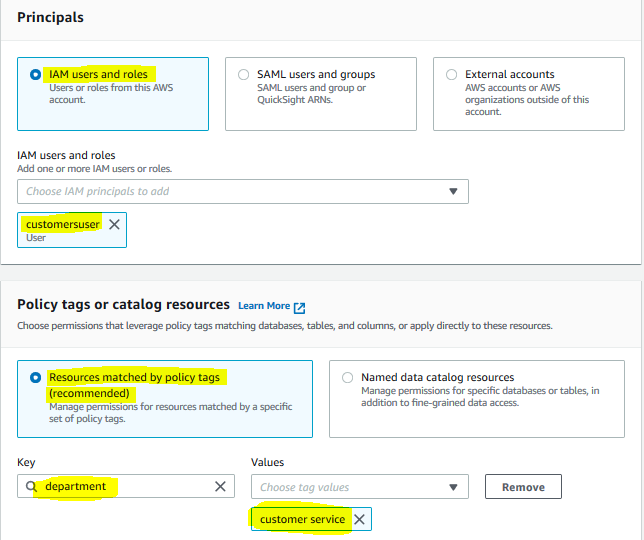
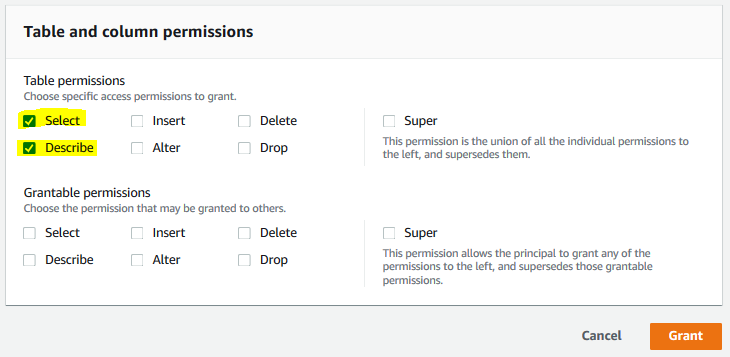
On the next screen, select IAM users and roles option and select customersuser as the IAM User. Select Resources matched by policy tags (recommended) option and click on the Add policy tag button. Then, select department for the key and select customer service for the values. In the table and column permissions section, choose Select and Describe permissions and finally click on the Grant button.
-
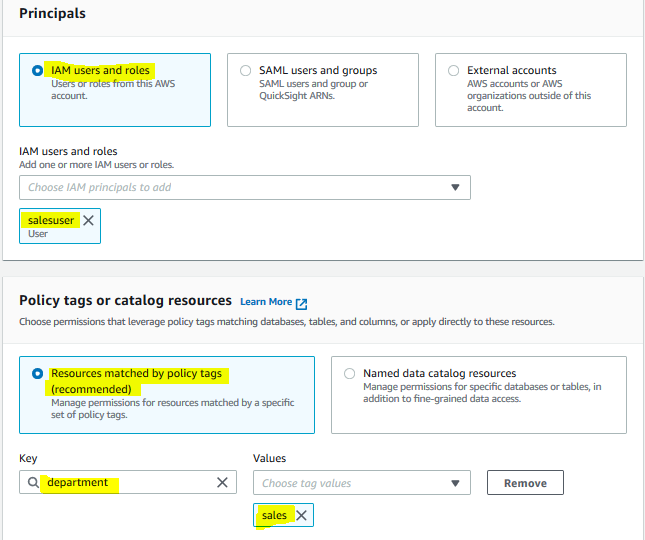
The permission is configured for the customersuser. Repeat steps 3 and 4 to grant permission for the salesuser. Select IAM users and roles option and select salesuser as the IAM User. Select Resources matched by policy tags (recommended) option and click on the Add policy tag button. Then, select department for the key and select sales for the values. In the table and column permissions section, choose Select and Describe permissions and finally click on the Grant button.
-
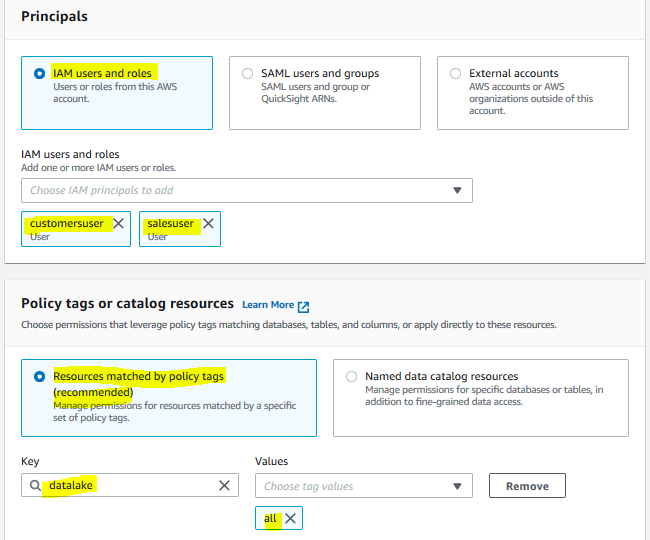
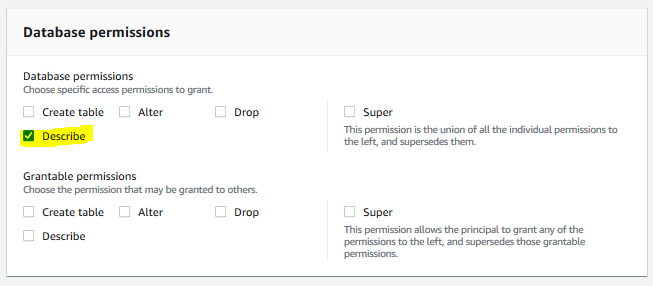
The permission is configured for the salesuser. Repeat steps 3 and 4 to grant another permission for the salesuser and customersuser for the database. Select IAM users and roles option and select salesuser and customersuser as the IAM Users. Select Resources matched by policy tags (recommended) option and click on the Add policy tag button. Then, select datalake for the key and select all for the values. In database permissions section, choose Describe permission and finally click on the Grant button.
-
The database level access is also configured. You now update tag policy for the data lake resources.
Step4: Configure Resource Tag
The policy tags and permissions for the tags are configured. You now update tag policy for the data lake database and table in order to govern access control to the database and tables.
-
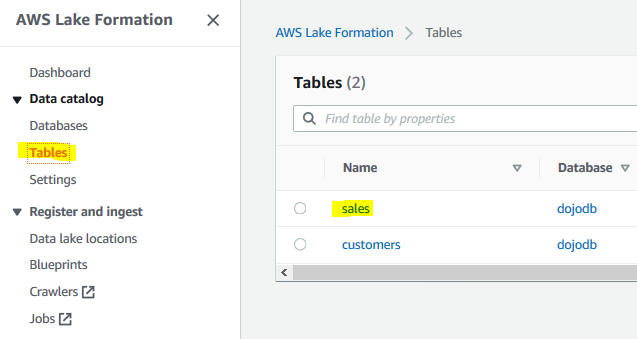
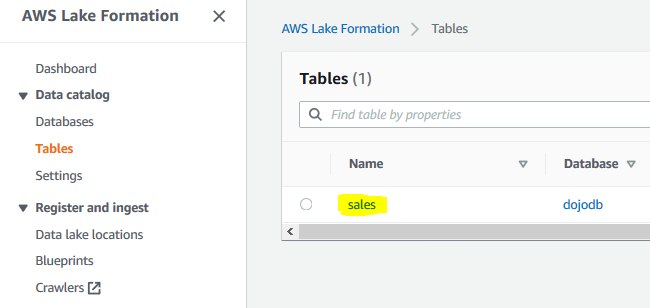
In the AWS Lake Formation console, click on the Tables menu option in the left menu and then click on the sales table link.
-
On the next screen, goto the policy tags section and click on the Edit tags button.
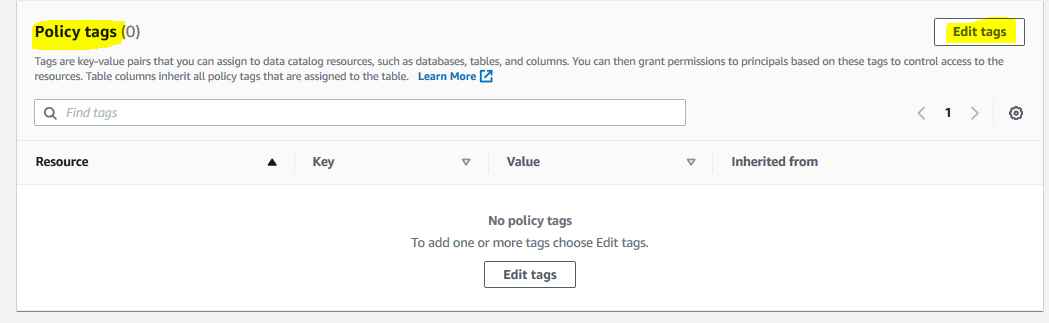
-
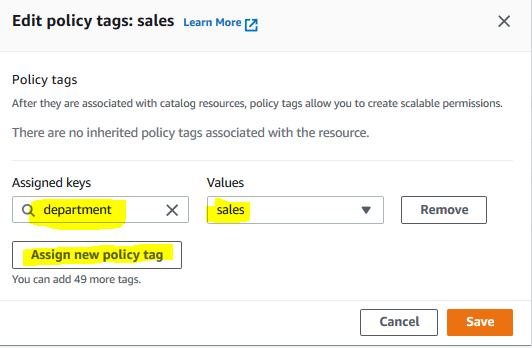
On the next popup screen, click on the Assign new policy tag button. Then, select department for the assigned key and sales for the value. Finally, click on the Save button.
-
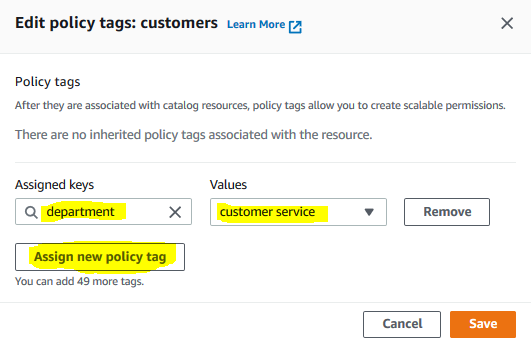
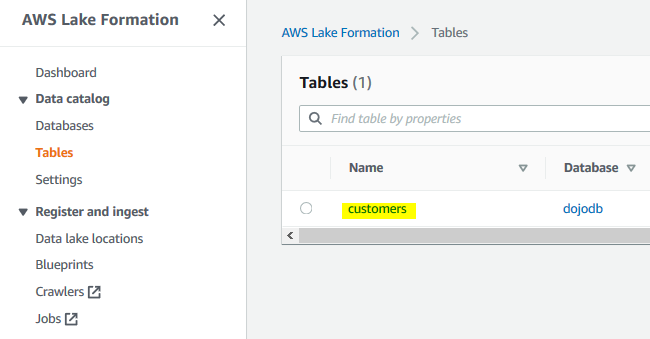
Permissions for the sales table is configured. Repeat steps 1 to 3 for the customers table. For the table, select department for the assigned key and customer service for the value. Finally, click on the Save button.
-
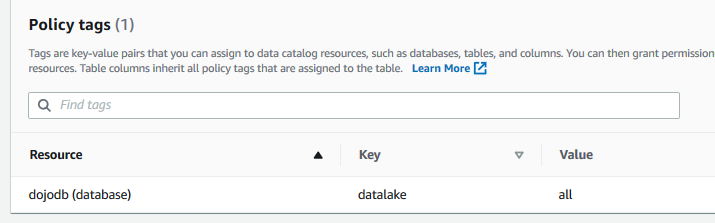
Permissions for the customers table is configured. Similar to the tables, configure policy tag for the database dojodb with policy tag key as datalake and value as all.
-
It is time to verify the permissions.
Step5: Verify User Permission
The data lake and user permissions are configured now. Let’s verify it. When you created the users salesuser and customersuser, it provided a console sign-in URL https://<AWS-ACCOUNT_NUMBER>.signin.aws.amazon.com/console to login using these usernames and the password.
-
Login to AWS using the URL for the user salesuser. The username is salesuser and the password is the password you entered at the time of creating the user account.
-
Once logged in, make sure you choose the same region you used to setup the data lake. Then, go to Lake Formation console. Click on the Tables menu in the left and you will see that the user has access to sales table only.
-
You can use Athena to query sales table.
-
Similarly, login as customersuser IAM user and you can see the user has access to the customers table in Lake Formation.
-
You can use Athena to query customers table.
-
This finishes the exercise. Please go to the next step to clean the AWS account so that you don’t incur any further cost.
Step6: Clean up
Login to AWS account with your user account (not salesuser or customersuser) which has administrative access. Kindly clean up the following resources to reset the account and also avoid any further cost.
- Delete dojocrawler crawler in AWS Glue Console.
- Delete dojodb database in AWS Lake Formation Console.
- Delete s3://dojo-datalake/data configured as the Data lake location in AWS Lake Formation Console. If you used a different bucket then delete that one.
- Delete s3://dojo-datalake bucket in S3 Management Console. If you used a different bucket then delete that one.
- Delete IAM Role - dojocrawlerrole.
- Delete IAM Users - salesuser and customersuser.
Thanks for using the exercise.