
AWS Glue Studio Enhancements - Spark SQL, Catalog Target & Infer S3 Schema
AWS Glue Studio is a graphical interface to help create, run, and monitor extract, transform, and load (ETL) jobs in AWS Glue. One can visually compose data transformation workflows and seamlessly run them on AWS Glue’s Apache Spark-based serverless ETL engine.
In this exercise, you configure and learn using Spark SQL, Catalog Target & Infer S3 Schema features in Glue Studio.
Step1: Pre-Requisite
You need to have an AWS account with administrative access to complete the exercise. If you don’t have an AWS account, kindly use the link to create free trial account for AWS.
Step2: Create IAM Role for Glue
You start with creation of the IAM role which AWS Glue Studio uses for the authorization to call other AWS Services.
-
Login to the AWS Console and select Ireland as the region.
-
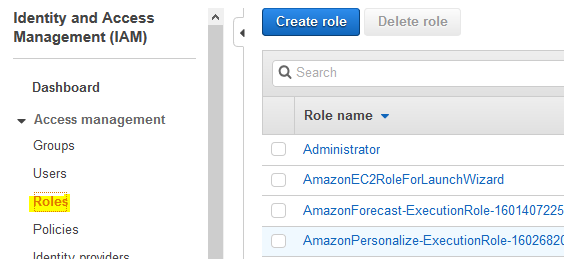
Goto the IAM Management console. Click on the Roles menu in the left and then click on the Create role button.
-
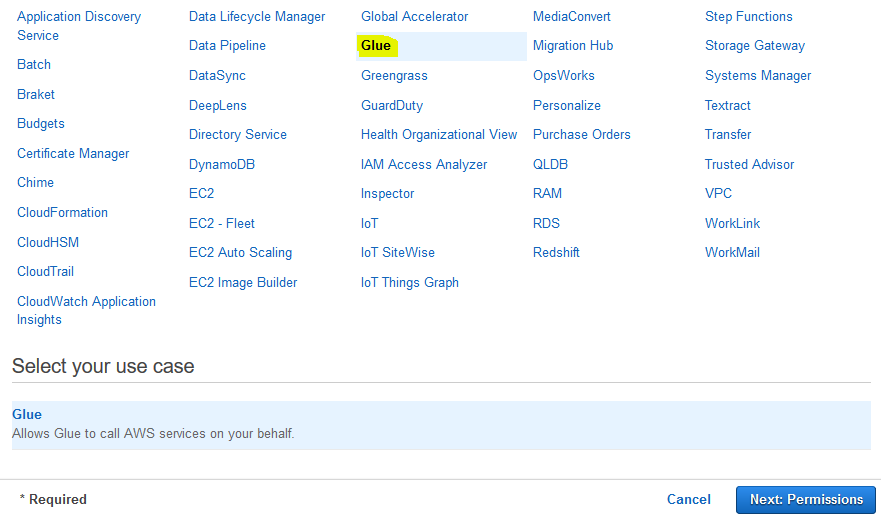
On the next screen, select Glue as the service and click on the Next: Permissions button.
-
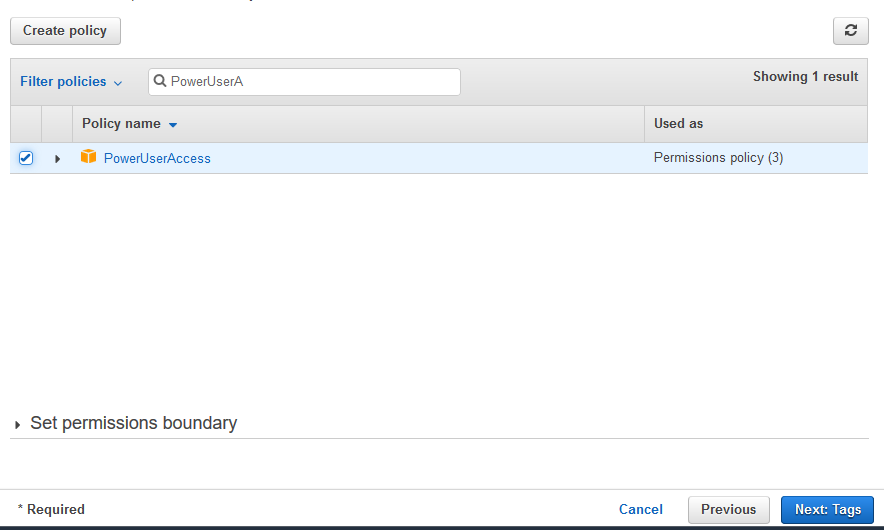
On the next screen, select PowerUserAccess as the policy and click on the Next: Tags button. The exercise is using power user permission but in actual production use it is recommended to use minimum required permission only.
-
On the next screen, click on the Next: Review button.
-
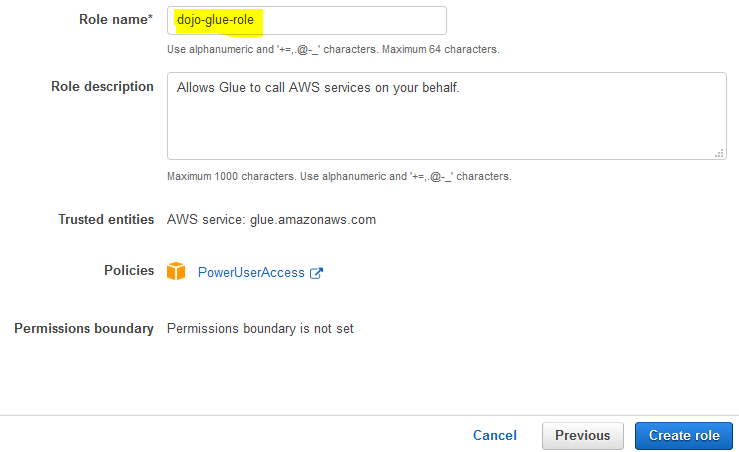
On the next screen, type in dojo-glue-role for the Role name and click on the Create role button.
-
The role is created in no time. The next step is to create S3 bucket and upload data.
Step3: Create S3 Bucket
A sample CSV file (sales.csv) has been provided for the exercise. Download it from the link.
-
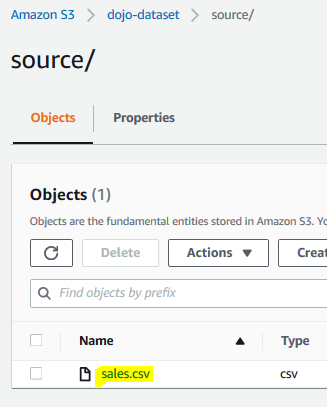
Goto S3 Management studio. Create an S3 bucket with name dojo-dataset and create two folders source and target under it. If the bucket name is not available, create bucket with a name which is available.

-
Upload sales.csv file in the source folder.
-
The data is ready. The next step is to create Glue database where the data can be cataloged.
Step4: Create Glue Database
In this step, you create AWS Glue database where the S3 data can be cataloged.
-
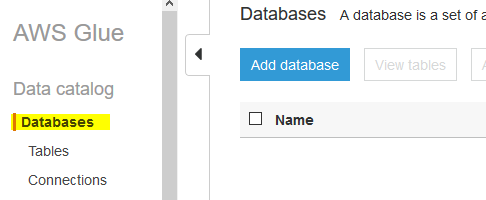
Goto Glue Management console. Click on the Databases menu in the left and then click on the Add database button.
-
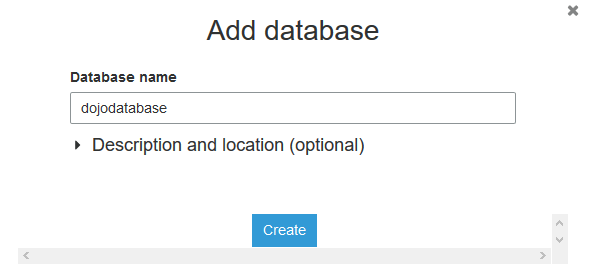
On the next popup screen, type in dojodatabase as the database name and click on the Create button.
-
The database is created in no time. The next step is to configure a job in the Glue Studio.
Step5: Create Glue Job in Studio
In this step, you create a job using Glue Studio which reads data sales.csv from the source folder in the S3 bucket and writes to the target folder after transformation. The job also catalogs the target data in the Glue database.
-
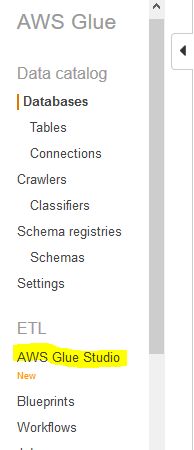
Go to Glue Service console and click on the AWS Glue Studio menu in the left.
-
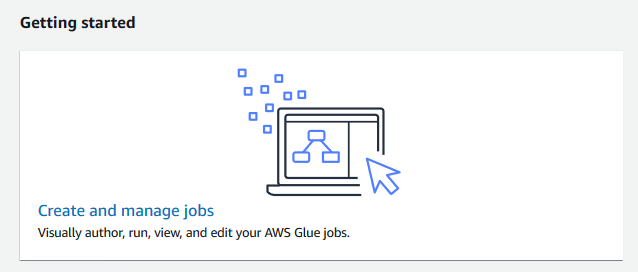
On the next screen, click on the Create and manage jobs link.
-
On the next screen, select Blank graph option and click on the Create button.

-
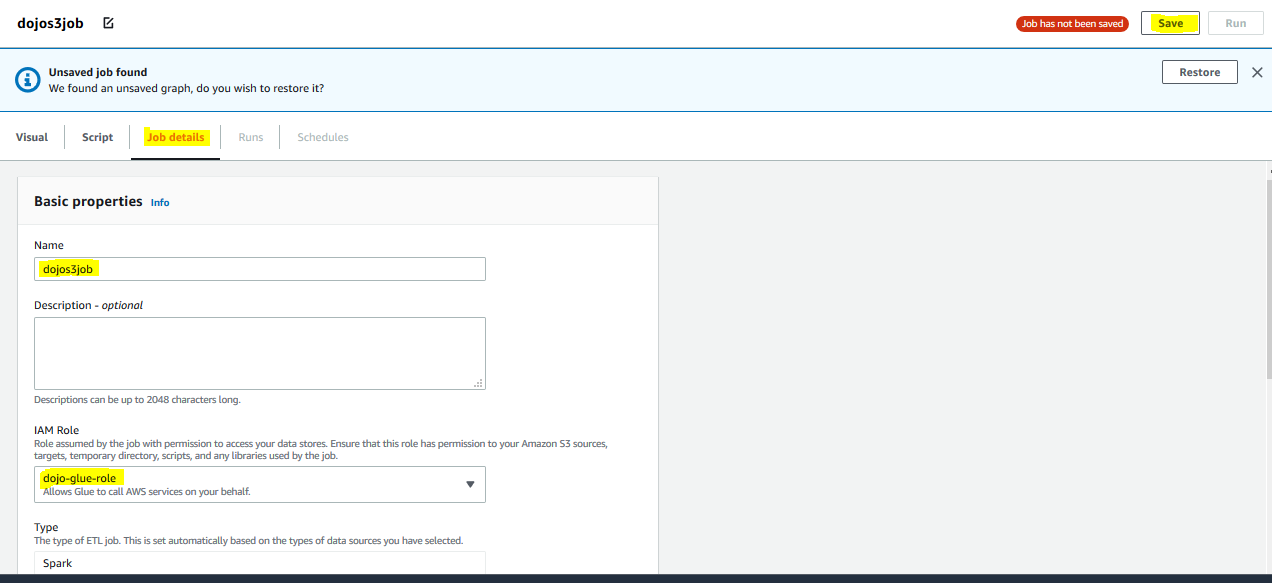
It opens the Glue Studio Graph Editor. Click on the Job Details tab. Type in dojos3job for the name and select dojo-glue-role for the IAM Role. Keep rest of the fields as the default and click on the Save button.
-
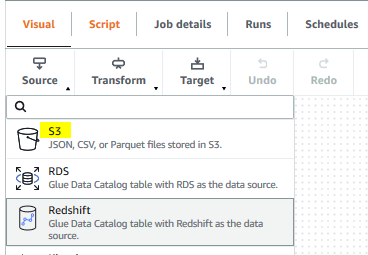
The job name and role configuration are saved. Go back to the Visual tab and click on the S3 option under Source menu.
-
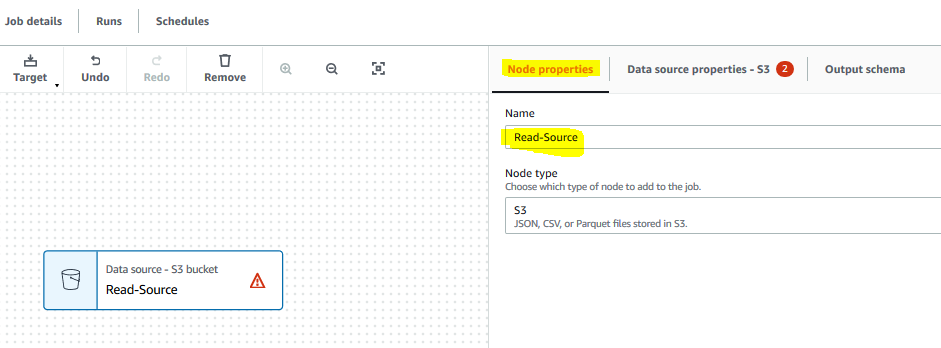
It creates a new source node in the editor. On Node properties tab, type in Read-Source for the name. Select S3 for the node type. Click on the Data source properties - S3 tab.
-
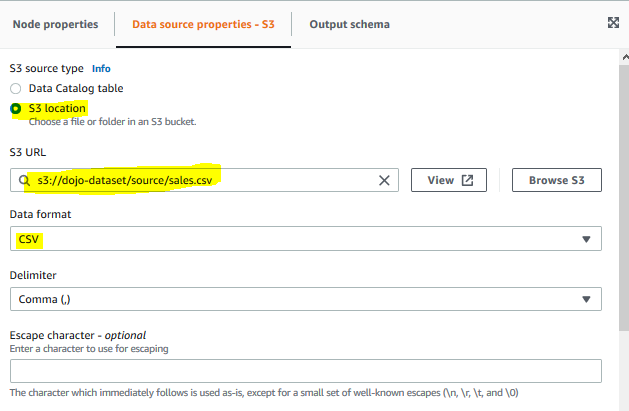
On the Data source properties - S3 tab, select S3 location option for the S3 source type. Select s3://dojo-dataset/source/sales.csv for the S3 URL. If you created bucket with a different name, then use that bucket. Select CSV for the data format.
-
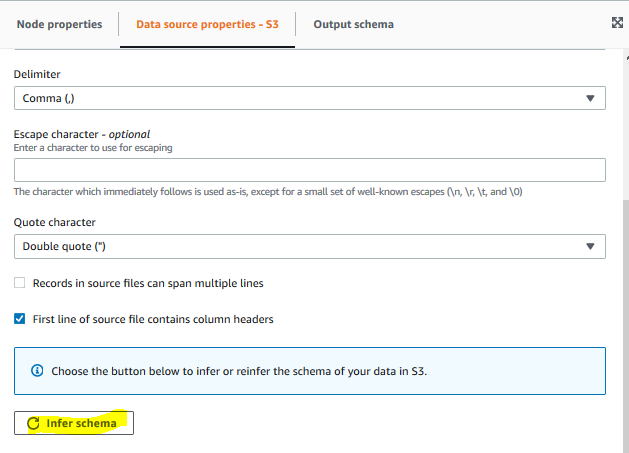
On the Data source properties - S3 tab, click on the Infer schema button to generate scheme for the S3 data.
-
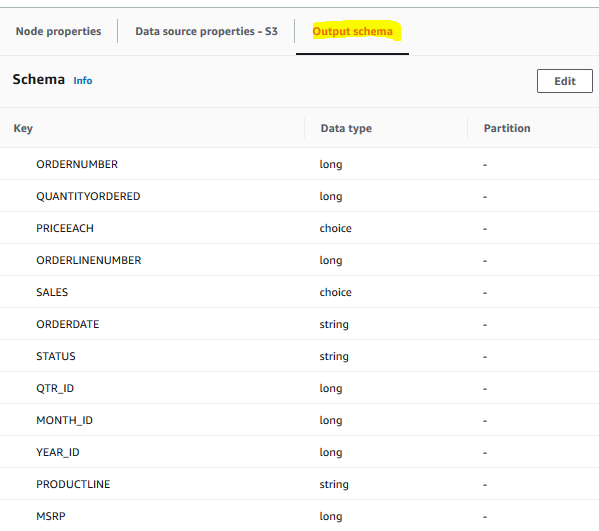
Click on the Output schema tab and you can see the generated schema for S3 data. You do have choice to edit the schema if you don’t agree with the out of box inference.
-
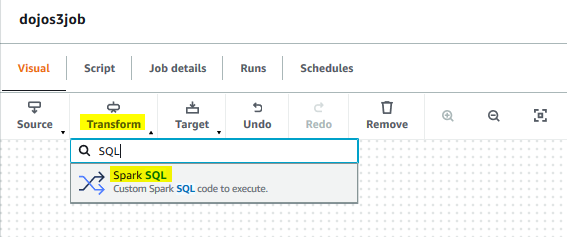
The Read-Source node is ready. Go back to the Visual tab and click on the Spark SQL option under Transform menu.
-
It creates a new transform node Transform - SQL Code in the editor. Click on the Transform tab and copy-paste the following SQL in the code block field. The SQL query is used to perform transformation on the data which is getting sum of the QUANTITYORDERED field grouped by PRODUCTLINE.
select PRODUCTLINE, sum(QUANTITYORDERED) as TOTALQUANTITY from myDataSource group by PRODUCTLINE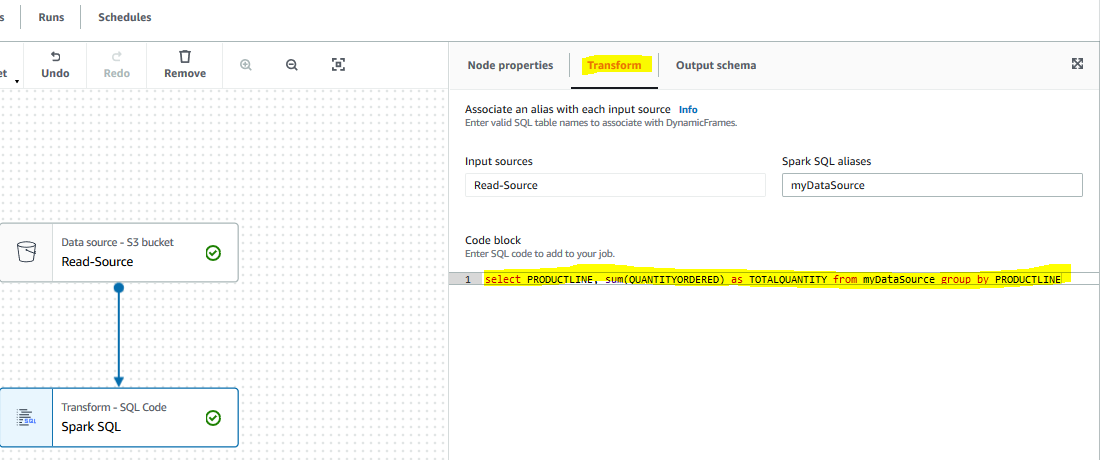
-
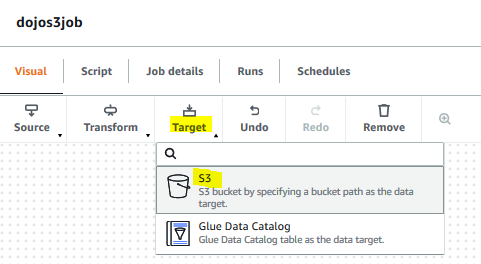
The Transform - SQL Code node is ready. Go back to the Visual tab and click on the S3 option under Target menu.
-
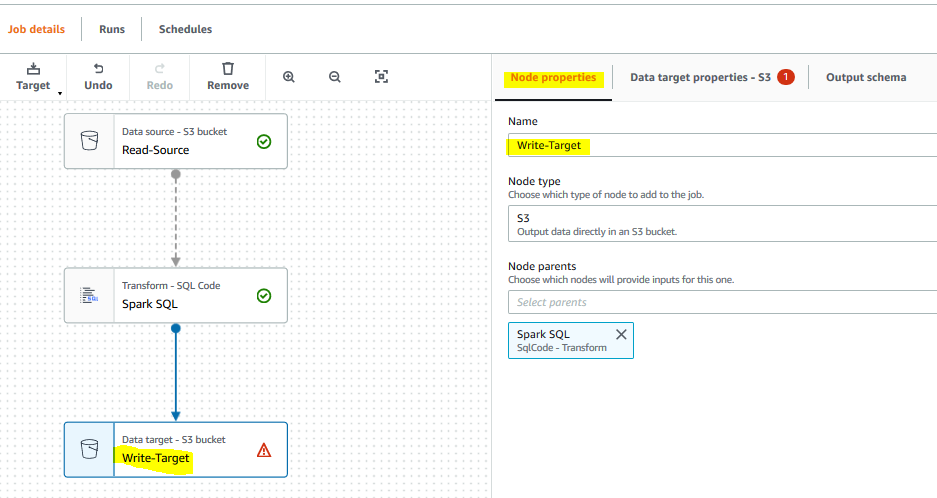
It creates a new target node in the editor. On Node properties tab, type in Write-Target for the name. Click on the Data target properties - S3 tab.
-
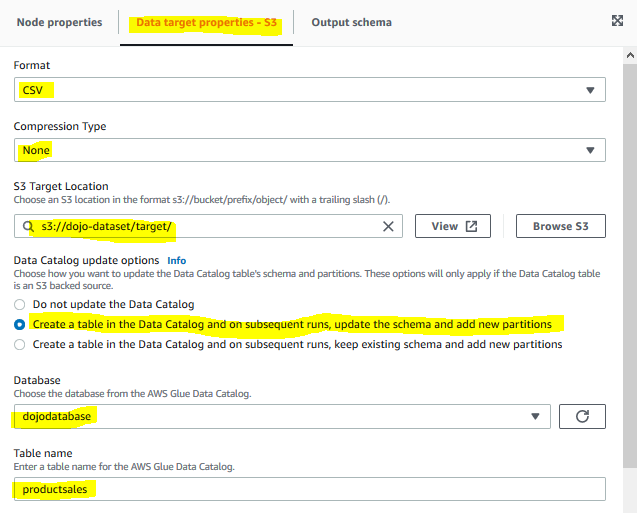
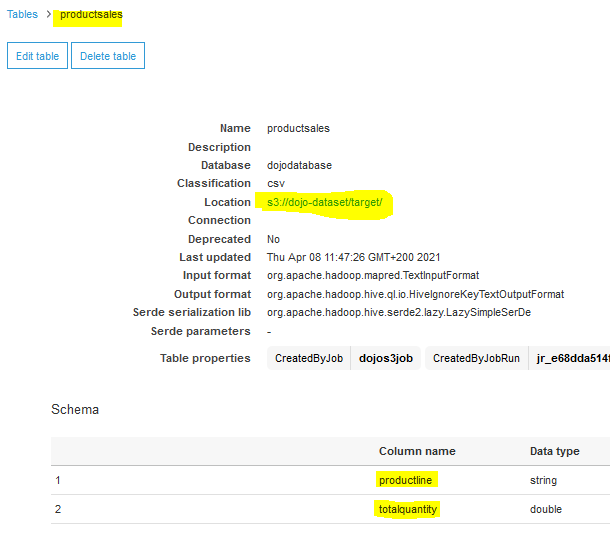
On the Data target properties - S3 tab, select CSV as format. Select None for the compression type. Select s3://dojo-dataset/target/ for the S3 Target Location. If you created bucket with a different, use that bucket. Select Create a table in the Data Catalog and on subsequent runs, update the schema and add new partitions for data catalog update option. Select dojodatabase for the database and type in productsales for the table name.
-
The Write-Target node is ready. Click on the Save button to save the job configuration and then click on the Run button.
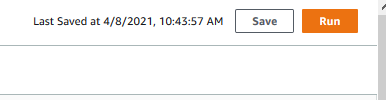
-
It will start the job execution. Click on the Runs tab to see the status of the execution. Wait till the status of the job execution changes to Succeeded.
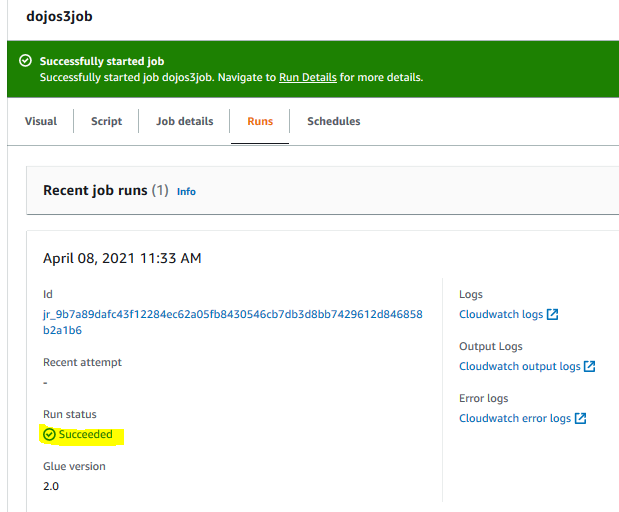
-
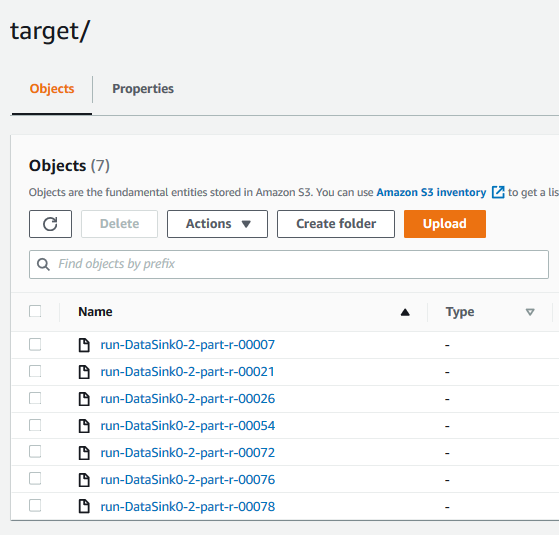
The job has created the output. You can go to the S3 bucket target folder to see the output file. You can also see the data catalog table productsales in Glue with the schema defined.
-
This finishes the exercise. Go to the next steps to clean up the resources so that you don’t incur any cost post the exercise.
Step6: Clean up
Delete dojos3job Glue Job.
Delete dojodatabase Glue Database.
Delete dojo-dataset S3 Bucket.
Delete dojo-glue-role IAM Role.
Thanks and hope you enjoyed the exercise.