
Using Job Bookmarks in AWS Glue Jobs
AWS Glue uses job bookmark to track processing of the data to ensure data processed in the previous job run does not get processed again. Job bookmarks help AWS Glue maintain state information and prevent the reprocessing of old data.
In this exercise, you learn to configure job bookmark to avoid reprocessing of the data.
Step1: Pre-Requisite
You need to have an AWS account with administrative access to complete the exercise. If you don’t have an AWS account, kindly use the link to create free trial account for AWS.
Step2: Create IAM Role
You start with creation of the IAM role which AWS Glue uses for the authorization to call other AWS Services.
-
Login to the AWS Console and select Ireland as the region.
-
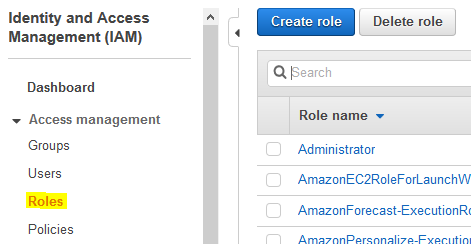
Goto the IAM Management console and click on the Roles menu in the left and then click on the Create role button.
-
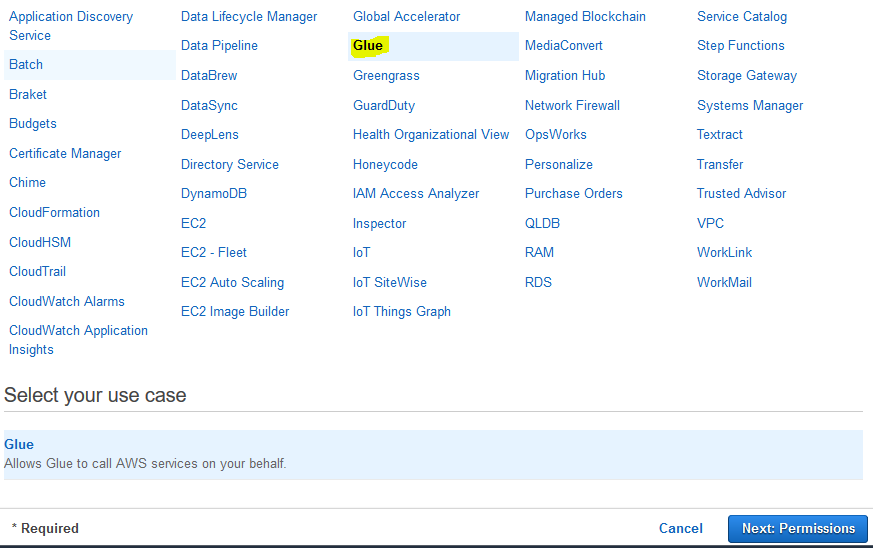
On the next screen, select Glue as the service and click on the Next: Permissions button.
-
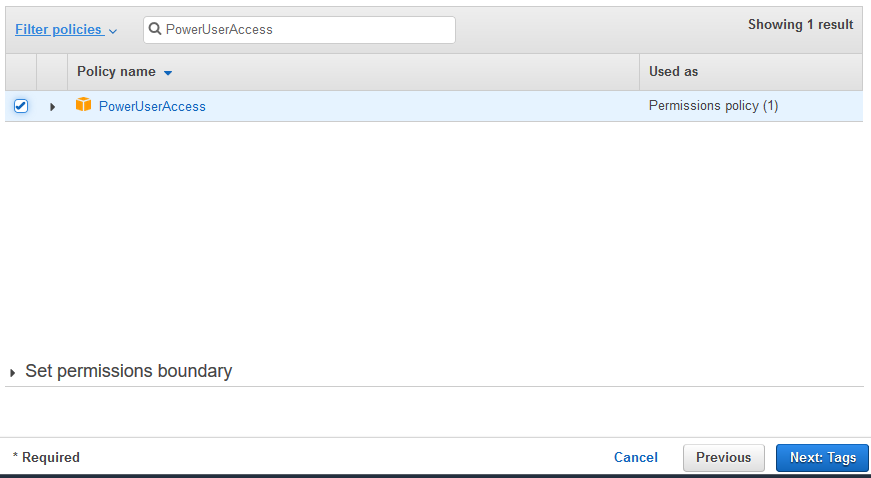
On the next screen, select PowerUserAccess as the policy and click on the Next: Tags button. The exercise is using power user permission but in actual production use it is recommended to use minimum required permission only.
-
On the next screen, click on the Next: Review button.
-
On the next screen, type in dojo-glue-role for the Role name and click on the Create role button.

-
The role is created in no time. The next step is to create S3 bucket and upload data.
Step3: Create S3 Bucket
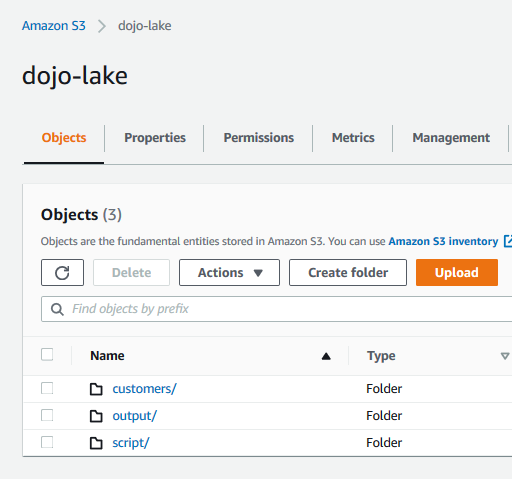
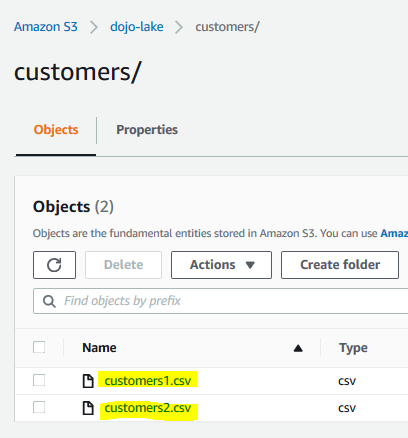
You will create an Amazon S3 bucket which serves many purposes. It will be used to store sample data files (customers1.csv and customers2.csv) in the customers folder which is cataloged in the Glue Database. It will have folder output which is used by the Glue Job to write processed data. It will also have a folder script which is used to store script for the Glue Job.
Download the sample data files (customers1.csv and customers2.csv) from the links customers1.csv and customers2.csv.
The customers1.csv file has customer records from customer id 1 to 50 while the customers2.csv file has customer records from customer id 51 to 100. You will create Glue Job with Job Bookmark enabled. When you run job for the first time, it will process records with customer id 1 to 50. When you run the job again, it will process records with customer id 51 to 100. You will see, even if the job runs two times, it does not process the already processed data.
-
Go to the S3 Management Console and create a S3 bucket with name dojo-lake. If the bucket name is not available, then use a name which is available. In this bucket, create three folders customers, output and script.
-
Open customers folder and upload customers1.csv to it.
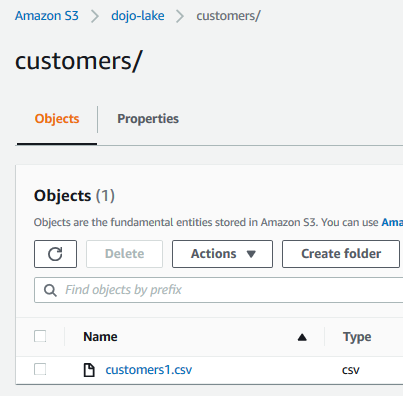
-
The data is ready. In the next step, you create a Glue Database and Configure Glue Crawler.
Step4: Configure Glue Database and Crawler
In this step, you create AWS Glue database and catalog the data file in the customers folder in the S3 bucket.
-
Goto Glue Management console. Click on the Databases menu in the left and then click on the Add database button.
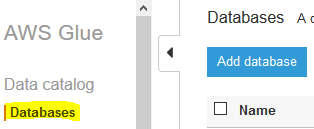
-
On the next popup screen, type in dojodb as the database name and click on the Create button.
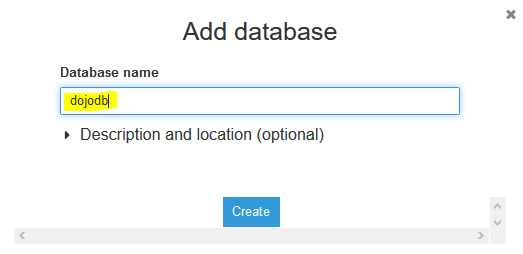
-
The database is created in no time. The next step is to configure the crawler which can catalog the data stored in the S3 bucket. Goto Glue Management console. Click on the Crawlers menu in the left and then click on the Add crawler button.
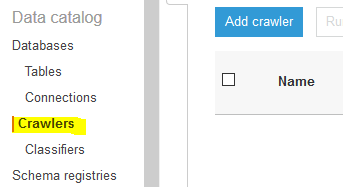
-
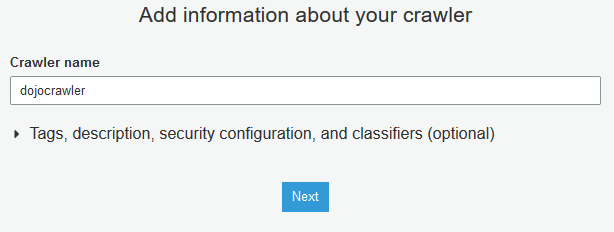
On the next screen, type in dojocrawler as the crawler name and click on the Next button.
-
On the next screen, select Data stores for the Crawler source type and select Crawl all folders for the Repeat crawls of S3 data stores fields. Click on the Next button.
-
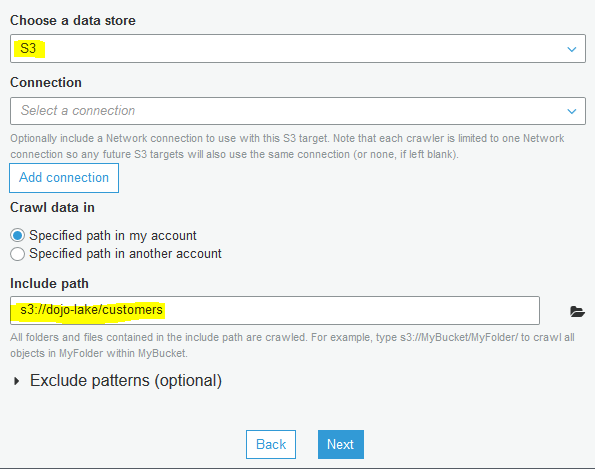
On the next screen, select S3 as the data store. Select Specified path in my account option for the Crawl data in field. Select s3://dojo-lake/customers for the include path. If you created bucket with a different name; then use that bucket name. Click on the Next button.
-
On the next screen, select No for Add another data store and click on the Next button.
-
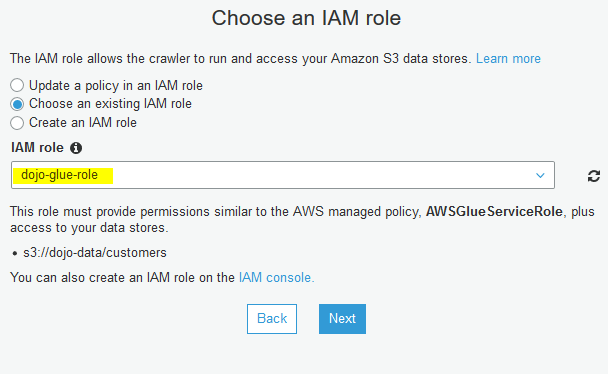
On the next screen, select Choose an existing IAM role option. Select dojo-glue-role as the IAM role and click on the Next button.
-
On the next screen, for the crawler run frequency, select Run on demand and click on the Next button.
-
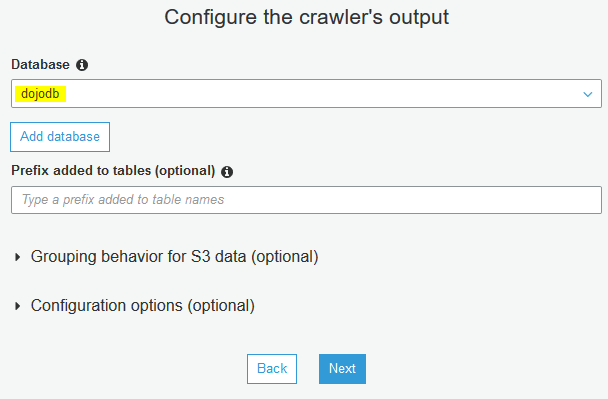
On the next screen, select dojodb as the database and click on the Next button.
-
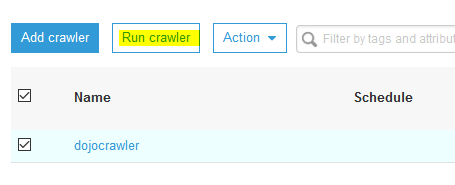
On the next screen, click on the Finish button. The crawler is created in no time. Select the crawler and click on the Run crawler button.
-
The crawler execution will start. Wait till it finishes and you can see one table catalog added.

-
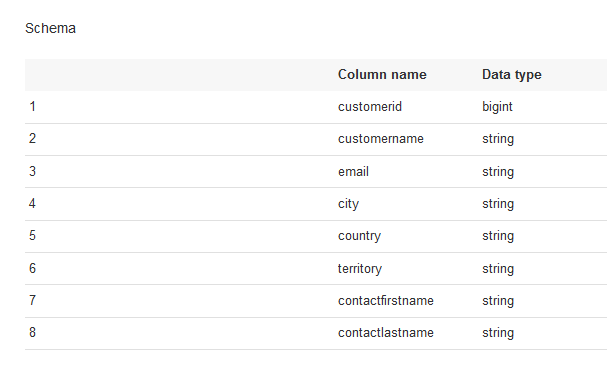
Open the table details and check the schema to get familiar with the data format. You will use customerid field to benchmark the Glue job and avoid reprocessing of the data.
-
In the next step, you configure the Glue Job.
Step5: Configure and Run Glue Job
You create a Glue Job with job bookmark enabled. It will use customerid to check for the already processed data. When you run the job for the first time, it will process customers1.csv file because only this file is present in the folder. You then upload customers2.csv and run the job again. You will find that the job will process only customers2.csv despite customers1.csv present in the same folder due to job bookmark configuration.
-
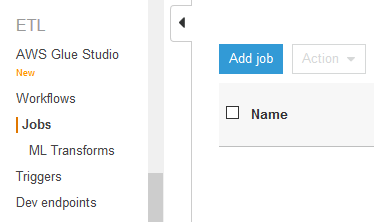
Goto Glue Management console. Click on the Jobs menu in the left and then click on the Add job button.
-
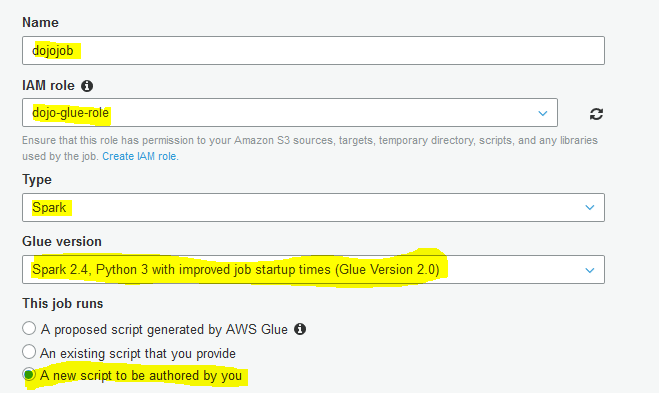
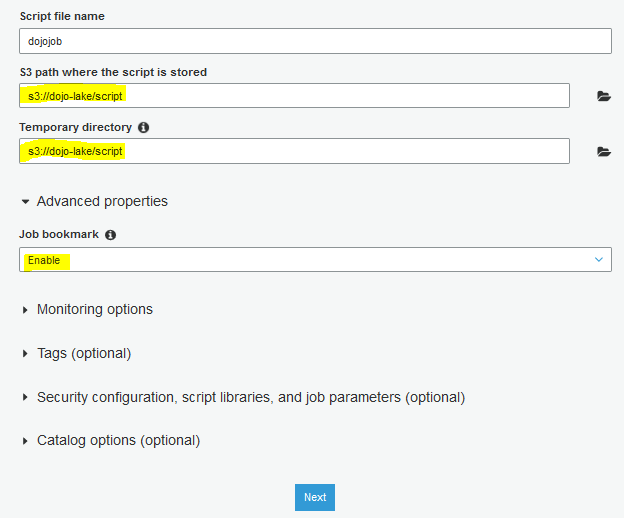
On the next screen, type in dojojob as the job name. Select dojo-glue-role for the IAM Role. Select Spark for type. Select Spark 2.4, Python 3 (Glue Version 2.0) as the Glue version. Select A new script to be authored by you option.
-
On the same screen, select s3://dojo-lake/script location for S3 path where the script is stored. If you created bucket with a different name then replace dojo-lake part with that name. Expand Advanced properties section and select Enable for the Job bookmark field. Finally, click on the Next button.
-
On the next screen, click on the Save job and edit script button. It will save the job and open the job editor. Copy-paste the following code for the job. If you created the S3 bucket with a different name, replace dojo-lake with that name in the code.
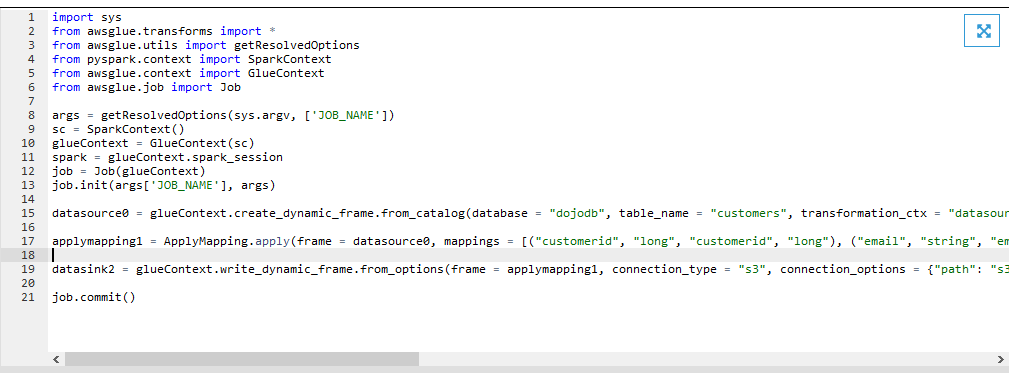
import sys
from awsglue.transforms import *
from awsglue.utils import getResolvedOptions
from pyspark.context import SparkContext
from awsglue.context import GlueContext
from awsglue.job import Job

args = getResolvedOptions(sys.argv, ['JOB_NAME'])
sc = SparkContext()
glueContext = GlueContext(sc)
spark = glueContext.spark_session
job = Job(glueContext)
job.init(args['JOB_NAME'], args)

datasource0 = glueContext.create_dynamic_frame.from_catalog(database = "dojodb", table_name = "customers", transformation_ctx = "datasource0", additional_options = {"jobBookmarkKeys":["customerid"],"jobBookmarkKeysSortOrder":"asc"})

applymapping1 = ApplyMapping.apply(frame = datasource0, mappings = [("customerid", "long", "customerid", "long"), ("email", "string", "email", "string"), ("contactfirstname", "string", "contactfirstname", "string"), ("contactlastname", "string", "contactlastname", "string")], transformation_ctx = "applymapping1")

datasink2 = glueContext.write_dynamic_frame.from_options(frame = applymapping1, connection_type = "s3", connection_options = {"path": "s3://dojo-lake/output"}, format = "json", transformation_ctx = "datasink2")

job.commit()
`
-
The job code is similar to any other job. It is loading data from the Glue Catalog Table customers into a dynamicframe. Then it performs a simple transformation of selecting only customerid. email, contactfirstname and contactlastname fields. Finally, it writes the transformed dynamicframe to the output folder of the S3 bucket. It is worth noting the additional_options parameter when loading the data into the dynamicframe. It is using customerid field as the job bookmark key which means the job will use customerid column value to decide if the record is already processed or not. Click on the Save button to save the job script and then close the job editor by clicking on the X icon.

-
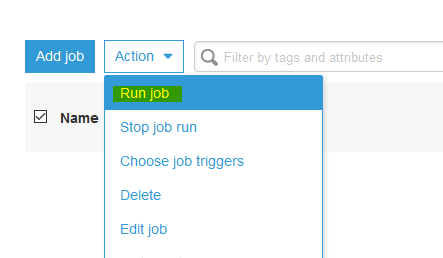
The job is added. The customers1.csv is already in the S3 bucket. Let’s run the job to process it. Select the job and click on the Run job option under the Action menu. It will throw popup. In the popup, click on the Run job again.
-
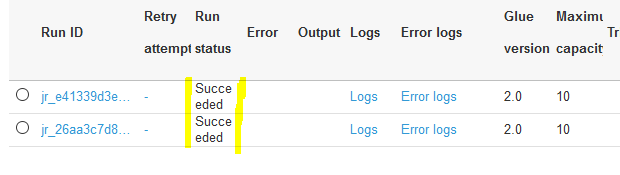
The job will execute. Wait till the job execution status turns to Succeeded.

-
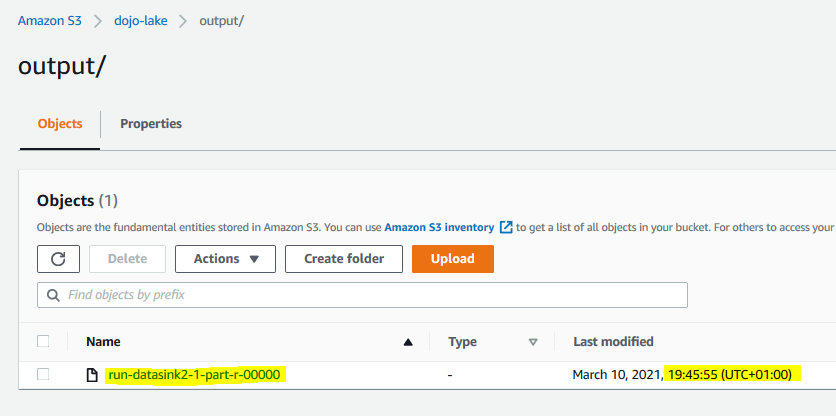
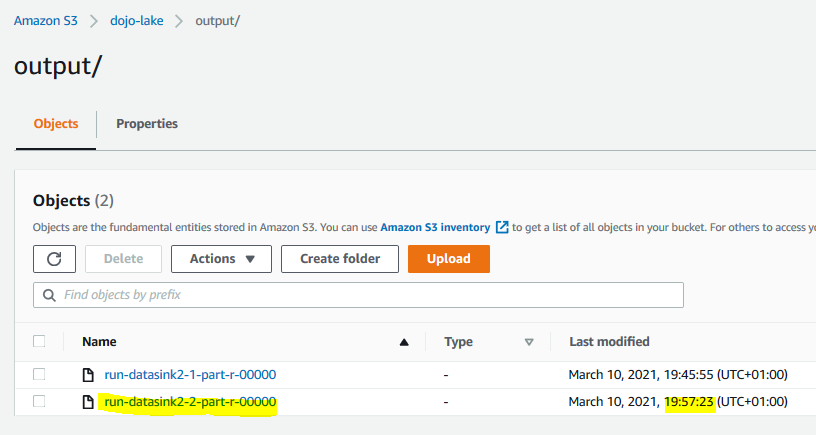
The job has written the processed data to output folder in the S3 bucket. You can navigate to the s3 console to verify it. Make note of the timestamp and the file name. It has processed the customer records from customerid 1 to 50 as only these ids were present in the customers1.csv file. You can open the output file to verify it.
-
You now upload customers2.csv to the customers folder.
-
The folder now have two files but when you run the job, the job will process only customers2.csv file records due to job bookmark configuration. In the Glue Management console, run the dojojob again and wait for it status to change to Succeeded.
-
Now check the output folder in the S3 bucket again. You can see another output file which you can identify by name and timestamp. If you check the data of this file, you will find that it has records for customerid 51 to 100. Due to job bookmark configuration, the job has not processed records with customerid 1 to 50.
-
This finishes the exercise. Follow the next step to clean up the resources so that you don’t incur any cost post the exercise.
Step6: Clean up
Delete dojojob Glue Job.
Delete dojocrawler Glue Crawler.
Delete dojodb Glue Database.
Delete dojo-glue-role IAM Role.
Delete dojo-lake S3 Bucket. If you created bucket with a different name; delete that one.
Thanks and hope you enjoyed the exercise.