
Glue Workflow - Sharing States Between Glue Jobs
AWS Glue Workflow help create complex ETL activities involving multiple crawlers, jobs, and triggers. Each workflow manages the execution and monitoring of the components it orchestrates. The workflow records execution progress and status of its components, providing an overview of the larger task and the details of each step. The AWS Glue console also provides a visual representation of the workflow as a graph.
In this exercise, you learn sharing state in Glue Workflow.
Step1: Pre-Requisite
You need to have an AWS account with administrative access to complete the exercise. If you don’t have an AWS account, kindly use the link to create free trial account for AWS.
Step2: S3 Bucket Configuration
You create an Amazon S3 bucket and upload a sample file customers.csv to it. The Glue Jobs would process this file.
-
Login to the AWS Console. Select Ireland as the region.
-
Download the sample data file customers.csv from the link. The data in the file looks like the following -

-
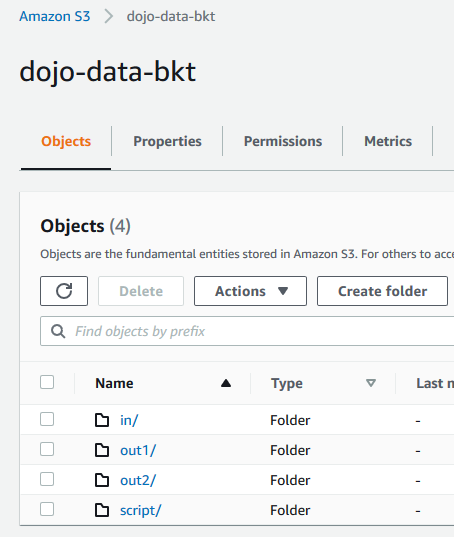
Goto AWS S3 Management Console. Create an S3 bucket with the name dojo-data-bkt. If this bucket name already exists; create a bucket with the name which is available. Create four folders - in,out1,out2 and script in this bucket.
-
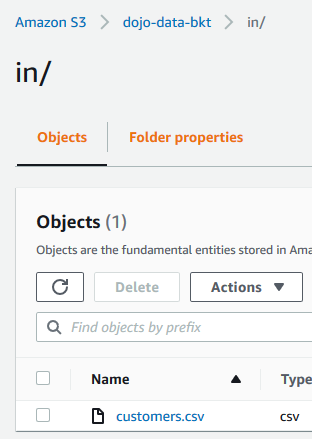
Navigate to the in folder and upload customers.csv file into it.
-
The S3 bucket and the data is ready. Let’s configure IAM Role for the Glue.
Step3: Create IAM Role
You create an IAM role which AWS Glue uses for the authorization to call other AWS Services.
-
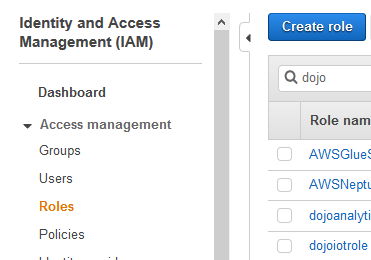
Goto the IAM Management console and click on the Roles menu in the left and then click on the Create role button.
-
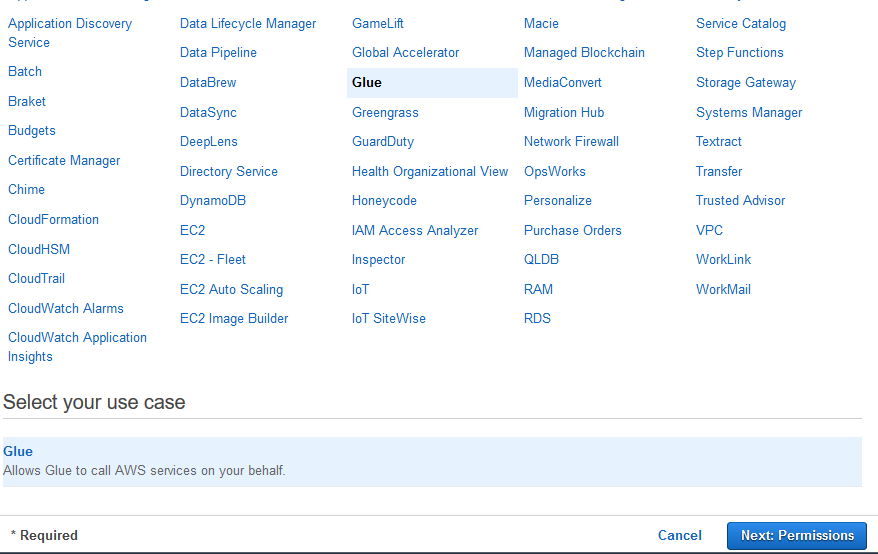
On the next screen, select Glue as the service and click on the Next: Permissions button.
-
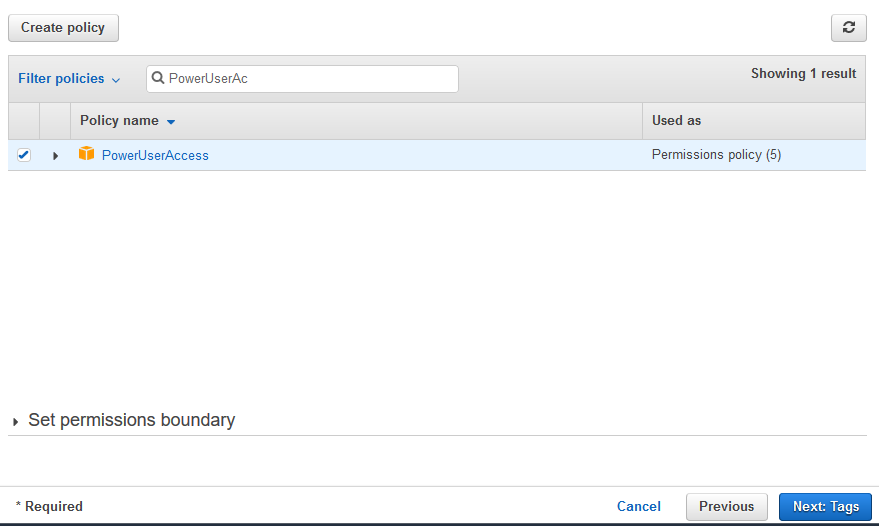
On the next screen, select PowerUserAccess as the policy and click on the Next: Tags button.
-
On the next screen, click on the Next: Review button.
-
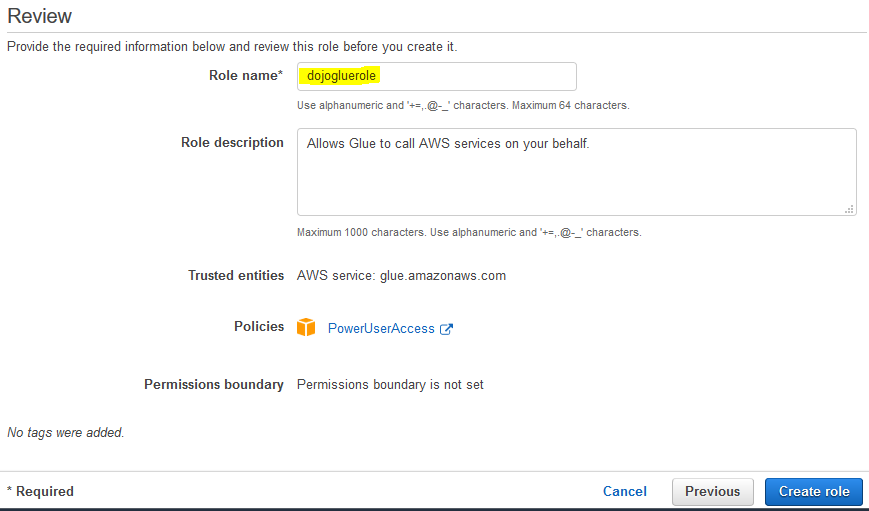
On the next screen, type in dojogluerole for the Role name and click on the Create role button.
-
The role is created in no time. The next step is to create jobs which process the file.
Step4: Create Jobs
You create two Glue Jobs. The first job will read customers.csv file from in folder in the dojo-data-bkt bucket and write customers1.csv to the out1 folder. The first job will write the file name customers1.csv to the workflow property as the state. The second job will fetch the file name from the workflow property and then will read customers1.csv file from out1 folder in the dojo-data-bkt bucket and write customers2.csv to the out2 folder. The jobs will not perform any transformations.
-
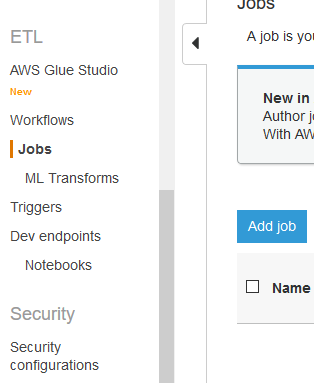
Goto Glue Management console. Click on the Jobs menu in the left and then click on the Add job button.
-
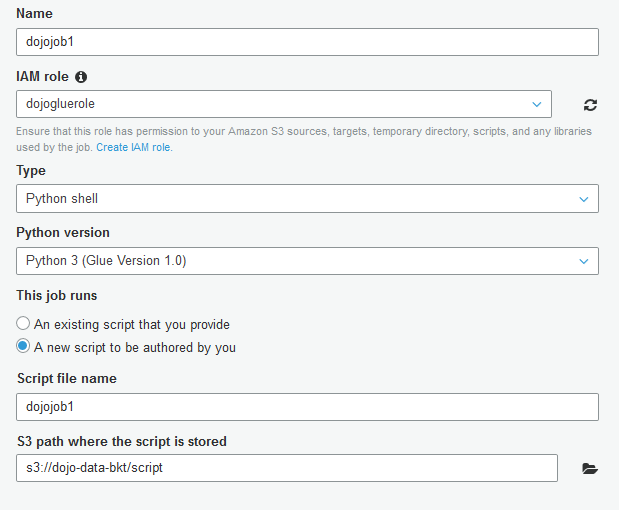
On the next screen, type in dojojob1 as the job name. Select dojogluerole for the IAM Role. Select Python shell for type. Select Python 3 (Glue Version 1.0) as the python version. Select A new script to be authored by you option. Select s3://dojo-data-bkt/script location for S3 path where the script is stored. If you created bucket with a different name then replace dojo-data-bkt part with that name. Finally, click on the Next button.
-
On the next screen, click on the Save job and edit script button. It will save the job and open the job editor. Copy-paste the following code for the job. If you created the S3 bucket with a different name, replace dojo-data-bkt with that name in the code.
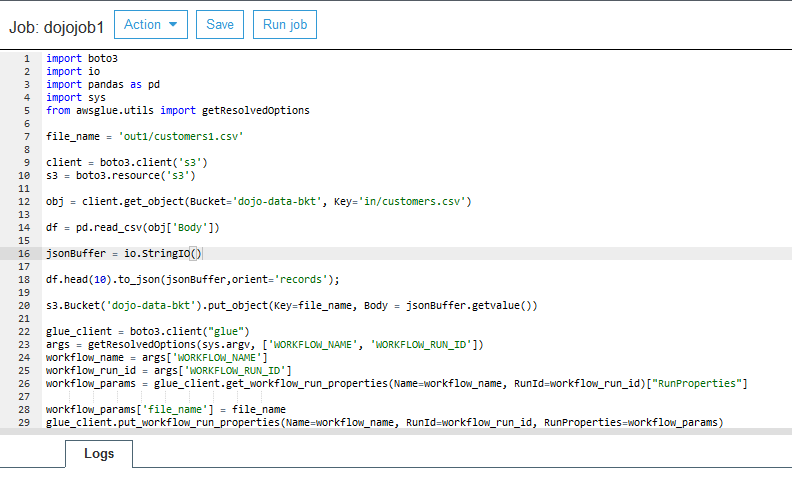
import boto3
import io
import pandas as pd
import sys
from awsglue.utils import getResolvedOptions

file_name = 'out1/customers1.csv'

client = boto3.client('s3')
s3 = boto3.resource('s3')

obj = client.get_object(Bucket='dojo-data-bkt', Key='in/customers.csv')

df = pd.read_csv(obj['Body'])

jsonBuffer = io.StringIO()

df.head(10).to_json(jsonBuffer,orient='records');

s3.Bucket('dojo-data-bkt').put_object(Key=file_name, Body = jsonBuffer.getvalue())

glue_client = boto3.client("glue")
args = getResolvedOptions(sys.argv, ['WORKFLOW_NAME', 'WORKFLOW_RUN_ID'])
workflow_name = args['WORKFLOW_NAME']
workflow_run_id = args['WORKFLOW_RUN_ID']
workflow_params = glue_client.get_workflow_run_properties(Name=workflow_name, RunId=workflow_run_id)["RunProperties"]

workflow_params['file_name'] = file_name
glue_client.put_workflow_run_properties(Name=workflow_name, RunId=workflow_run_id, RunProperties=workflow_params)
`
-
The code above is simple. It uses Pandas library and boto3 S3 client to read customers.csv file from the in folder and then writes the file to the out1 folder with the name customers1.csv. The code also uses Boto3 Glue client to write the filename customers1.csv to the workflow property file_name so that the second job can pick the file name from the workflow property as the shared state.
-
Click on the Save button to save the job script and then close the job editor by clicking on the X icon.

-
The first job is ready. It is time to create a second job. In Glue Management console, click on the Jobs menu in the left and then click on the Add job button.
-
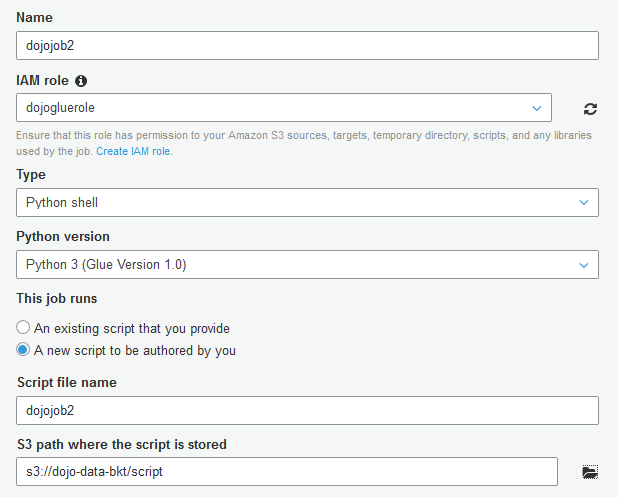
On the next screen, type in dojojob2 as the job name. Select dojogluerole for the IAM Role. Select Python shell for type. Select Python 3 (Glue Version 1.0) as the python version. Select A new script to be authored by you option. Select s3://dojo-data-bkt/script location for S3 path where the script is stored. If you created bucket with a different name then replace dojo-data-bkt part with that name. Finally, click on the Next button.
-
On the next screen, click on the Save job and edit script button. It will save the job and open the job editor. Copy-paste the following code for the job. If you created the S3 bucket with a different name, replace dojo-data-bkt with that name in the code.
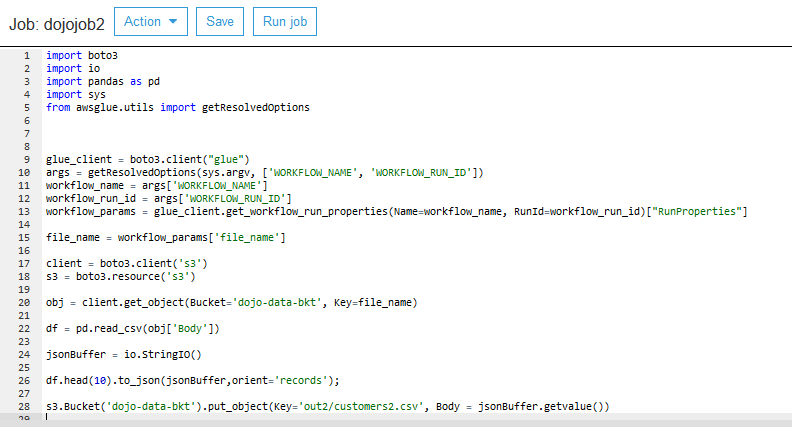
import boto3
import io
import pandas as pd
import sys
from awsglue.utils import getResolvedOptions

glue_client = boto3.client("glue")
args = getResolvedOptions(sys.argv, ['WORKFLOW_NAME', 'WORKFLOW_RUN_ID'])
workflow_name = args['WORKFLOW_NAME']
workflow_run_id = args['WORKFLOW_RUN_ID']
workflow_params = glue_client.get_workflow_run_properties(Name=workflow_name, RunId=workflow_run_id)["RunProperties"]

file_name = workflow_params['file_name']

client = boto3.client('s3')
s3 = boto3.resource('s3')

obj = client.get_object(Bucket='dojo-data-bkt', Key=file_name)

df = pd.read_csv(obj['Body'])

jsonBuffer = io.StringIO()

df.head(10).to_json(jsonBuffer,orient='records');

s3.Bucket('dojo-data-bkt').put_object(Key='out2/customers2.csv', Body = jsonBuffer.getvalue())
`
-
The code above is simple. The code uses Boto3 Glue client to read the filename customers1.csv from the workflow property file_name. It then uses Pandas library and boto3 S3 client to read customers1.csv file from the out1 folder and writes the file to the out2 folder with the name customers2.csv.
-
Click on the Save button to save the job script and then close the job editor by clicking on the X icon.

-
Both jobs are ready. Time to configure workflow using them.
Step5: Configure Workflow
In this step, you create a Glue Workflow which will orchestrate both jobs. The workflow will use workflow properties to share state between the jobs.
-
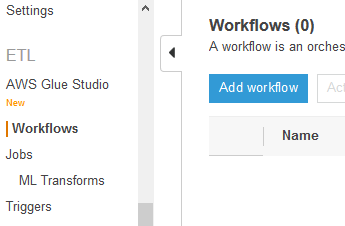
Goto Glue Management console. Click on the Workflows menu in the left and then click on the Add workflow button.
-
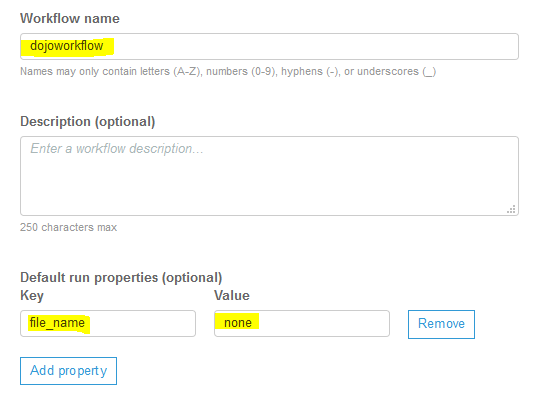
On the next screen, type in dojoworkflow as the workflow name. Click on the Add property button to add a property file_name with value none. The property is used to share state between the jobs in the workflow. Finally, click on the Add workflow button.
-
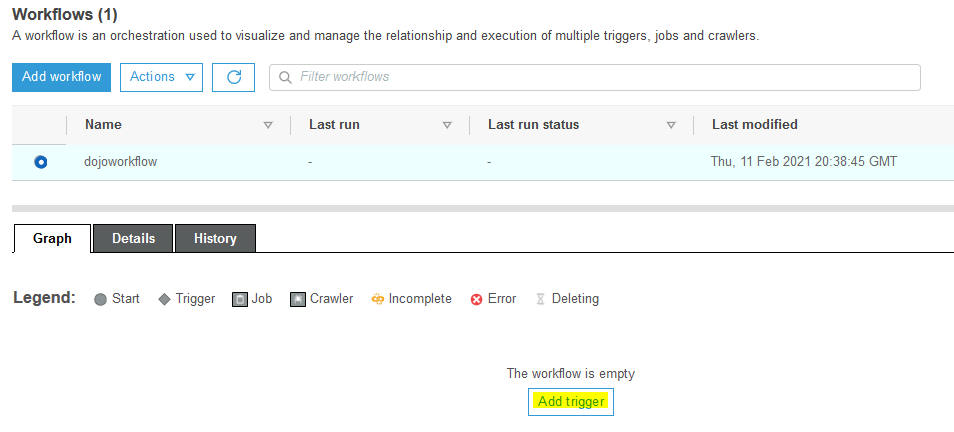
The workflow is created. Select the workflow and click on the Add trigger link.
-
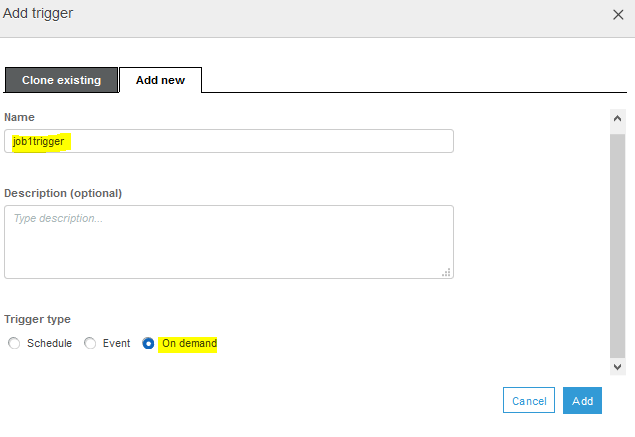
On the Add trigger popup, select Add new tab. Type in job1trigger as the trigger name and select On demand for the trigger type. You are selecting trigger type as on demand because you will start the workflow manually in this exercise. Click on the Add button.
-
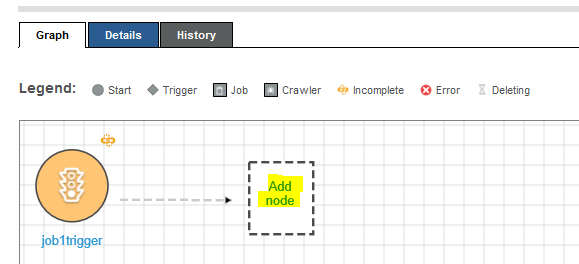
The trigger is added to the workflow. Click on the Add node link to configure what you want to run after the trigger.
-
On the popup screen, select Jobs tab. Select dojojob1 and click on the Add button.
-
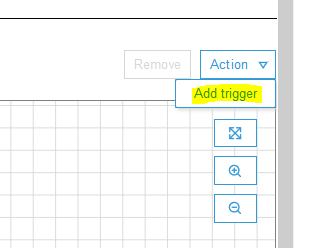
The job node is added as the next step to the trigger. Next, select Add trigger option under the Action menu to add another trigger.
-
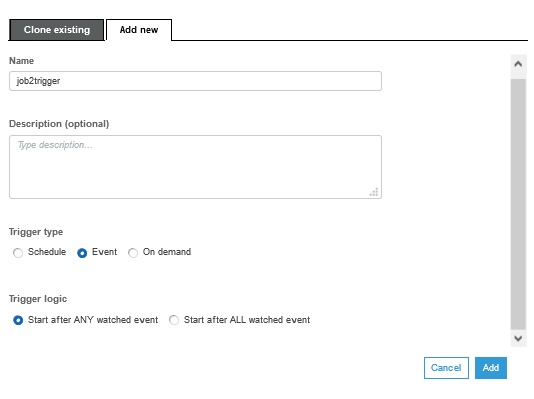
On the popup screen, select Add new tab. Type in job2trigger as the name. Select Event for the trigger type. Select Start after ANY watched event for the trigger logic. Finally click on the Add button.
-
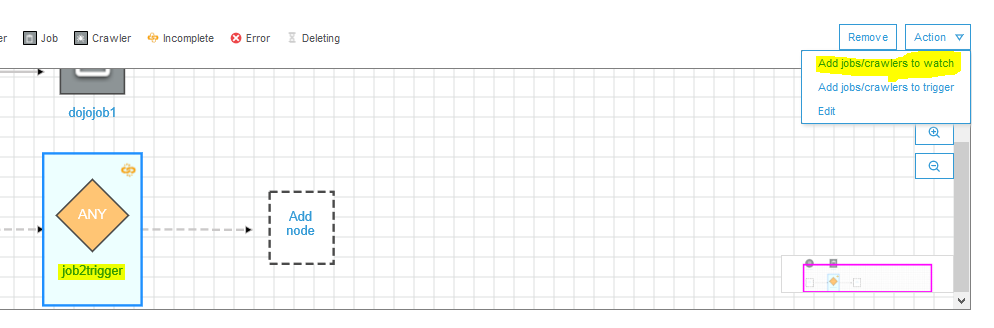
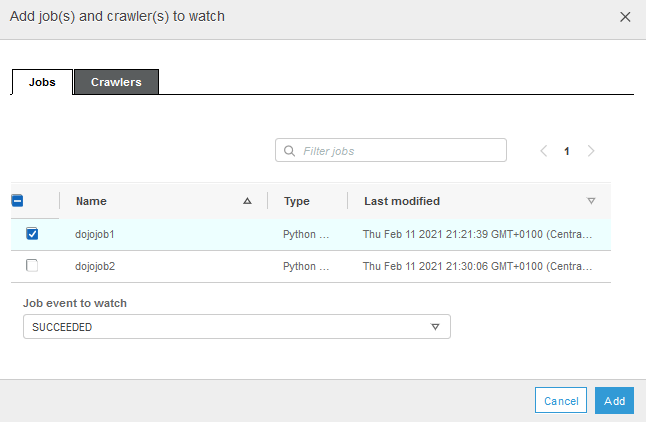
The trigger is added. Select the job2trigger trigger and select Add jobs/crawlers to watch option under the Action menu.
-
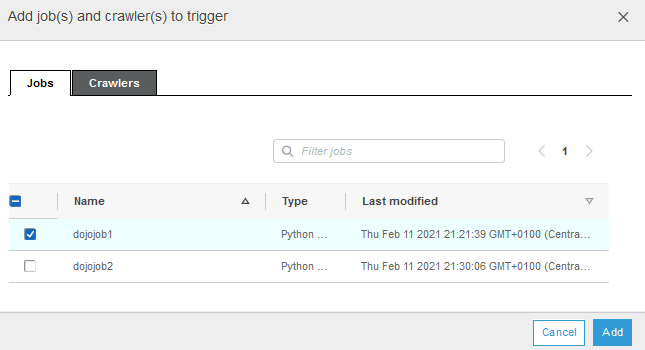
On the popup screen, select Jobs tab. Select dojojob1. Select SUCCEEDED for the Job event to watch field. Finally click on the Add button.
-
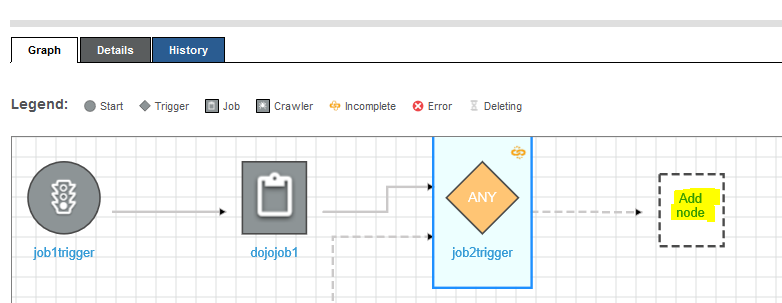
The job2trigger trigger is now configured to run when the dojojob1 finishes execution successfully. Click on the Add node icon next to job2trigger to configure dojojob2 for the execution.
-
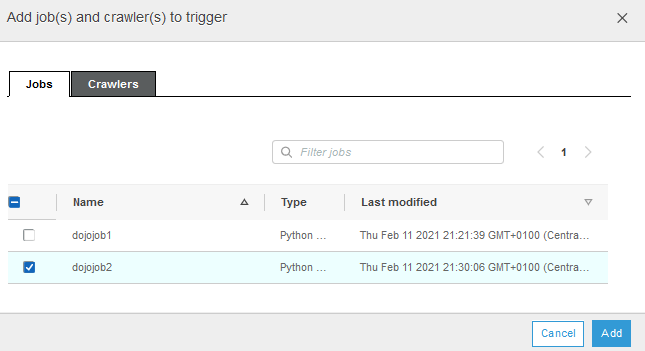
On the popup screen, select Jobs tab. Select dojojob2 and click on the Add button.
-
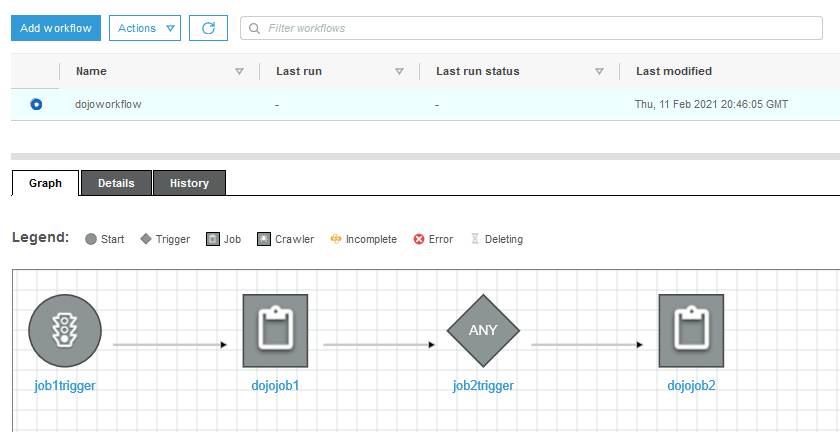
The workflow is now configured end to end. It will first run the dojojob1 and then dojojob2.
-
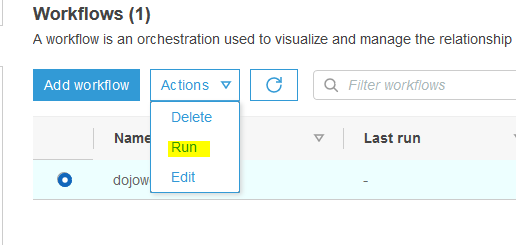
Select dojoworkflow and click on the Run option under the Action menu.
-
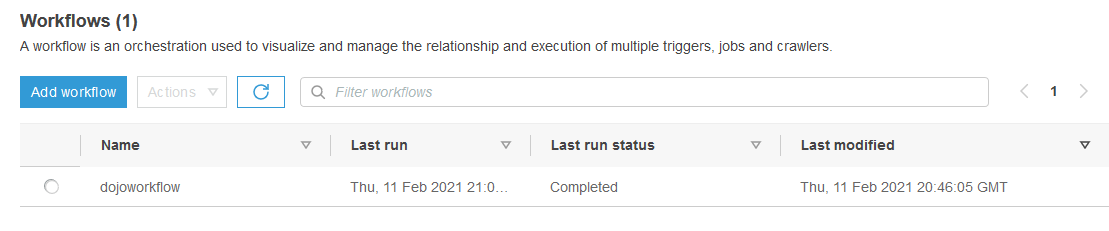
The workflow execution will start with the status Running. Wait till the status changes to Completed.
-
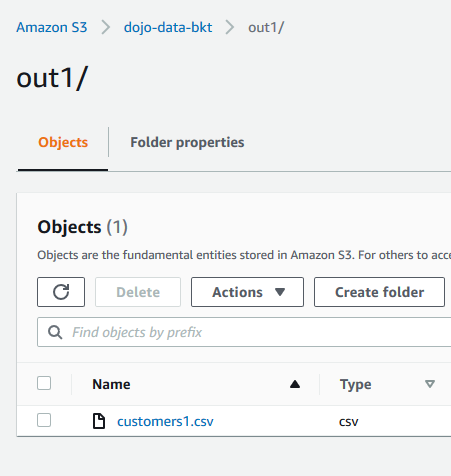
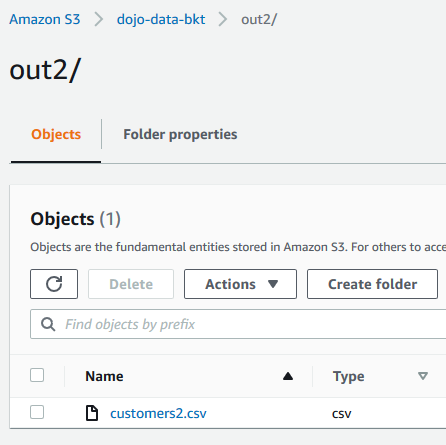
You can see the workflow has executed both jobs - dojojob1 and dojojob2. As per jobs business logic, customers1.csv and customers2.csv files are created in the out1 and out2 folder of the S3 bucket.
-
This finishes the exercise. Follow the next step to clean-up the resources so that you don’t incur any cost post the exercise.
Step6: Clean up
Delete dojoworkflow Glue Workflow.
Delete job1trigger and job2trigger Glue Triggers.
Delete dojojob1 and dojojob2 Glue Jobs.
Delete dojogluerole IAM Role.
Delete dojo-data-bkt bucket. If you created bucket with a different name then delete that one.
Thanks and hope you enjoyed the exercise.