
Absolute Beginners Lab with Amazon Neptune
Amazon Neptune is a managed graph database service build and run applications that work with highly connected datasets. It is a purpose-built, high-performance graph database engine optimized for storing billions of relationships and querying the graph with milliseconds latency. The database supports query languages such as Apache TinkerPop Gremlin and SPARQL.
In this exercise, you launch Amazon Neptune Database and learn to work with the data.
Step1: Pre-Requisite
You need to have an AWS account with administrative access to complete the exercise. If you don’t have an AWS account, kindly use the link to create free trial account for AWS.
Step2: Graph Data Structure
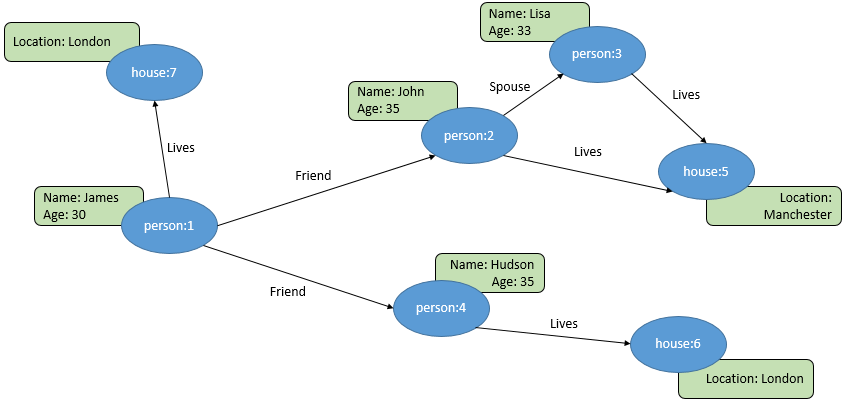
You create the following graph data structure in this exercise. It has two node types - person and house. These nodes have three relationships or edge types - Lives, Spouse and Friend. Person type node has two properties Name and Age. House type node has one property Location.
Step3: Launch Neptune Database
You start with creation of Amazon Neptune Database which is used to work with the graph data.
-
Login to the AWS Console. Select Ireland as the region.
-
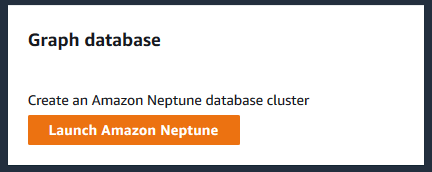
Goto the Neptune Management console and click on the Launch Amazon Neptune button.
-
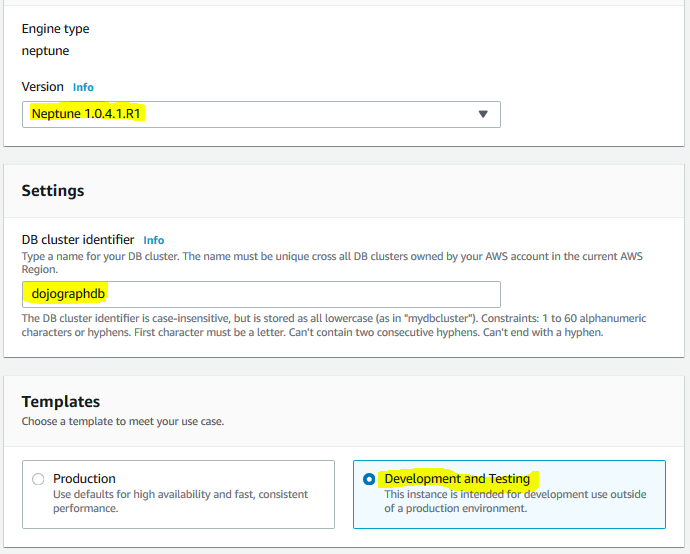
On the next screen, keep the version to the default selection. Type in dojographdb for the cluster identifier. Select Development and Testing option for the templates. Keep rest of the configuration to the default and click on the Create database button.
-
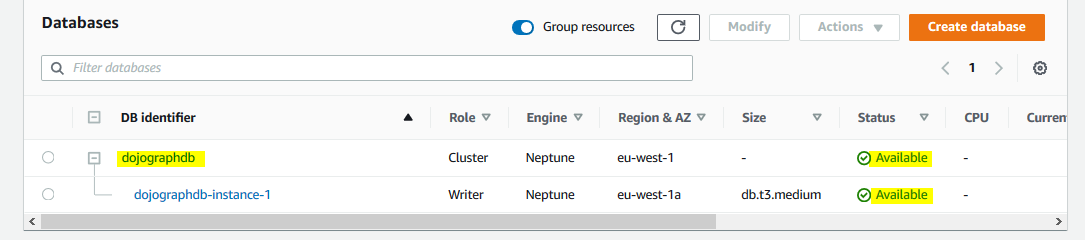
It will start creation of the database. Wait till the status of the database changes to Available.
-
The database is ready. In the next step, you create notebook.
Step4: Create Notebook
You create notebook which is used to work with graph data in the Neptune database using Gremlin query language.
-
In the Neptune Management console, click on the Notebooks menu option in the left and then click on the Create notebook button.

-
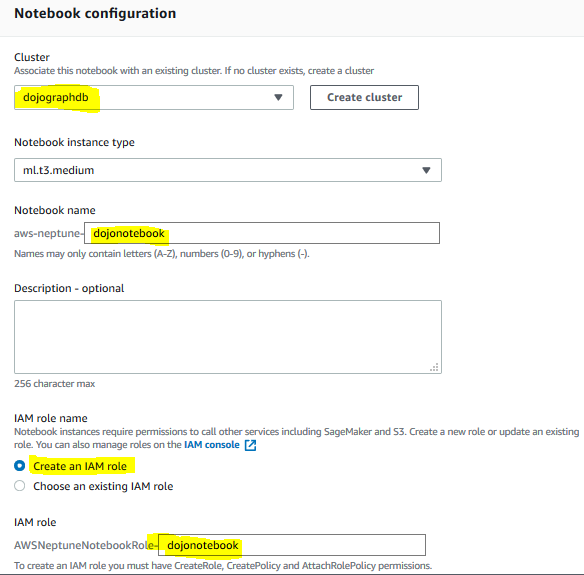
On the next screen, select dojographdb as the cluster. Type in dojonotebook for the notebook name. Select Create an IAM role option. Type in dojonotebook for the IAM role. Keep rest of the configuration to the default and click on the Create notebook button.
-
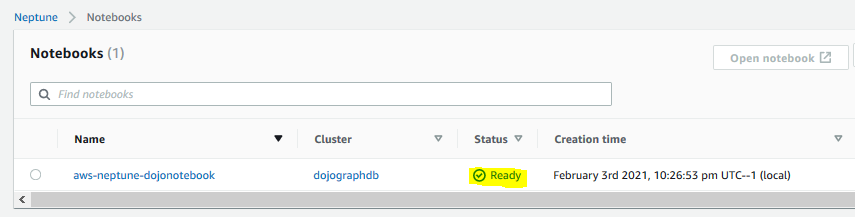
The notebook creation would start. Wait till the status changes to Ready.
-
The notebook is ready. You use Gremlin query language in the notebook to work with the graph data in the next step.
Step5: Create Data
You first create graph data using Notebook. The graph data looks like the following -
-
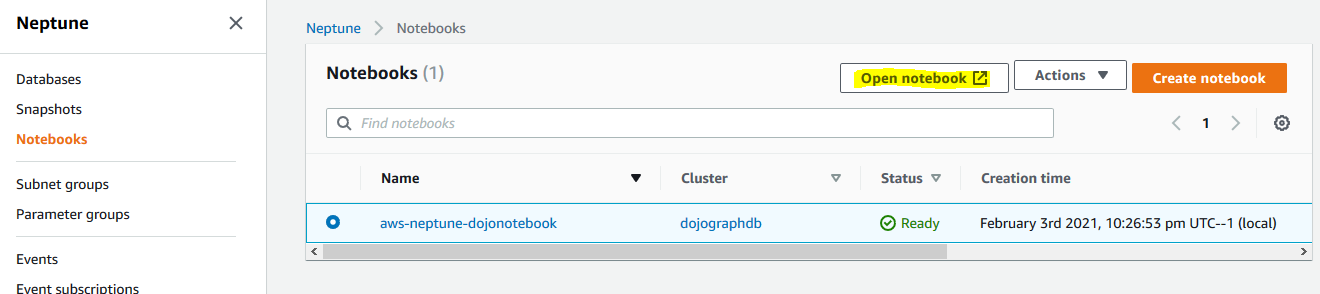
In the Neptune Management console, click on the Notebooks menu option in the left. Select aws-neptune-dojonotebook notebook and click on the Open notebook button.
-
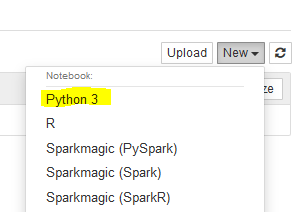
It will open Jupyter notebook in a new browser window or tab. In Jupyter notebook, click on the Python 3 option under the New menu.
-
It will open notebook IDE in a new browser window or tab. You will first create nodes of person and house types. You then setup edges or relationships (Lives, Friend and Spouse) between them. Run the following code to create the first person type node along with its properties.
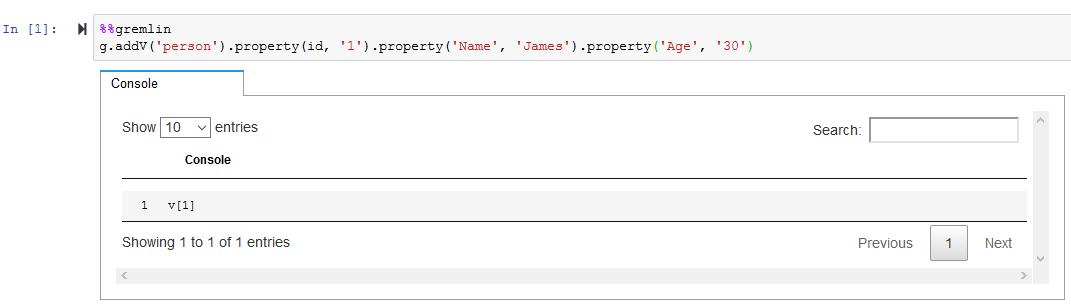
%%gremlin
g.addV('person').property(id, '1').property('Name', 'James').property('Age', '30')
`
-
Similarly, run the following code to create the first house type node.
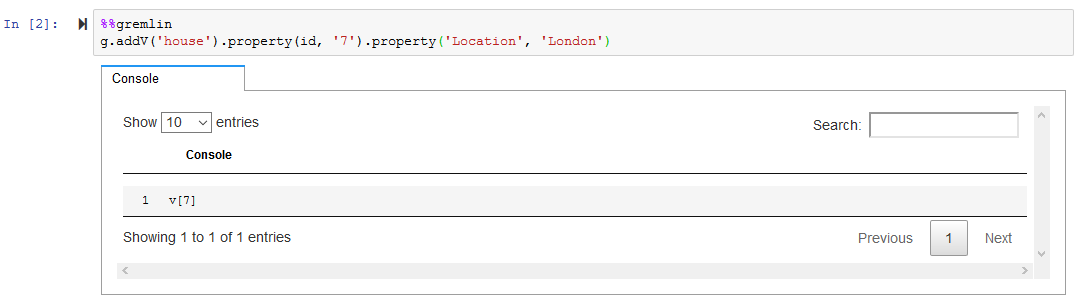
%%gremlin
g.addV('house').property(id, '7').property('Location', 'London')
`
-
Repeat step like the previous and run the followig code one by one to create the remaining person and house nodes.
%%gremlin
g.addV('person').property(id, '2').property('Name', 'John').property('Age', '35')
`
%%gremlin
g.addV('person').property(id, '3').property('Name', 'Lisa').property('Age', '33')
`
%%gremlin
g.addV('person').property(id, '4').property('Name', 'Hudson').property('Age', '35')
`
%%gremlin
g.addV('house').property(id, '5').property('Location', 'Manchester')
`
%%gremlin
g.addV('house').property(id, '6').property('Location', 'London')
`
-
The nodes V[1] to V[7] are ready. Let’s create relationships between them by creating edges. Run the following code to create Lives relationship between node V[1] and V[7].
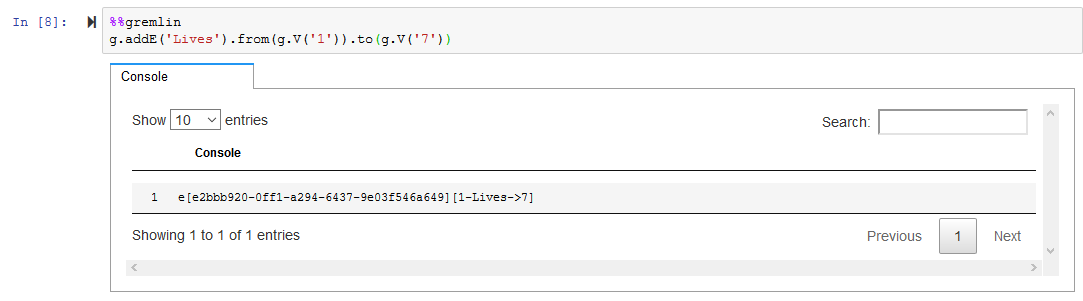
%%gremlin
g.addE('Lives').from(g.V('1').to(g.V('7'))
`
-
Similarly, run the following code to create Friend relationship between node V[1] and V[2].
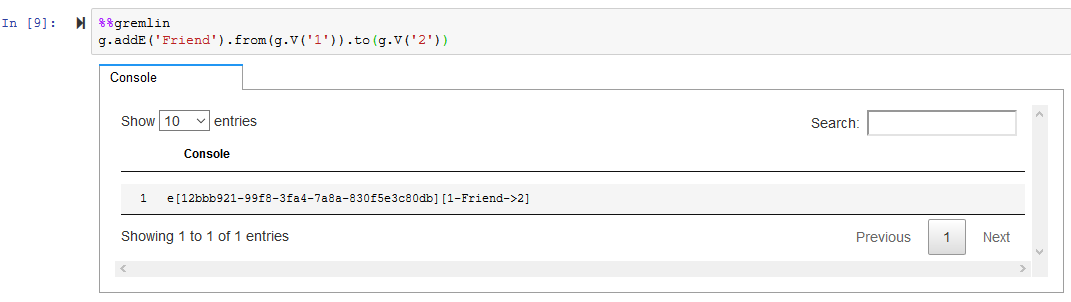
%%gremlin
g.addE('Friend').from(g.V('1')).to(g.V('2'))
`
-
Repeat step like the previous and run the followig code one by one to create the remaining relationships.
%%gremlin
g.addE('Friend').from(g.V('1')).to(g.V('4'))
`
%%gremlin
g.addE('Lives').from(g.V('4')).to(g.V('6'))
`
%%gremlin
g.addE('Spouse').from(g.V('2')).to(g.V('3'))
`
%%gremlin
g.addE('Lives').from(g.V('2')).to(g.V('5'))
`
%%gremlin
g.addE('Lives').from(g.V('3')).to(g.V('5'))
`
-
All nodes and edges are created now. In the next step, you query the data.
Step6: Query Data
The data is already created. You now want to query data to check nodes, their relationships and also traverse along them. You will try few queries here.
-
Let’s start with listing all the nodes in the graph database. Run the followig code.
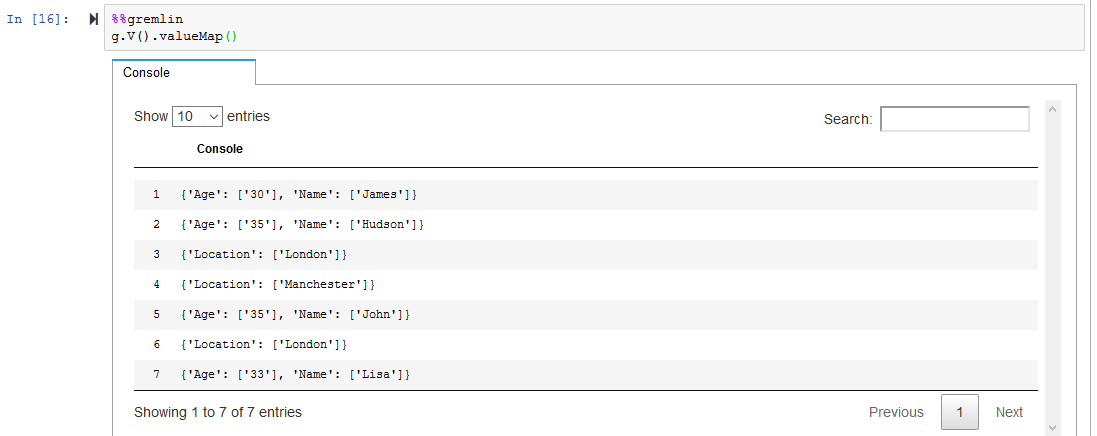
%%gremlin
g.V().valueMap()
`
-
Run the following code to list all the edges.
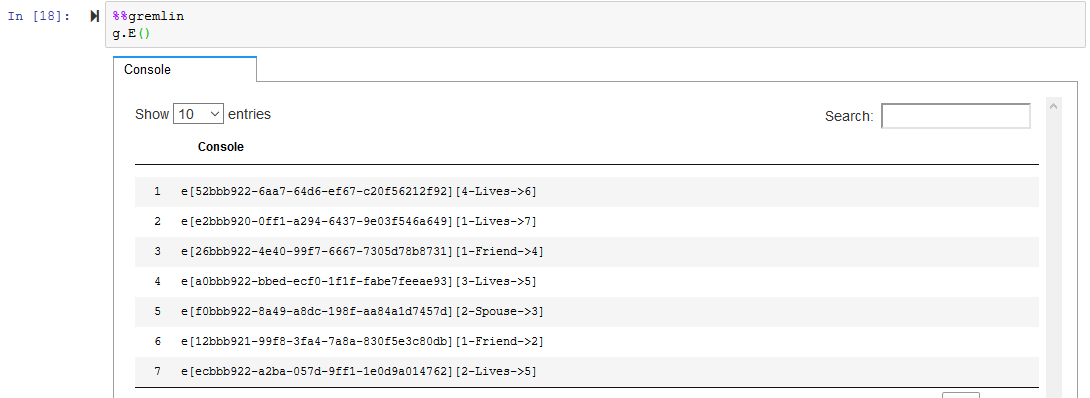
%%gremlin
g.E()
`
-
Run the following query to list the houses where Location is London.
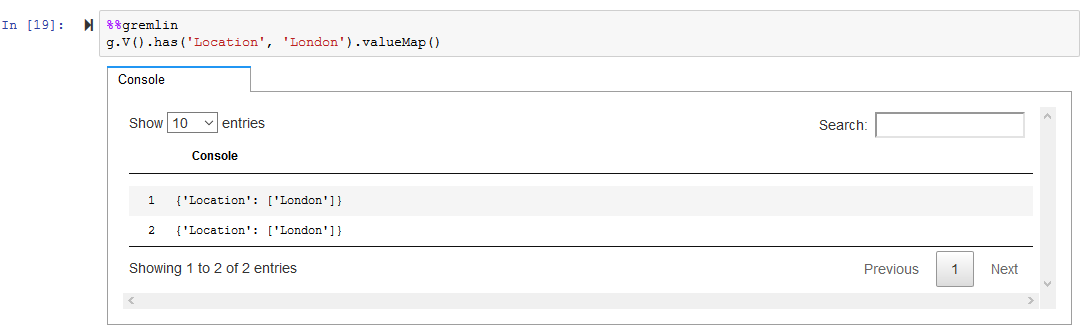
%%gremlin
g.V().has('Location', 'London').valueMap()
`
-
Run the following query to list who Lives in the house with location = Manchester.
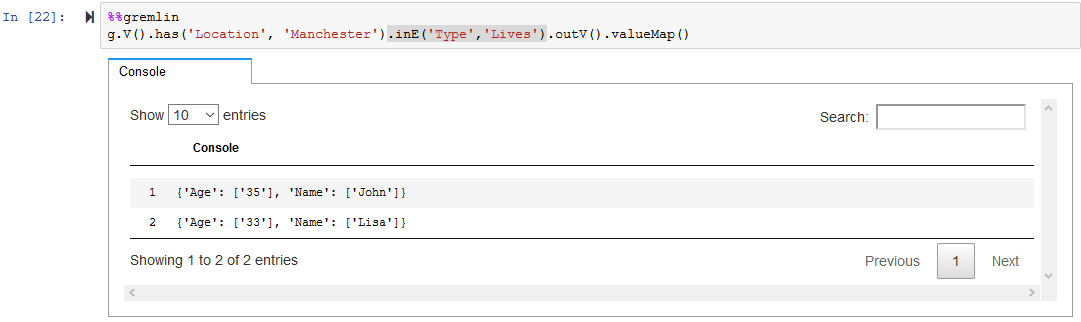
%%gremlin
g.V().has('Location', 'Manchester').inE('Type','Lives').outV().valueMap()
`
-
Run the following query to list house with their location of the persons who has age = 35.
%%gremlin
g.V().hasLabel('person').has('Age','35').outE('Type','Lives').inV().valueMap()
`
-
These were few examples from the query point of view. In the next step, you learn to update the data.
Step7: Update Data
You learn query to update data in graph database.
-
A person with name as Hudson has age as 35. Run the following query to update the person’s age to 40.
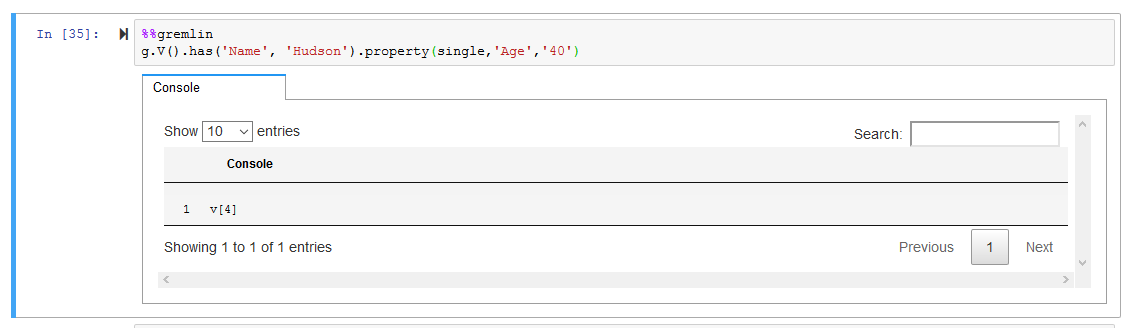
%%gremlin
g.V().has('Name', 'Hudson').property(single,'Age','40')
`
-
You can run the followig code to verify it.
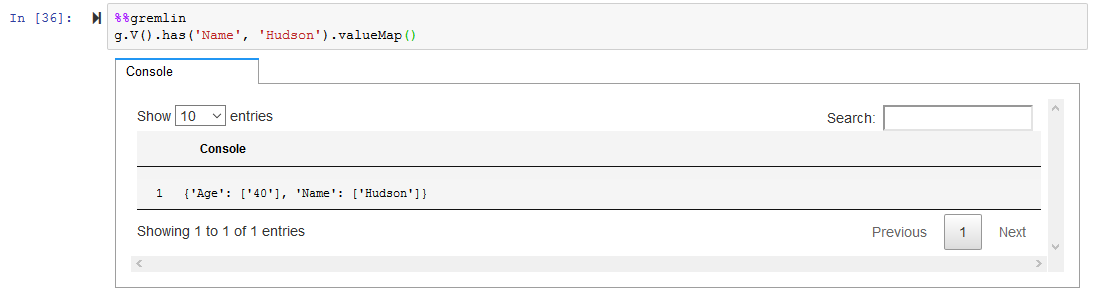
%%gremlin
g.V().has('Name', 'Hudson').property(single,'Age','40')
`
-
This was an example to update the data. In next step, you learn deleting the data.
Step8: Delete Data
You use query to delete data in the graph database.
-
Suppose you want to delete the person with name as Hudson. Run the following query to delete the node.
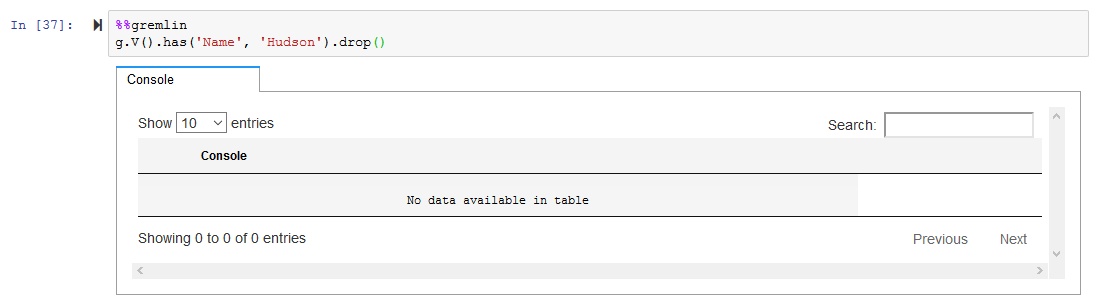
%%gremlin
g.V().has('Name', 'Hudson').drop()
`
-
This finishes the exercise. Goto next step to clean-up the resources so that you don’t incur any cost post the exercise.
Step9: Clean up
Delete aws-neptune-dojonotebook Notebook.
Delete dojographdb Neptune database cluster.
Thanks and hope you enjoyed the exercise.