
AWS Data Wrangler Series - Part2- Working with AWS Glue
AWS Data Wrangler is an open source initiative from AWS Professional Services. It extends the power of Pandas by allowing to work AWS data related services using Panda DataFrames. One can use Python Pandas and AWS Data Wrangler to build ETL with major services - Athena, Glue, Redshift, Timestream, QuickSight, CloudWatchLogs, DynamoDB, EMR, PostgreSQL, MySQL, SQLServer and S3 (Parquet, CSV, JSON and EXCEL).
In this exercise, you learn to use AWS Data Wrangler with AWS Glue.
Step1: Pre-Requisite
You need to have an AWS account with administrative access to complete the exercise. If you don’t have an AWS account, kindly use the link to create free trial account for AWS.
Step2: Create IAM Role
You start with creation of the IAM role which AWS Glue uses for the authorization to call other AWS Services.
-
Login to the AWS Console. Select Paris as the region.
-
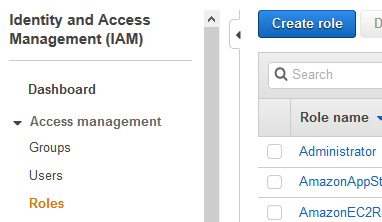
Goto the IAM Management console and click on the Roles menu in the left and then click on the Create role button.
-
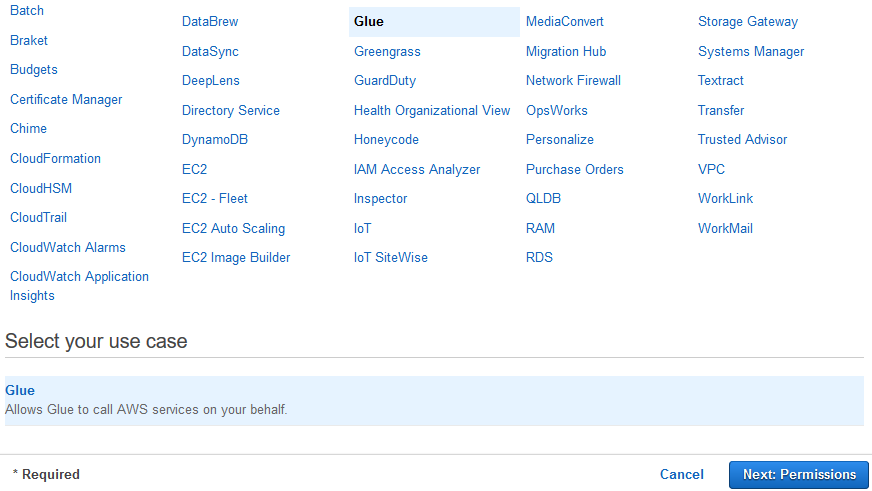
On the next screen, select Glue as the service and click on the Next: Permissions button.
-
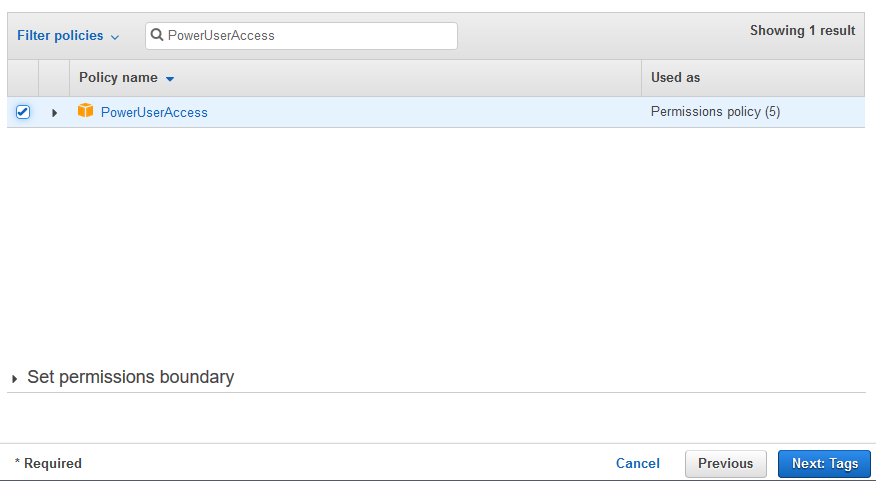
On the next screen, select PowerUserAccess as the policy and click on the Next: Tags button.
-
On the next screen, click on the Next: Review button.
-
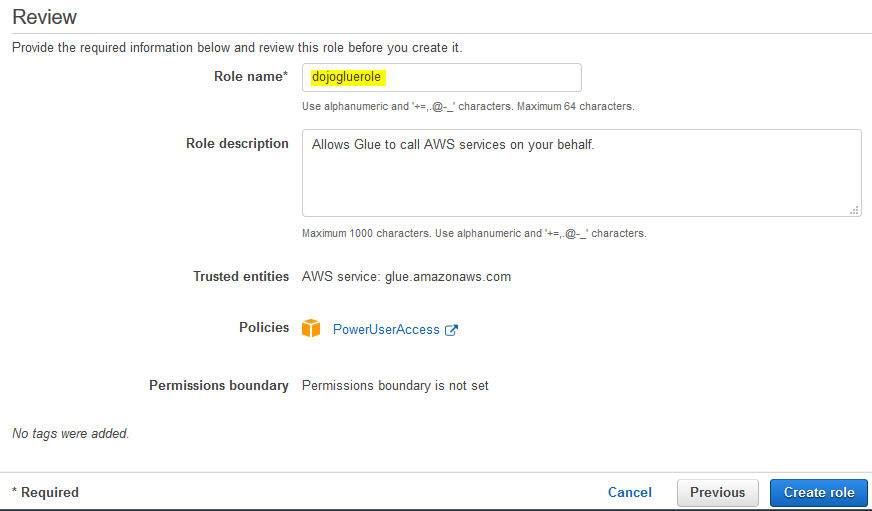
On the next screen, type in dojogluerole for the Role name and click on the Create role button.
-
The role is created in no time. The next step is to create the S3 bucket and upload a sample data file.
Step3: Create S3 Bucket
You create an Amazon S3 bucket and upload a sample file customers.csv to it. The Glue Job will use Pandas and Data Wrangler to read this file, transform and then upload back to S3 bucket.
-
Download the sample data file customers.csv from the link. The data in the file looks like the following -

-
Goto AWS S3 Management Console. Create an S3 bucket with the name dojo-data-bucket. If this bucket name already exists; create a bucket with the name which is available. Create three folders - input, output and script in this bucket.

-
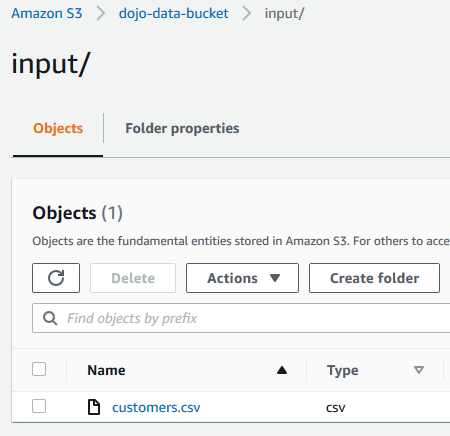
Navigate to the input folder and upload customers.csv file into it.
-
The S3 bucket and the data is ready. Let’s configure the Glue Job to process data in the next step.
Step4: Create Glue Job
You create a Glue Job which uses Data Wrangler and runs code to read S3 file, transform and then write back to the S3 bucket.
-
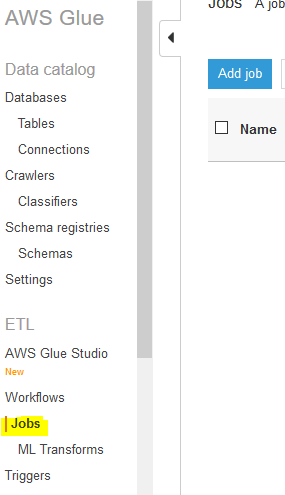
Goto Glue Management console, click on the Jobs menu in the left and then click on the Add job button.
-
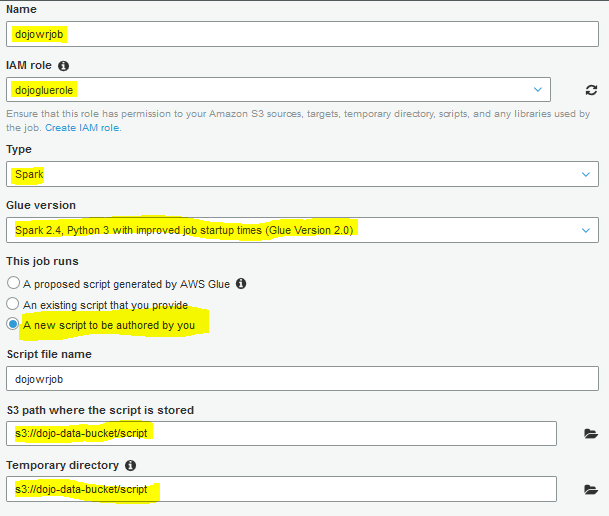
On the next screen, type in dojowrjob as the job name. Select dojogluerole for the IAM Role. Select Spark as the Type. Select Spark 1.4, Python 3 with improved job startup times (Glue Version 2.0) for the Glue Version. Select A new script to be authored by you option. Select s3://dojo-data-bucket/script path for the S3 path where the script is stored and Temporary directory fields. If you created bucket with a different name, use that bucket name here.
-
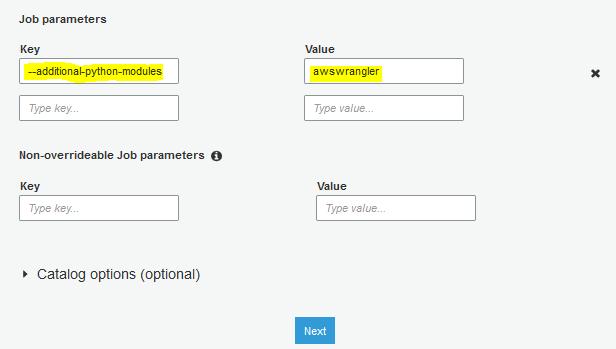
On the same screen, expand Security configuration, script libraries, and job parameters (optional) section. Type in –additional-python-modules as the key for the job parameters and awswrangler as the value for the job parameters. Finally, click on the Next button.
-
On the next Connections screen, click on the Save job and edit script button.
-
The job is created. It is time to write the code. Copy-Paste the following code for the job. If you created bucket with a different name, use that bucket name here. Finally, click on the Save button.
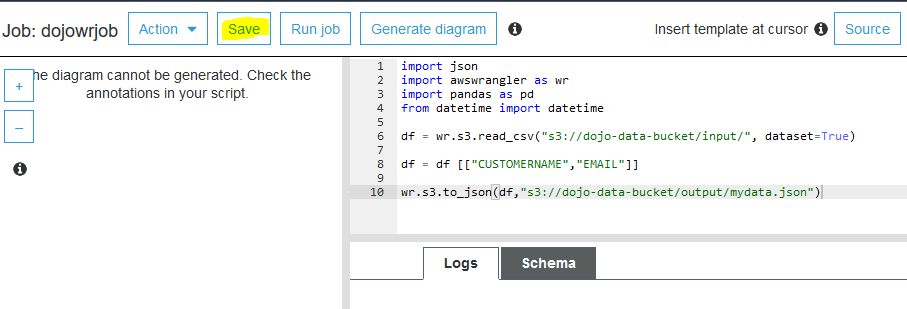
import json
import awswrangler as wr
import pandas as pd
from datetime import datetime
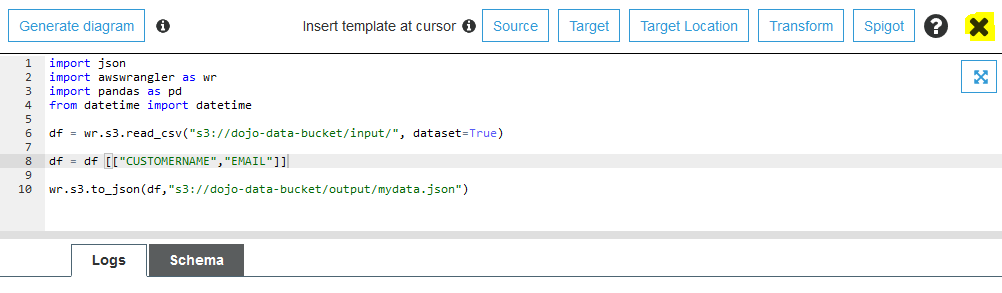
df = wr.s3.read_csv("s3://dojo-data-bucket/input/", dataset=True)
df = df [["CUSTOMERNAME","EMAIL"]]
wr.s3.to_json(df,"s3://dojo-data-bucket/output/mydata.json")
-
The job code is saved. In the code above, you first import pandas and awswrangler libraries. You then use wrangler api to read data from the S3 bucket and populate to a pandas dataframe. You then apply a small transformation to select only two columns out of the dataframe. Finally, you use wrangler api to write the transformed dataframe to the S3 bucket in the JSON format. Click on the X icon to close the job editor.
-
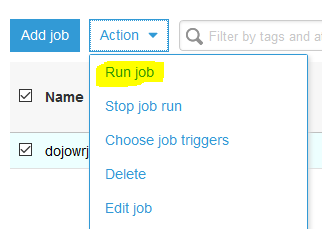
Back to Glue Jobs screen, select the dojowrjob job and click on the Run job option under the Action menu. On the popup screen, click on the Run job button.
-
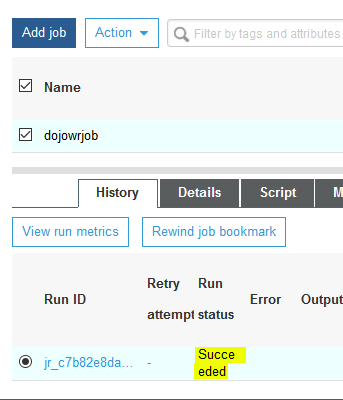
The job execution will start. Wait till the status of the job changes to Succeeded.
-
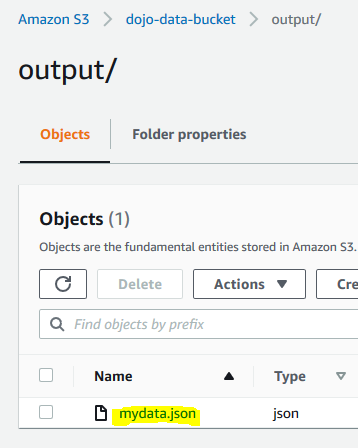
The job has processed the data and written the output to the S3 bucket. You can navigate to the output location to verify it.
-
This concludes the exercise. Please follow the next step to clean-up the resources so that you don’t incur any cost post the exercise.
Step5: Clean up
Delete dojowrjob Glue Job in the Glue Management Console.
Delete the dojo-data-bucket bucket in the S3 Management Console. If you created bucket with a different name, the delete that bucket.
Delete dojogluerole IAM role from the IAM Management console.
Thanks and hope you enjoyed the exercise.