
Python Programming with Amazon Timestream
Amazon Timestream is a serverless time series database service. Amazon Timestream manages time series data life cycle by keeping recent data in memory and moving historical data to a cost optimized storage tier. Amazon Timestream has built-in time series analytics functions, helping identify trends and patterns in the data in near real-time. Amazon Timestream is serverless and automatically scales up or down to adjust capacity and performance.
In this exercise, you learn to use Python code to write data to the Amazon Timestream database table.
Step1: Pre-Requisite
You need to have an AWS account with administrative access to complete the exercise. If you don’t have an AWS account, kindly use the link to create free trial account for AWS.
Step2: Create Timestream Database
In this task, you create an Amazon Timestream database and table.
-
Login to AWS Management Console and choose Ireland as the region.
-
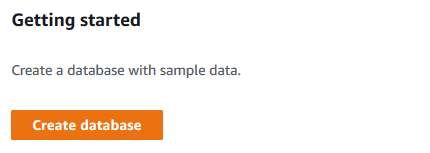
Goto Amazon Timestream console, click on the Create database button.
-
On the next screen, select Standard database option. Type in dojodatabase as the name. Keep the rest of the configuration to the default and click on the Create database button.

-
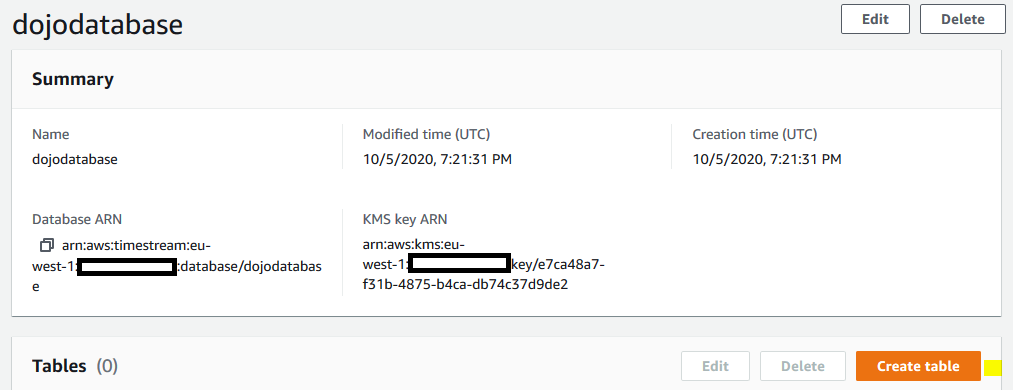
Database is created in no time. Open the database details and click on the Create table button.
-
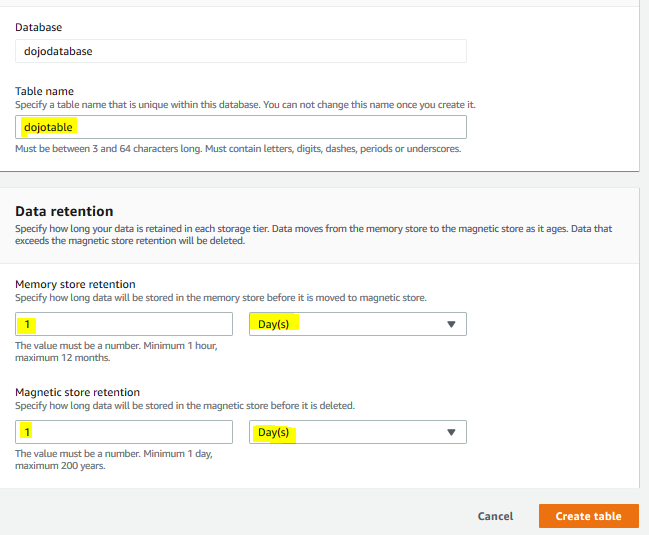
On the next screen, type in dojotable as the table name. Select 1 Day for the Memory store retention and Magnetic store retention fields. Click on the Create table button.
-
The table is created in no time. Next you configure a Cloud9 environment which is used to write python code to publish messages to the Timestream database table.
Step3: Create Cloud9 Environment
In this step, you configure AWS Cloud9 environment with AWS SDK for Python Boto3 in order to program with Amazon Timestream service.
-
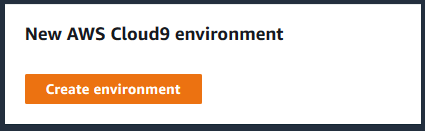
Goto the AWS Cloud9 console and click on the Create environment button.
-
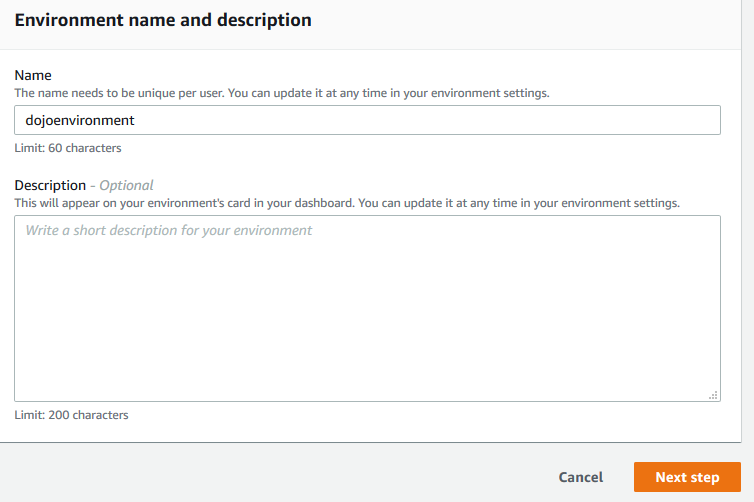
On the next screen, enter dojoenvironment as the name and click on the Next step button.
-
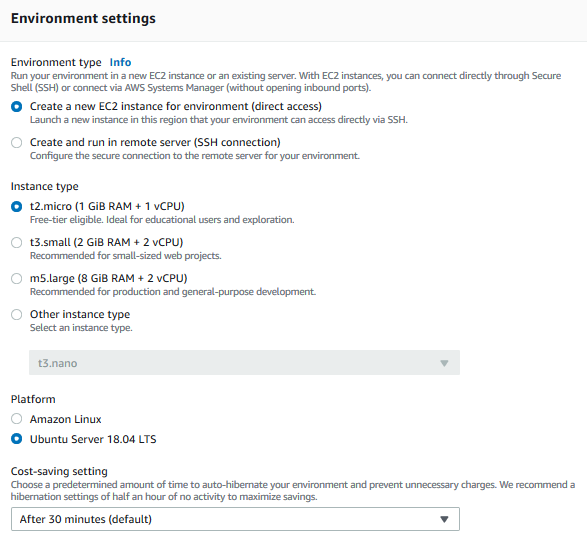
On the next screen, select Environment type as Create a new instance for environment (direct access). Select Instance type as t2.micro (1 GiB RAM + 1 vCPU). Select Ubuntu Server 18.04 LTS for the Platform. The development environment will have Ubuntu as the operating system. Keep rest of the fields with the default values and click on the Next step button.
-
On the next screen, click on the Create environment button.
-
It will take couple of minutes to create the environment. Wait for the environment to be ready. Once it is ready, you can see bash console window in the bottom part of the screen. It provides console based access to the development machine.
-
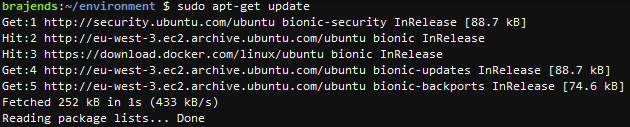
You will now configure the environment for the Python Boto3 SDK. Run the sudo apt-get update command in the console to update the environment.
-
Python3 is already installed in the environment. You can check it by running the command python3 –version in the console.

-
AWS SDK for Python Boto3 is not installed in the environment. Run the command sudo apt install python-boto3 to install Boto3 package in the environment. When it asks for the confirmation; you type in Y and enter.

-
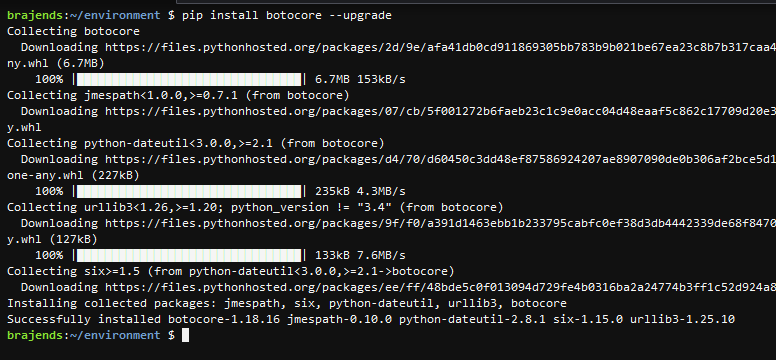
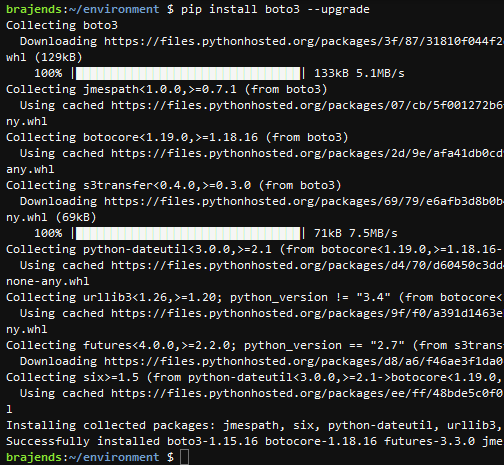
It is always a good practice to upgrade botocore and boto3. Run the command pip install botocore –upgrade to upgrade botocore.
-
Next run the command pip install boto3 –upgrade to upgrade boto3.
-
The Cloud9 environment is ready for the Amazon Timestream programming with AWS SDK Boto3.
Step4: Write Python Code
In this task, you will write code to publish data to Amazon Timestream database table.
-
In the AWS Cloud9 console, click on the New File option under the File menu to add a new file. Write the following code in the new file and save it as dojoclient.py.
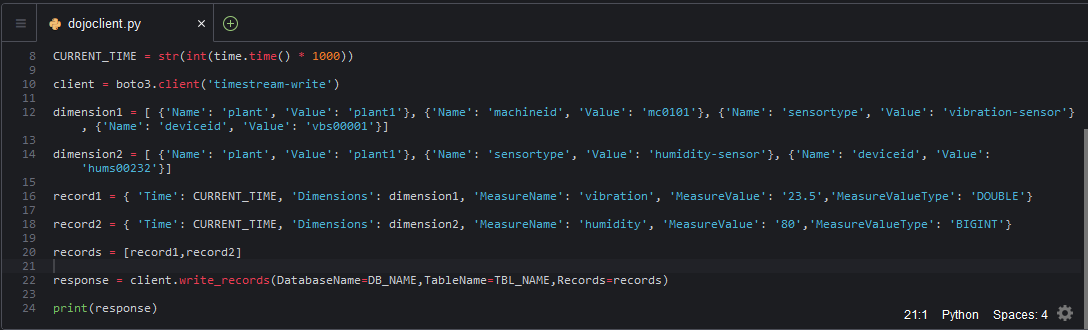
import boto3
import time

DB_NAME = "dojodatabase"

TBL_NAME = "dojotable"

CURRENT_TIME = str(int(time.time() * 1000))

client = boto3.client('timestream-write')

dimension1 = [ {'Name': 'plant', 'Value': 'plant1'}, {'Name': 'machineid', 'Value': 'mc0101'}, {'Name': 'sensortype', 'Value': 'vibration-sensor'}, {'Name': 'deviceid', 'Value': 'vbs00001'}]

dimension2 = [ {'Name': 'plant', 'Value': 'plant1'}, {'Name': 'sensortype', 'Value': 'humidity-sensor'}, {'Name': 'deviceid', 'Value': 'hums00232'}]

record1 = { 'Time': CURRENT_TIME, 'Dimensions': dimension1, 'MeasureName': 'vibration', 'MeasureValue': '23.5','MeasureValueType': 'DOUBLE'}

record2 = { 'Time': CURRENT_TIME, 'Dimensions': dimension2, 'MeasureName': 'humidity', 'MeasureValue': '80','MeasureValueType': 'BIGINT'}

records = [record1,record2]

response = client.write_records(DatabaseName=DB_NAME,TableName=TBL_NAME,Records=records)

print(response)
`
-
The code is simple. You first create client for timestream-write. You are then creating two dimensions - one with plant, machineid, sensortype and deviceid as the meta data and other with plant, sensortype, deviceid as the meta data. You then create measurements records using the dimension, MeasureName and MeasureValue. You create a records array using record1 and record2 to show multiple measurements can be written in batch in one go. Then you call write_records method to write data to the database table and print the response for the confirmation.
-
In the console window, execute python dojoclient.py command to run the dojoclient.py code. The code execution finishes in no time and will print the response. You can see the response code value 200 for success.

-
The code has successfully created measurement records in the Amazon Timestream database. You will verify them in the next step.
Step5: Check the Data in the Database
You published the messages in the previous task. Let’s check how the messages look in the Timestream database table.
-
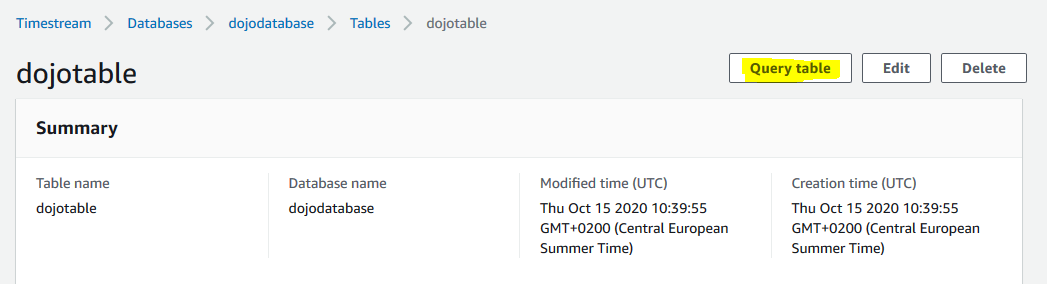
Goto Amazon Timestream console, open the dojotable table details and click on the Query table button.
-
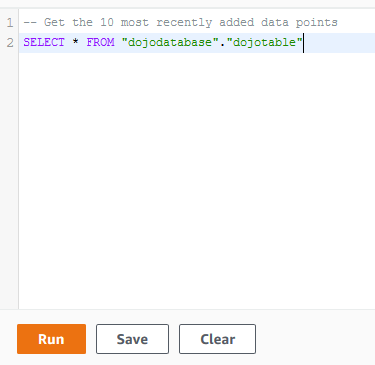
On the next screen, copy-paste the following query and click on the Run button.
SELECT * FROM "dojodatabase"."dojotable"`
-
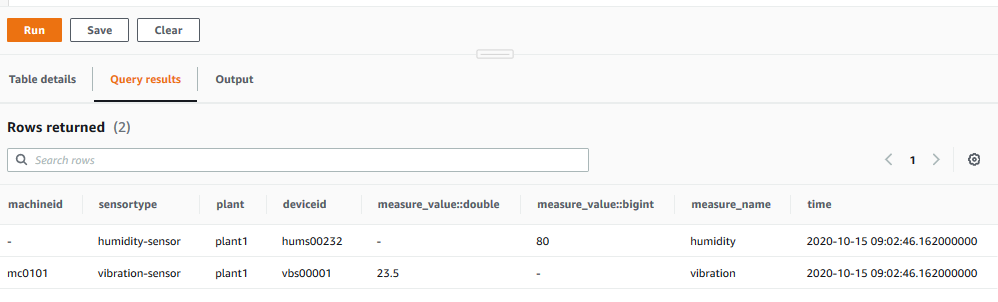
You can see the result as the following. You can see how the table schema has been generated based on the combination of the dimension and measurement in a record.
-
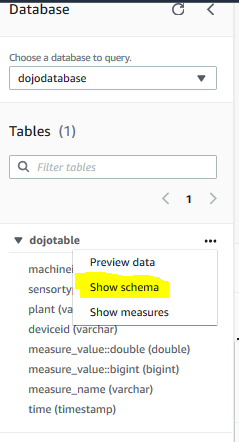
You can also see the schema summary of the table. Click on the Show schema option for the dojotable.
-
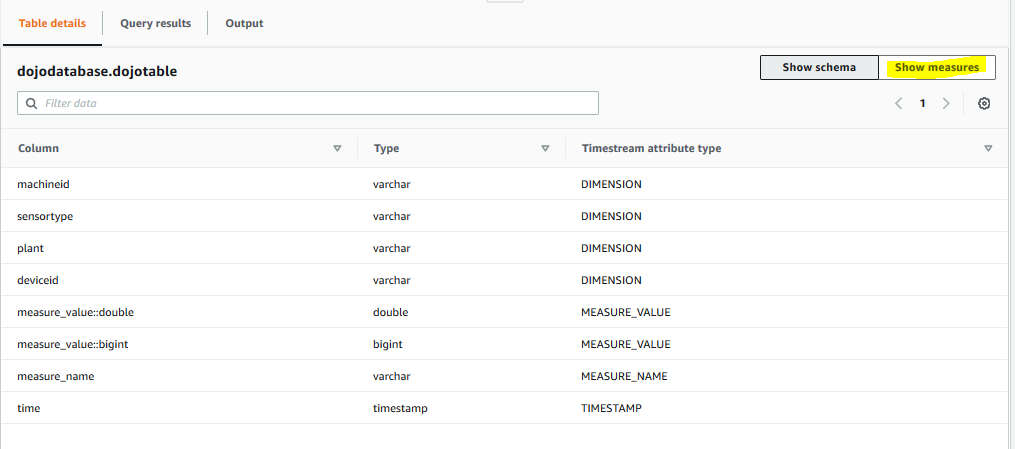
You can see the schema in the results as shown below. In the results pane, click on the Show measures button to see the measurement details.
-
The measurements are presented in the context of dimension as the following.

-
That finishes the exercise. Please follow the next task to clean-up the resources so that you don’t incur any cost post the exercise.
Step6: Clean up
Delete the dojoenvironment Cloud9 Environment.
Delete the dojodatabase database and dojotable table in the Amazon Timestream Service.
Thanks and hope you enjoyed the exercise.