
Using Amazon Session Manager for Secure RDP Access
Session Manager is a AWS Systems Manager capability that allows to manage EC2 instances, on-premises instances, and virtual machines (VMs) through an interactive one-click browser-based shell or through the AWS CLI. Session Manager provides secure and auditable instance management without the need to open inbound ports, maintain bastion hosts, or manage SSH keys.
In this exercise, you use session manager to create secure RDP session with a Windows server. For this access, you will not configure security group for RDP access and you will also not configure key-pair for the Windows EC2 instance. Still - you will be able to connect to the Windows Server over RDP using the Session Manager.
Step1: Pre-Requisite
You need to have an AWS account with administrative access to complete the exercise. If you don’t have an AWS account, kindly use the link to create free trial account for AWS.
Your local machine or laptop which you are using for this exercise should have the following configuration and software installed-
-
Windows Operating System
-
AWS CLI 2.0 (Download and install from link)
-
Session Manager Plugin (Download and install from link)
-
Remote Desktop Connection Application
Step2: Create IAM User
The first step is to create an IAM user whose credentials are used to run the AWS CLI commands for the session manager.
-
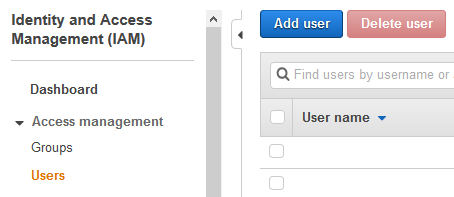
Login to the AWS Console and change the region to Ireland. Goto the IAM Management Console. Click on the Users menu in the left and then click on the Add user button.
-
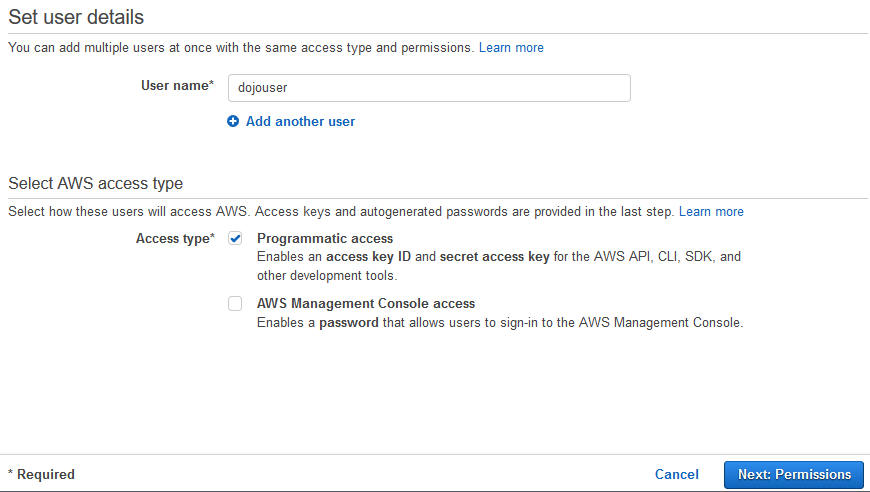
On the next screen, type in dojouser as the user name and select Programmatic access option. Click on the Next: Permissions option.
-
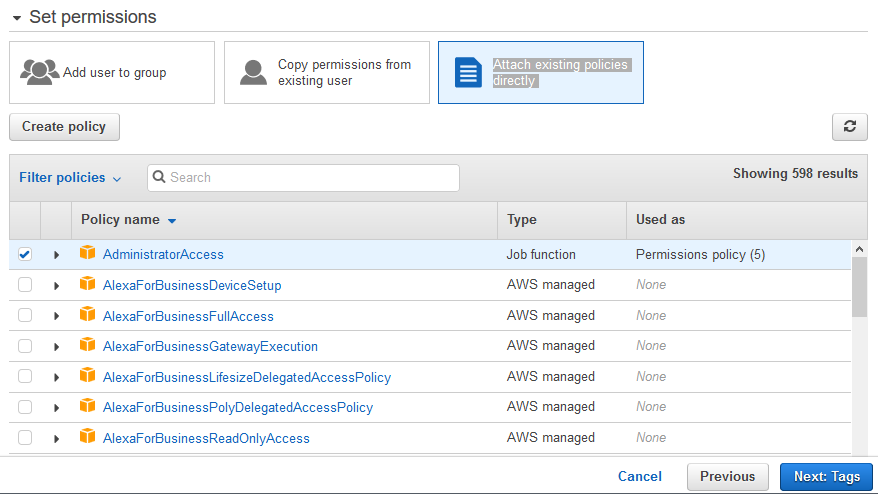
On the next screen, select Attach existing policies directly option. Select AdministrativeAccess policy and click on the Next: Tags button.
-
On the next screen, click on the Next: Review button.
-
Finally on the Review screen, click on the Create user button.
-
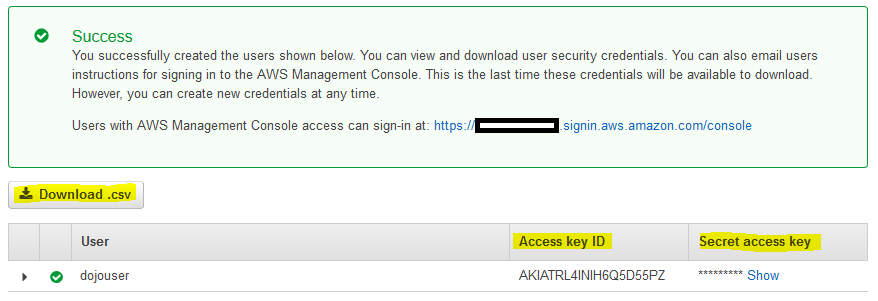
The user is created in no time. Either download the Download.csv file or make note of the Access key ID and Secret access key as you need it later when configuring AWS Profile for the AWS CLI.
-
The user account is ready. In the next step, you create role which is used by the EC2 instance so that Session Manager can work with the EC2 instance.
Step3: Create IAM Role
Let’s create an IAM Role which is used by the EC2 instance to work with the Session Manager.
-
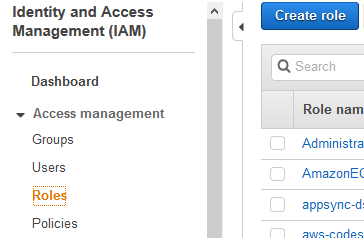
Goto the IAM Management Console. Click on the Roles menu in the left and then click on the Create role button.
-
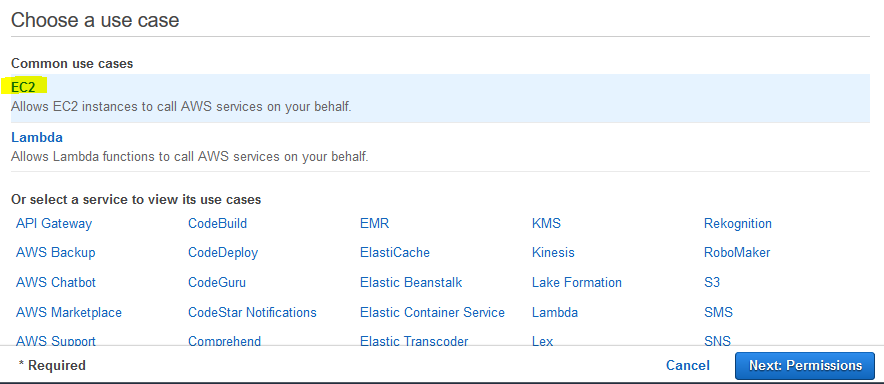
On the next screen, select EC2 as the service and click on the Next: Permissions button.
-
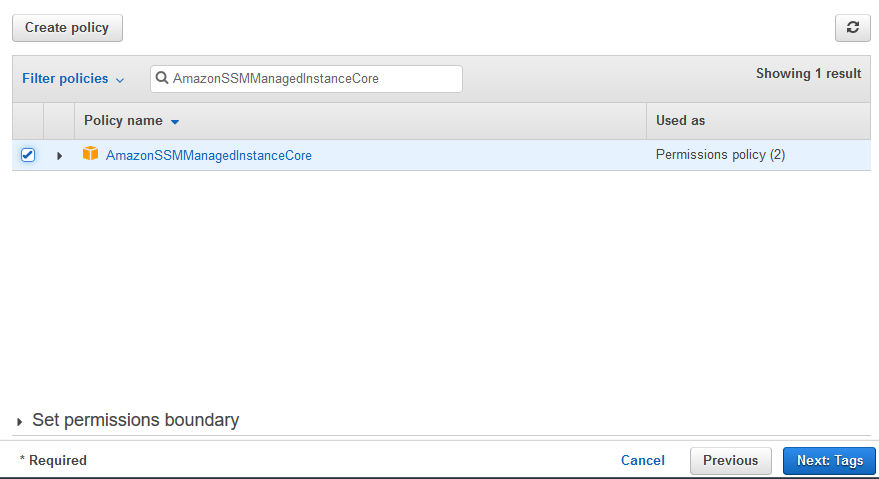
On the next screen, select AmazonSSMManagedInstanceCore as the policy and click on the Next: Tags button.
-
On the next screen, click on the Next: Review button.
-
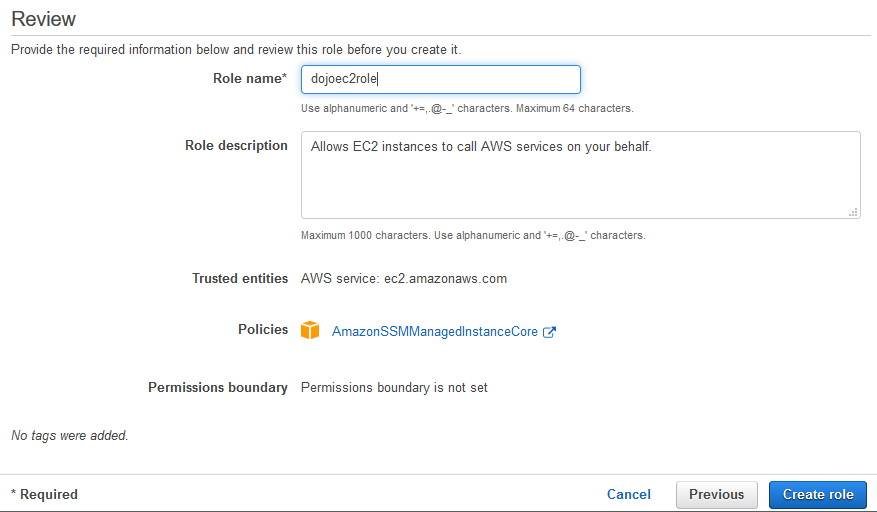
On the next screen, type in the role name as dojoec2role and then click on the Create role button.
-
The role is created in no time. The next step is to launch the EC2 instance which you RDP access later.
Step4: Launch EC2 Instance
In this step, you launch Windows EC2 instance which you will use for RDP access using the Session Manager.
-
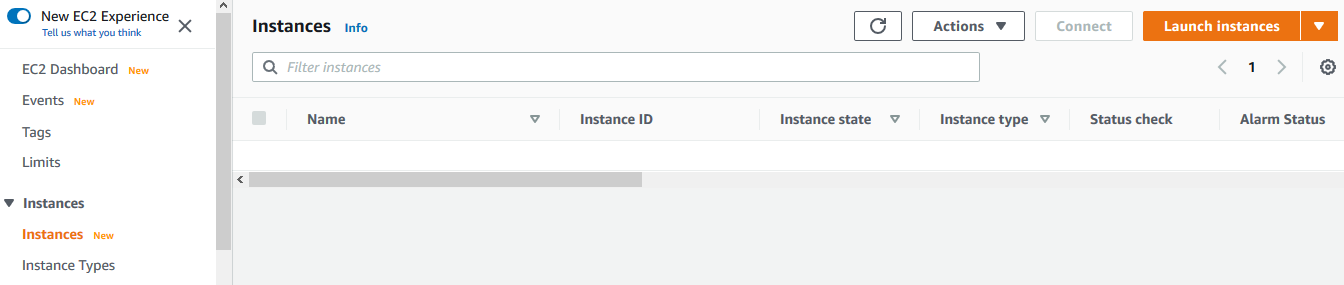
Goto the EC2 Management Console. In the left menu, click on the Instances and then click on the Launch instances button.
-
On the next screen, select Microsoft Windows Server 2016 Base AMI and click on the Select button.

-
On the next screen, select t2.xlarge as the instance type and click on the Next: Configure Instance Details button.

-
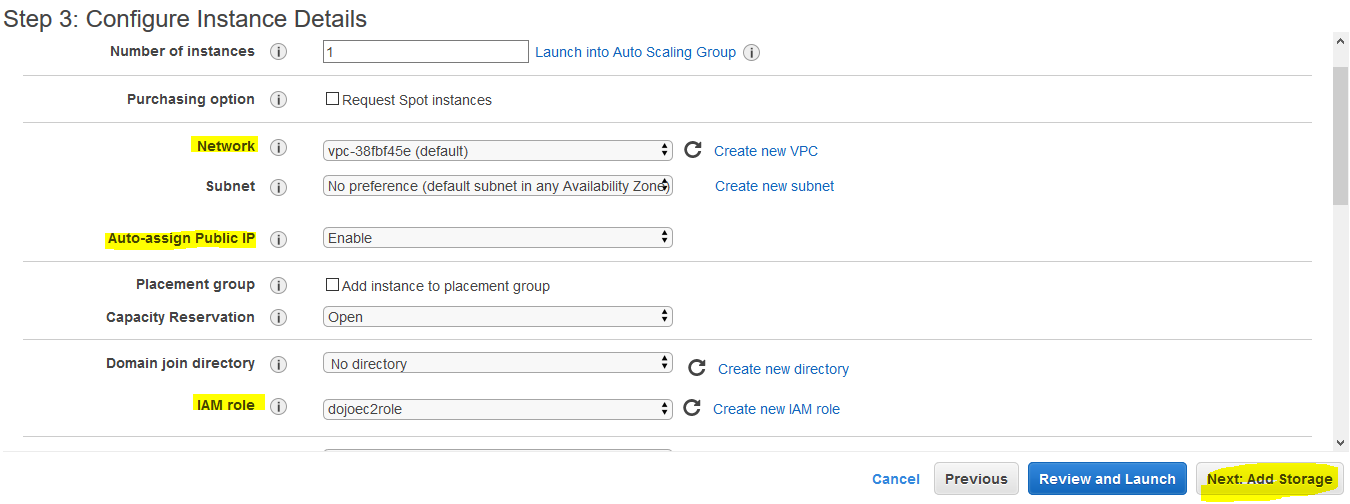
On the next screen, select Default for the network. Select Enable for Auto-assign Public IP. Select dojoec2role for the IAM Role. This is the role you created earlier. Click on the Next: Add Storage button.
-
On the next screen, keep the default configuration and click on the Next: Add Tags button.
-
On the next screen, keep the default configuration and click on the Next: Configure Security Group button.
-
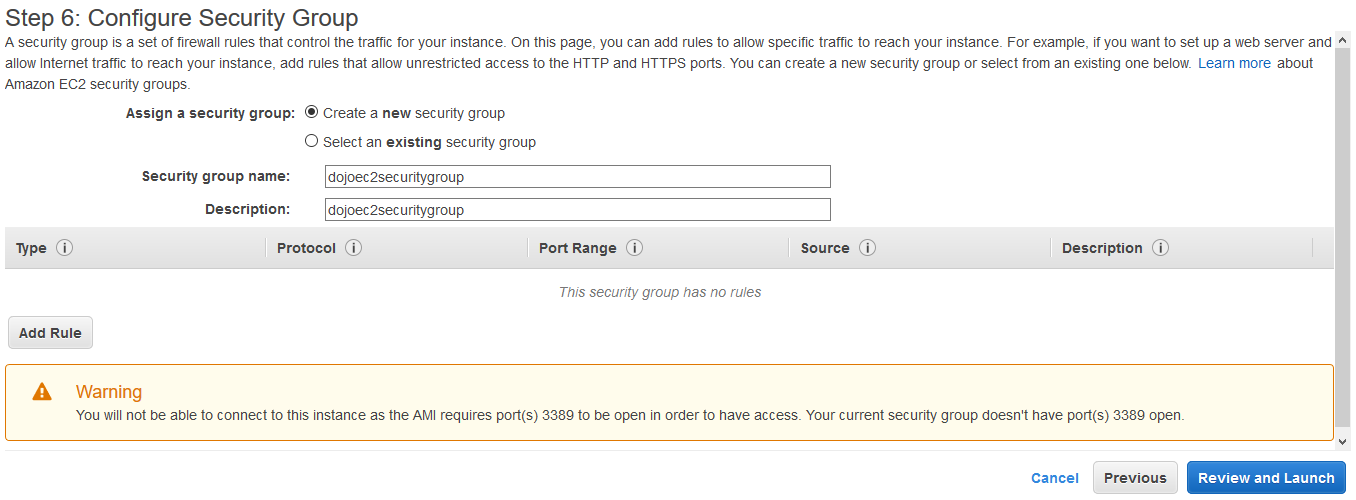
On the next screen, type in dojoec2securitygroup for the security group name and description. Remove any inbound rule you see. Ignore the warning. Click on the Review and Launch button.
-
On the next screen, click on the Launch button.
-
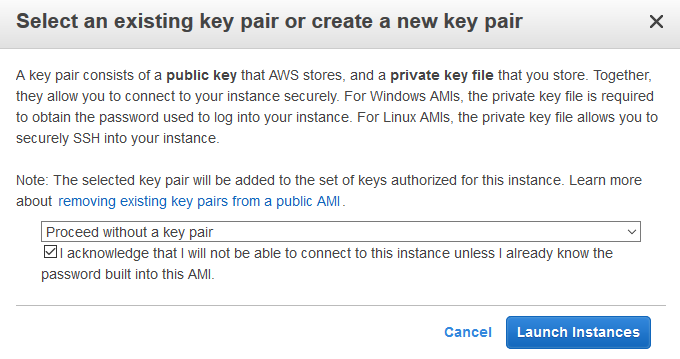
On the keypair popup, select Proceed without a key pair option. Select the Acknowledgement checkbox and click on the Launch Instances button.
-
The instance launch will start. Wait till the Status check for the instance changes to 2/2. Also make note of the Instance ID as you need it later in the Session Manager.

-
Great. In the next step, you create a local user in the EC2 instance which is used for the RDP login.
Step5: Local User for EC2 Instance
You create a local user in the EC2 instance for the RDP access.
-
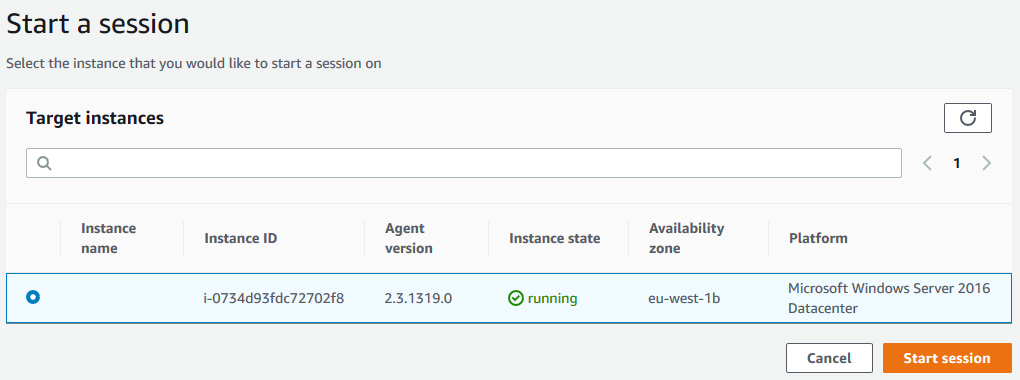
Goto Systems Manager console. Click on the Session Manager in the left menu and then click on the Start session button.

-
On the next screen, select the instance you just launched and click on the Start session button.
-
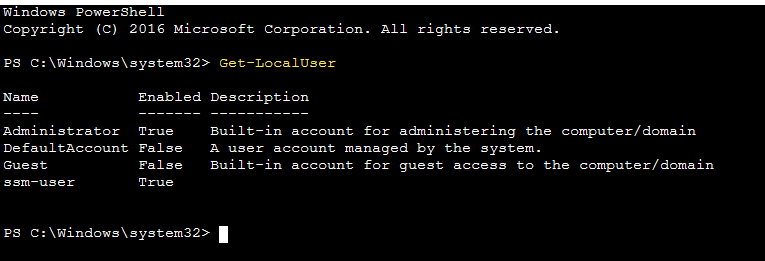
It will establish a Powershell based session with the EC2 instance. You can run any Powershell command remotely on the EC2 instance using the session manager.

-
Run the command Get-LocalUser to list the local users in the EC2 instance.
-
Next run the command $password = read-host –assecurestring to store a password in the $password variable. When prompted, type in Password1! and then enter.

-
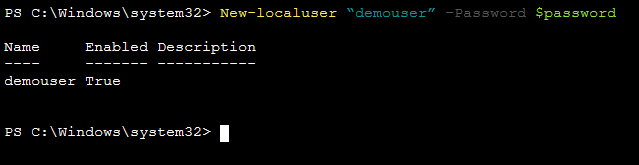
Next run the command New-localuser “demouser” –Password $password to create a local EC2 user demouser with the password Password1!.
-
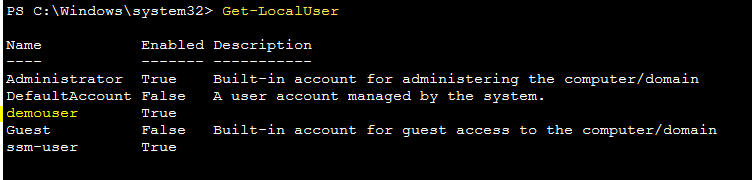
Run the command Get-LocalUser again to list the local users in the EC2 instance and you can see demouser listed there.
-
Next run the command Add-localgroupmember –Group “Administrators” –Member “demouser” to add demouser to the EC2 local group Administrators.

-
Finally click on the Terminate button on the top right to terminate the session. In the next step, you will perform RDP access to the EC2 instance using the user name = demouser and the password = Password1!.
Step6: RDP Access
In this step, you use AWS CLI to configure RDP access to the EC2 instance. You will first setup AWS Profile using the access id and secret key for the IAM User dojouser and then configure for the RDP access.
-
Open Windows Powershell for AWS console and run aws configure command. When prompt for, copy-paste the Access Key ID and Secret Access Key which you made note of in the earlier steps when creating dojouser account. Use eu-west-1 for the region and json for the output format.

-
Next run the command aws ssm start-session –target {instance-id} –document-name AWS-StartPortForwardingSession –parameters portNumber="3389”,localPortNumber="56789”. Replace {instance-id} with the actual Instance ID of the EC2 instance. You made note of the instance id in one of the previous steps.

-
It will start the session with RDP port 3389 forwarding at the local port 56789. Open the Remote Desktop Connection Application. Type in localhost:56789 as the computer. Type in .\demouser as the user name (this is the local user you created at the EC2 instance). Click on the Connect button.
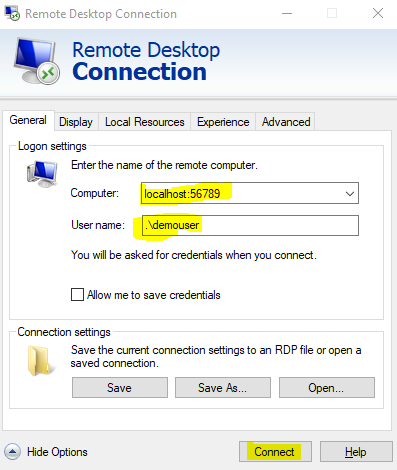
-
On the credentials prompt, type in Password1! as the password and click on the OK button.
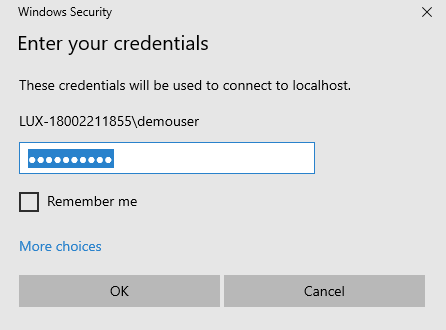
-
It will establish RDP connection with the EC2 instance.
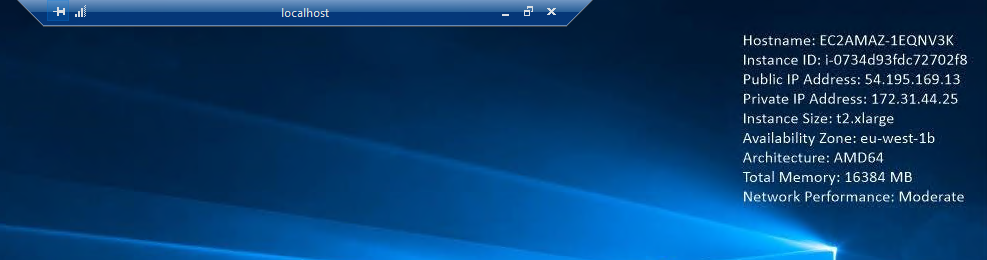
-
This finishes the exercise. You learn how to use session manager to RDP EC2 instance without any RDP Security Group and EC2 key-pair configuration which makes it secure and manageable. Disconnect the RDP session. Perform CTRL-C on the AWS CLI window to close the session.
-
Follow the next step to clean-up the resources so that you don’t incur any cost post the exercise.
Step7: Clean up
Delete the EC2 Instance created in the EC2 Management Console.
Delete dojoec2role IAM Role and dojouser IAM User in the IAM Management console.
Thanks and hope you enjoyed the exercise.