
Configure AWS Cloud9 for .NET Core Development
AWS Cloud9 is a cloud-based integrated development environment (IDE) from Amazon Web Services. The Cloud9 IDE provides the software and tooling needed for dynamic programming with 40 languages including JavaScript, Python, PHP, Ruby, Go, and C++. Click on the link to learn about the language support. In this exercise, you learn about configuring AWS Cloud9 Environment for .NET Core based development.
Step1: Pre-Requisite
You need to have an AWS account with administrative access to complete the exercise. If you don’t have an AWS account, kindly use the link to create free trial account for AWS.
Step2: Launch Cloud9 Environment
You first launch AWS Cloud9 environment. When you launch an environment, it starts an Amazon EC2 instance in the background and uses it with AWS Cloud9 IDE as the development machine.
-
Login to the AWS Console. Select an AWS Region of your choice where AWS Cloud9 is available as a service. You will see the exercise using the Paris region.
-
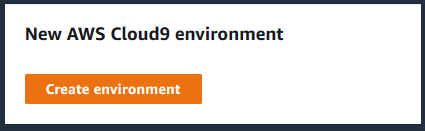
Goto the AWS Cloud9 console and click on the Create environment button.
-
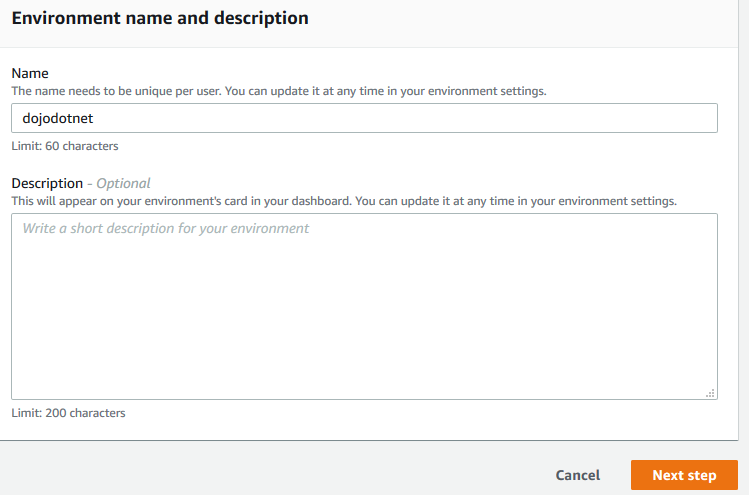
On the next screen, enter dojodotnet as the name and click on the Next step button.
-
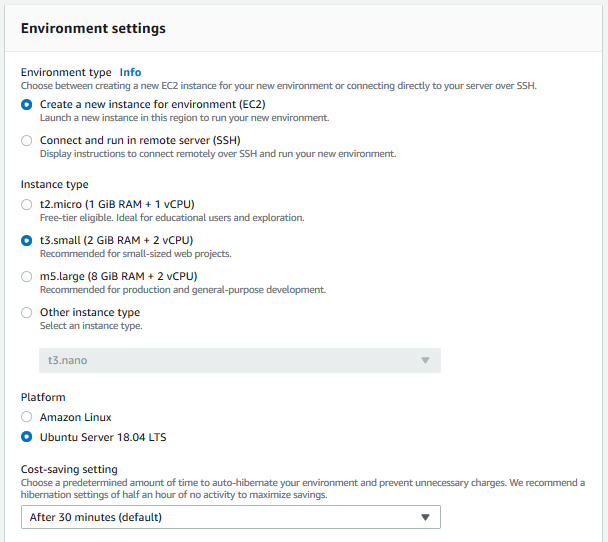
On the next screen, select Environment type as Create a new instance for environment (EC2). Select Instance type as t3.small (2 GiB RAM + 2 vCPU). Select Ubuntu Server 18.04 LTS for the Platform. The development environment will have Ubuntu as the operating system. Keep rest of the fields with the default values and click on the Next step button.
-
On the next screen, click on the Create environment button.
-
It will take couple of minutes to create the environment. You can see the IDE when the environment is ready. Keep the environment open.
Step3: Install .NET Core SDK
The development environment and the IDE is ready. But the environment is not yet ready for the .NET Core based development. You will install Microsoft .NET Core SDK in the environment.
-
On the AWS Cloud9 IDE, you can see console in the bottom part of the screen. It is the console base access to the developmet machine. Run the following command in the console to download the Microsoft package.
wget -q https://packages.microsoft.com/config/ubuntu/18.04/packages-microsoft-prod.deb`

-
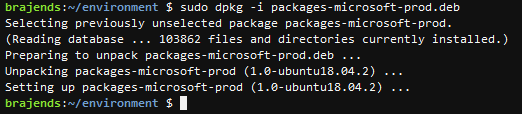
Next run the following command in the console to install the package.
sudo dpkg -i packages-microsoft-prod.deb`
-
You also need to deploy apt-transport-https dependency. Run the following commands one by one to install the dependency.
 sudo add-apt-repository universe
 sudo apt-get install apt-transport-https
`

-
Finally install DotNet Core SDK by running the following commands one by one. In the second command, when it asks to continue, type in Y and press enter. It will install .NET Core 2.2 SDK in no time.
 sudo apt-get update
 sudo apt-get install dotnet-sdk-2.2
`

-
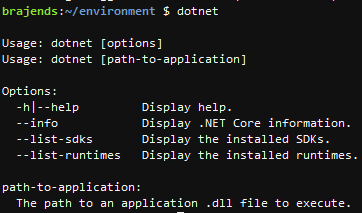
The .NET Core SDK has been installed in the environment. You can run dotnet command to check it.
Step4: Run the Sample Application
You can now create a sample .NET Core application in the environment to test it.
-
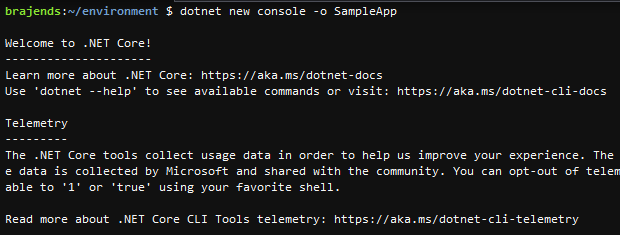
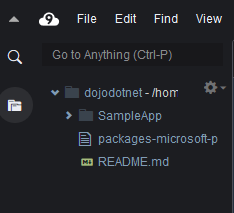
In AWS Cloud9 IDE, run the following command in the console to create a new .NET Core application SampleApp. The application is created and you can see the application created in the IDE as well.
dotnet new console -o SampleApp`
-
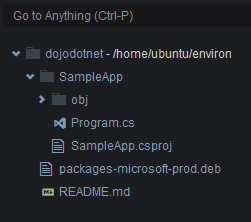
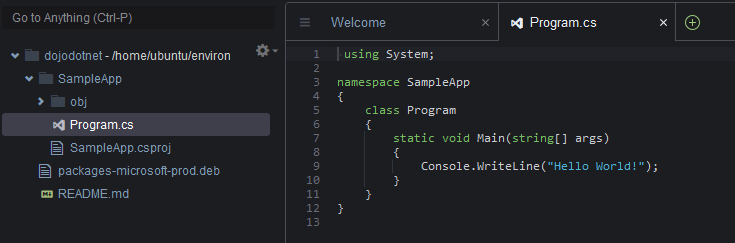
You can expand the sample application project folder to see the project files.
-
Click on the Program.cs file to open it in the IDE.
-
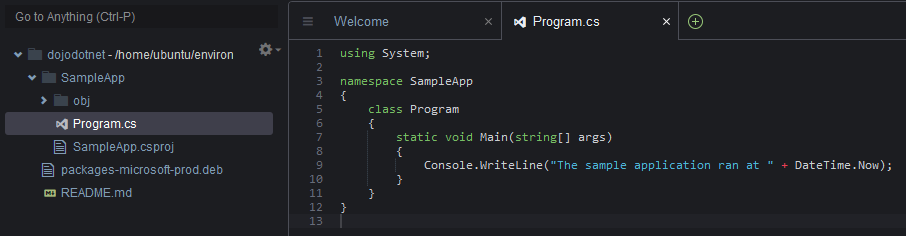
Let’s make a small change to the Program.cs file. Replace the Program.cs code with the following code snippet and save the file.
    using System;
    namespace SampleApp
    {
        class Program
        {
            static void Main(string[] args)
            {
                Console.WriteLine("The sample application ran at " + DateTime.Now);
            }
        }
    }
`
-
Time to run the application. Run the following command in the console to move to SampleApp folder.
cd SampleApp`

-
Run the following command in the console to run the application.
dotnet run`

-
You can see the output of the application. This concludes the exercise. You should now clean-up the environment to avoid any further cost.
Step5: Clean up
Go back to the AWS Cloud9 console and delete dojodotnet environment.
Thanks and hope you enjoyed the exercise.