
Using AWS App2Container to modernize apps into containerized apps
AWS App2Container (A2C) is a tool to modernize existing applications into containerized applications. A2C helps to standardize the deployment and operations through containers. It works for all types of deployments - virtual machines, on-premises or in the cloud. A2C currently supports .NET and Java Applications.
In this exercise, you will containerize an ASP.NET web application deployed on Windows using A2C.
The AWS Resource consumption for the exercise does not fall under AWS Free Tier.
Step1: Pre-Requisite
You need to have an AWS account with administrative access to complete the exercise. If you don’t have an AWS account, kindly use the link to create free trial account for AWS.
Step2: What is available for the exercise?
In this exercise, you use A2C to containerize an ASP.NET application. In order to facilitate the exercise, AWS-Dojo has provided a public AMI (AMI ID: ami-049284c3cffa7c7e0 & AMI Name:aws-dojo-app2containerwebapp). You will launch an Amazon EC2 instance using this AMI and use A2C to containerize the sample ASP.NET application deployed on the EC2 instance.
This AMI has the following configuration -
-
Windows 2016 Operating System
-
Docker Installed (one of the prerequisite for A2C)
-
AWS CLI 2.0 Installed (one of the prerequisite for A2C)
-
App2Container installation package copied (one of the prerequisite for A2C)
-
A sample ASP.NET application deployed (sample application to be containerized using A2C)
All set. Let’s get started.
Step3: Create S3 Bucket
The first step is to create the Amazon S3 bucket which is used to store deployment artifacts of the application containerization. When you try to deploy the containerized application to AWS, the S3 bucket is used.
-
Login to the AWS Console and choose Ireland as the region.
-
Goto S3 Management Console. Use + Create bucket button to create a new bucket dojo-a2c-bucket. If the bucket name is not available, then create a bucket with the name which is available.

-
In the next step, create IAM User and generate keys (access, secret) which is used to run A2C commands to containerize the application.
Step4: Create IAM User
Let’s create an IAM user which is used to containerize the application using App2Container.
-
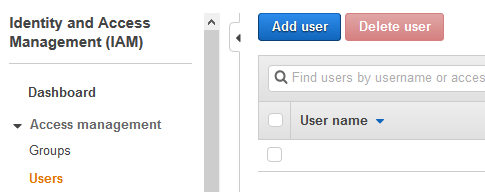
Goto IAM Management Console, click on the Users menu in the left and then click on the Add user button.
-
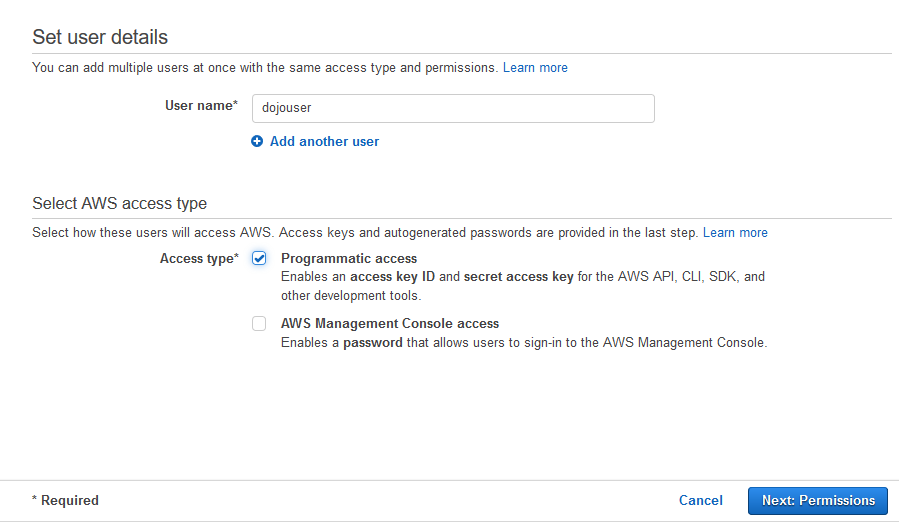
On the next screen, type in dojouser as the user name and select Programmatic access as the option for the access type. Click on the Next: Permissions button.
-
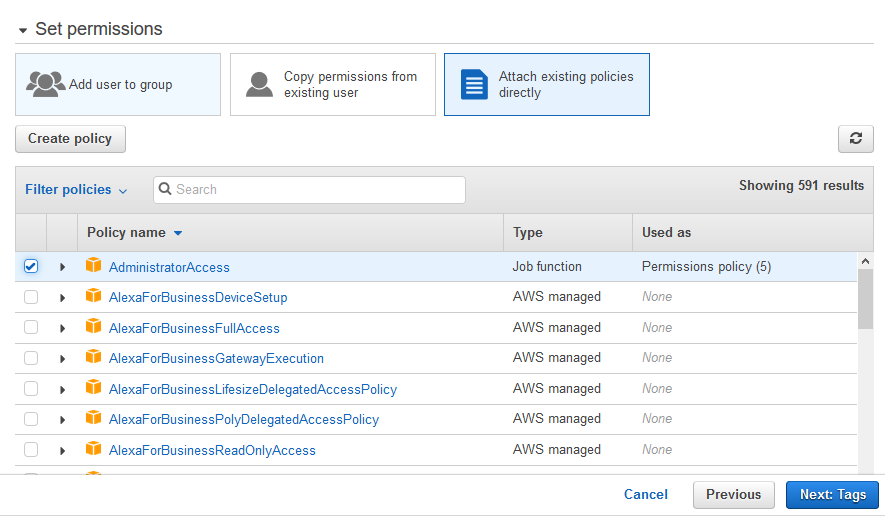
On the next screen, select Attach existing policies directly option. Select AdministratorAccess as the policy and click on the Next: Tags button.
-
On the next screen, click on the Next: Review button.
-
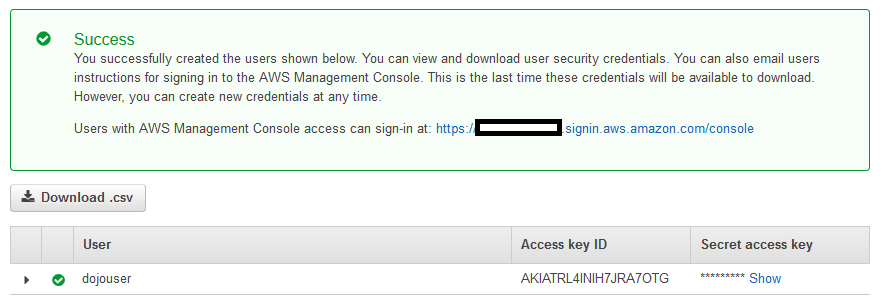
On the next Review screen, click on the Create user button. It creates the user and it also generates Access key ID and Secret access key. Click on the Download.csv link to download the keys. Note: please make sure you download the keys as you need them in the later steps.
-
The S3 bucket and IAM user account are ready. Let’s launch an EC2 instance where ASP.NET application is deployed. You will use App2Container commands on this EC2 instance to containerize the ASP.NET application.
Step5: Launch EC2 Instance
Launch the EC2 instance where all the actions will happen. You will use an AMI provided by AWS-Dojo to launch the instance.
-
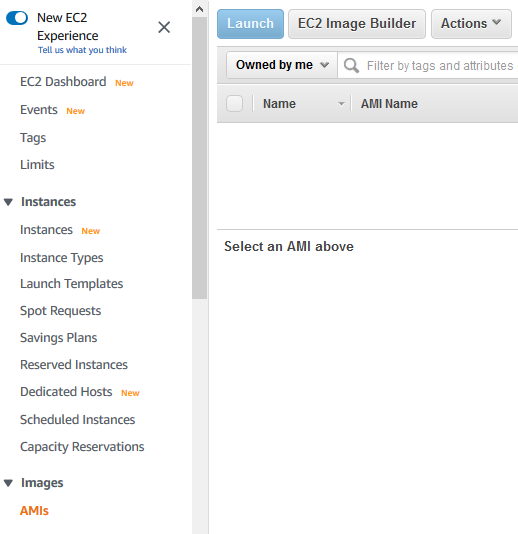
Goto EC2 Management console. Click on the AMIs in the left menu.
-
In the AMIs screen, change the filter to Public images. Search for the public AMI where AMI Name is aws-dojo-app2containerwebapp. You will see AMI listed like below. Select the AMI and click on the Launch button.

-
On the next screen, select t2.large as the instance type and click on the Next: Configure Instance Details button. You can select a larger or smaller instance if you want.

-
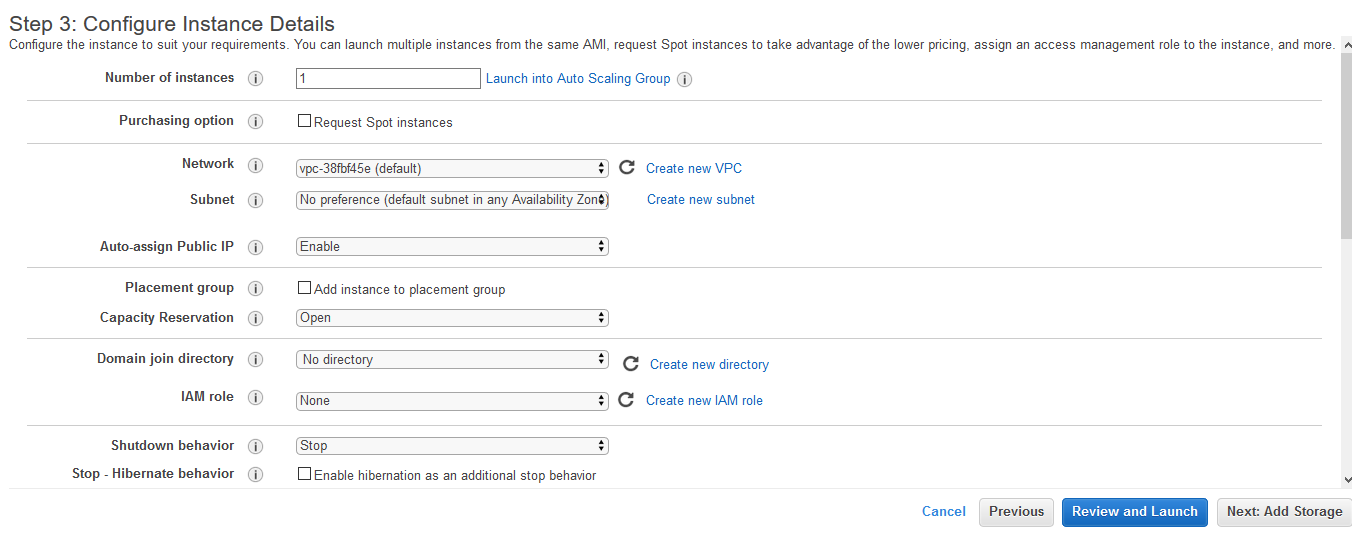
On the next screen, select the default VPC for the network. Select Enable for the auto-assign public IP field. Keep rest of the configuration as it is and click on the Next: Add Storage button.
-
On the next Add Storage screen, keep the configuration to the default and click on the Next: Add Tags button.
-
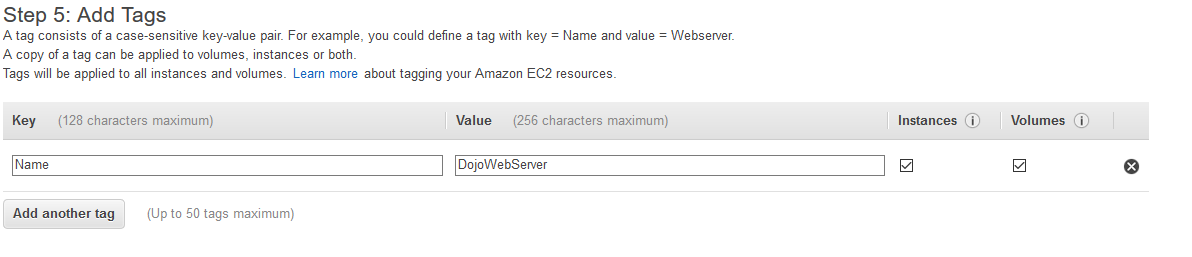
On the next screen, add tag Name = DojoWebServer and click on the Next: Configure Security Group button.
-
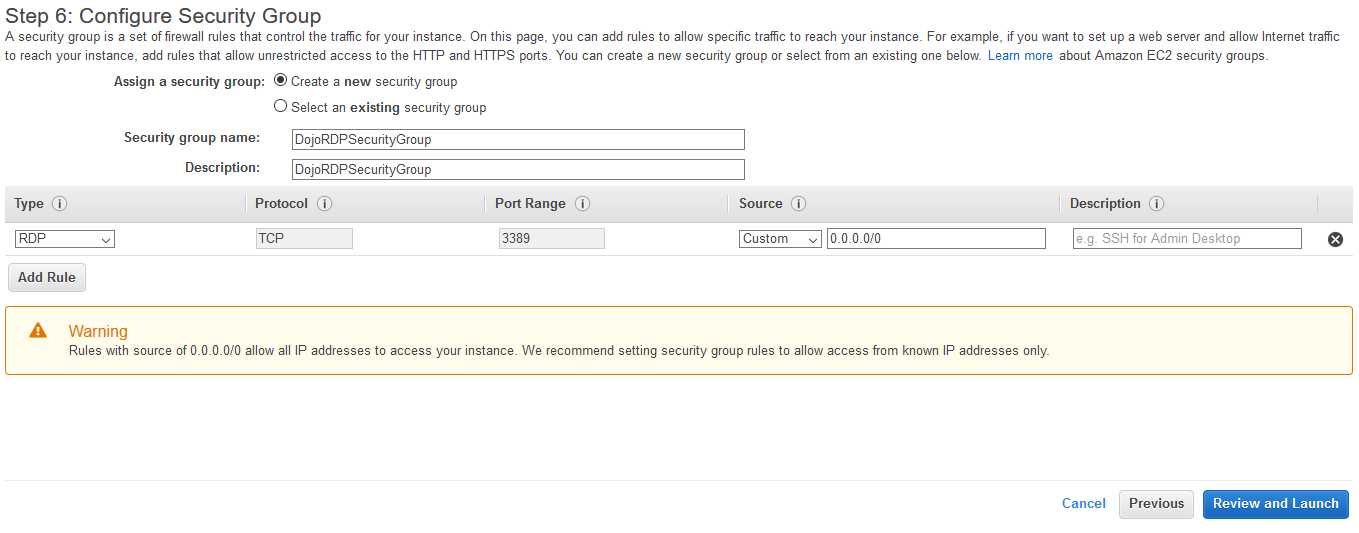
On the next screen, Select Create a new security group option and type in DojoRDPSecurityGroup for the security group name and description. Configure access for the RDP as shown below. Click on the Review and Launch button. For the exercise, you just need RDP (Remote Desktop) access to the EC2 instance.
-
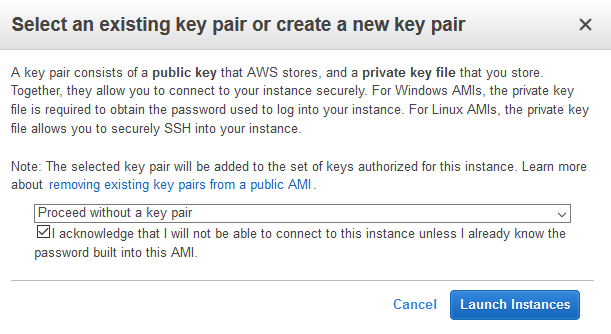
On the next Review Instance Launch screen, click on the Launch button. It will ask to create a new keypair in the popup window. Select Proceed without a keypair option. Check for the acknowledgement and click on the Launch Instances button.
-
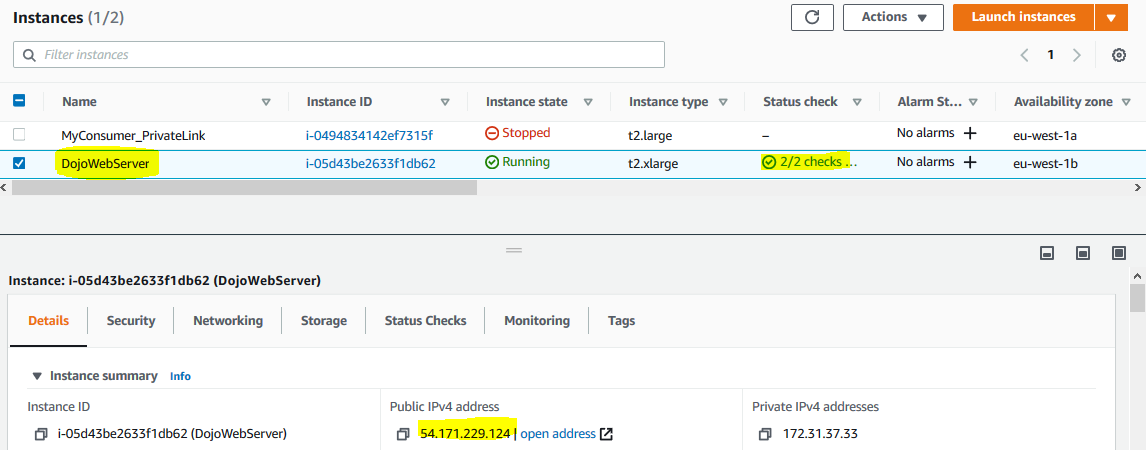
It will start the instance launch process. Wait till instance is ready (When status check = 2/2). RDP to the EC2 instance using the public IP. The user name is Administrator and the password is Password1!.
-
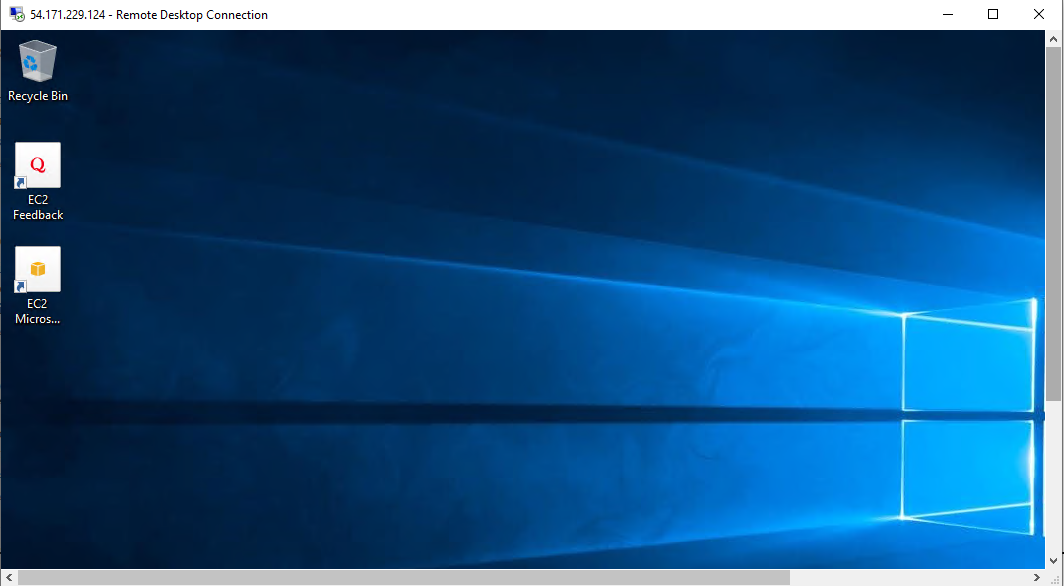
It is all good if your RDP is successful and you are connected through the RDP session.
-
In the RDP session, open internet explorer and browse http://localhost/dojowebapp/. This is the sample ASP.NET application deployed on Internet Information Server (IIS) which you will containerize using App2Container.

-
Stay in the RDP session as you will start working with the App2Container installation and configuration in the EC2 instance as the next step.
Step6: Install and Configure A2C
Let’s move to the core of the exercise. You will first configure AWS Default Profile using dojouser security keys. You then install and configure App2Container on the EC2 instance.
-
In the RDP session, start Windows Powershell for AWS console and run the command aws configure. During configuration, provide the access key id and secret access key for the dojouser. You got these keys in one of the previous steps. Type in eu-west-1 for the region and json for the output format. It will create AWS Default Profile on the EC2 instance which is used by the App2Container to perform various actions in the AWS account.

-
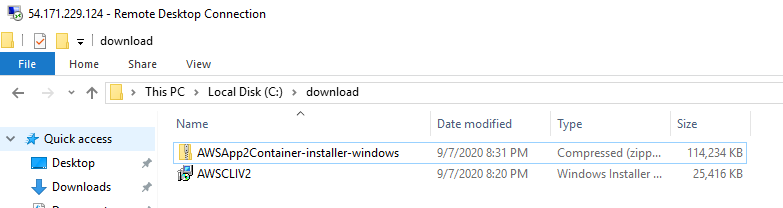
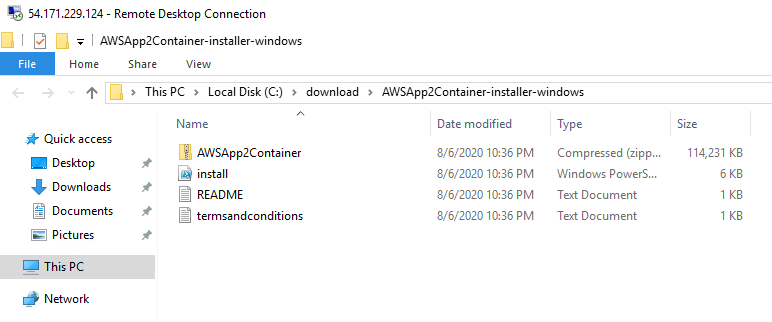
In the RDP session, close the Windows Powershell for AWS console. Goto the C:\download folder. You already have App2Container installation package for the windows copied there. Alternative - you can download the installation package from the link.
-
Extract the App2Container installation package in the C:\download\AWSApp2Container-installer-windows folder.
-
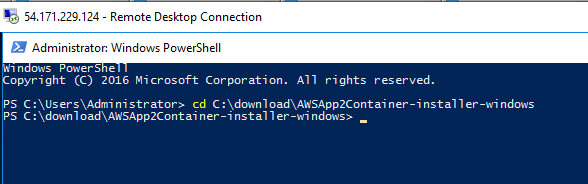
In the RDP session, close the folder. Open Windows Powershell console and navigate to the folder C:\download\AWSApp2Container-installer-windows.
-
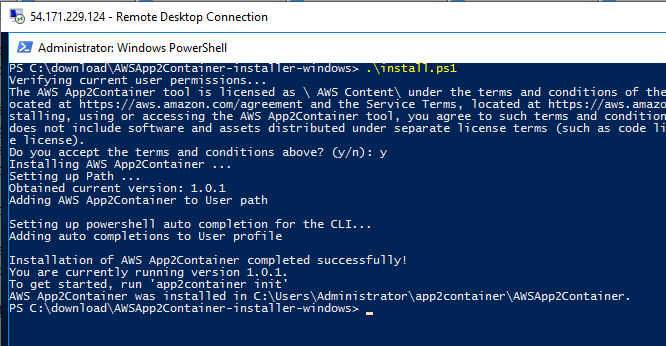
In the Windows Powershell console, run the command .\install.ps1 to install App2Container.
-
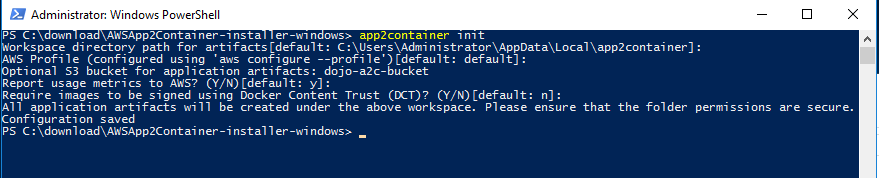
It completed the installation of the App2Container package. Now you need to configure it. In the Windows Powershell console, run the command app2container init. Select the default configuration for all the settings. For the bucket configuration, type in dojo-a2c-bucket. If you created a bucket with a different name then use that one.
-
The App2Container installation and configuration is complete. It is ready for the use. The important aspects of the configuration is - a) A2C will use AWS Default Profile b) The containerization artifacts are stored locally at C:\Users\Administrator\AppData\Local\app2container folder and c) The deployment artifacts are stored in dojo-a2c-bucket during deployment.
-
Stay in the Windows Powershell console. The next step is to start running the containerization commands.
Step7: Containerize the ASP.NET Application
In this step, you will use App2Container to identify the applications deployed on the EC2 instance and then run commands to containerize the specific application.
-
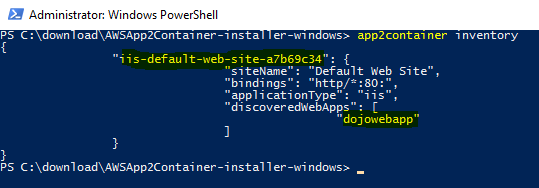
In the RDP session, goto Windows Powershell console. Run the command app2container inventory to list the application inventory on the EC2 instance. You can see dojowebapp deployed in iis default web site. You just browsed the application in one of the previous steps. You will containerize this application. Make note of the app id iis-default-web-site-a7b69c34 for the dojowebapp application.
-
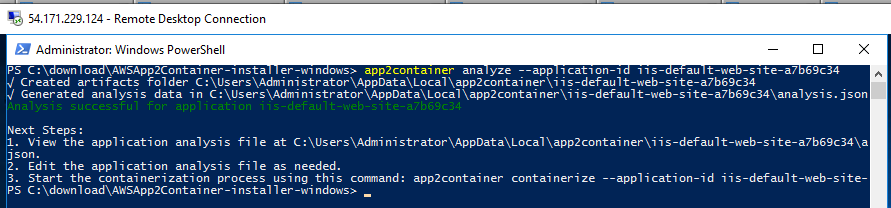
In the Windows Powershell console, run the command app2container analyze –application-id iis-default-web-site-a7b69c34 to analyze the dojowebapp for the containerization.The command will take a while to complete.
-
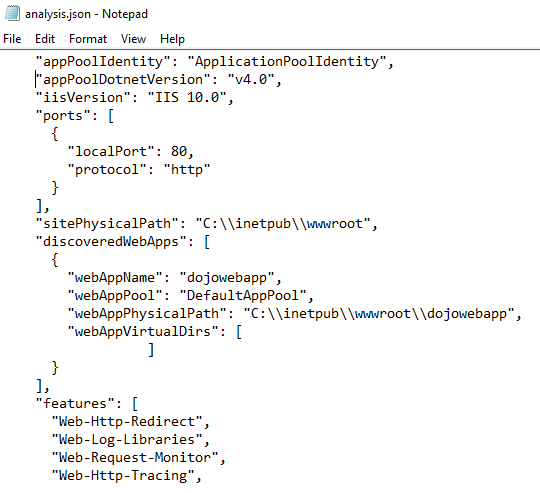
The analyze command will take a while to complete. The analysis file analysis.json is copied at the workspace folder C:\Users\Administrator\AppData\Local\app2container\iis-default-web-site-a7b69c34. It is recommended to look at the file to check the application configuration (operating system, application details, ports, features etc.) for the containerization.
-
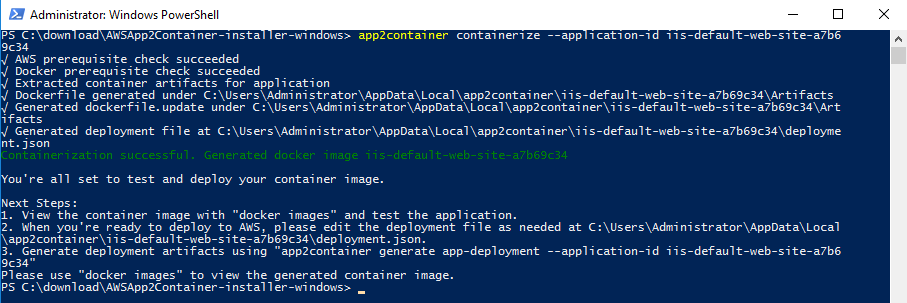
In the Windows Powershell console, run the command app2container containerize –application-id iis-default-web-site-a7b69c34 to create set of deployment artifacts for the application containerization. The command will take quite a sometime to complete.
-
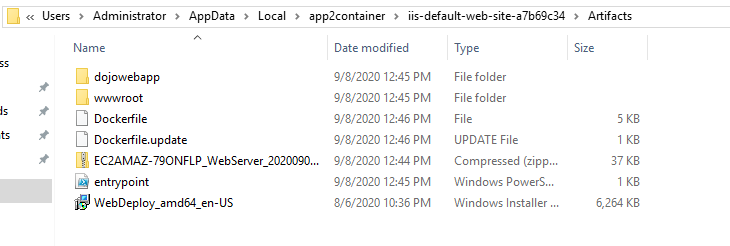
The containerization artifacts (deployment files) for the application is created at the workspace folder C:\Users\Administrator\AppData\Local\app2container\iis-default-web-site-a7b69c34\Artifacts. Please navigate through the deployment files in the folder. You can see the docker file and the resources for the web application deployment.
-
You can also run the docker images command in the Windows Powershell console to see the list of the images. You can see a docker image created the ASP.NET application.

-
At this point of time, you are all set to deploy the web application to the container platform of your choice - ECS or EKS on AWS.
-
You can use app2container generate app-deployment command to complete the deployment. The command will create the set of resources at AWS and then deploy the application using the deployment artifacts. The exercise is not deploying to keep the cost of the exercise low. But if you are interested, you can continue with the final deployment. Kindly refer the link for the details about deployment command.
-
It finishes the exercise. Kindly follow the next step to clean-up the resources so that you don’t incur any cost post the exercise.
Step8: Clean up
Delete dojouser IAM User.
Delete dojo-a2c-bucket S3 Bucket.
Delete DojoWebServer EC2 instance.
Thanks and hope you enjoyed the exercise.