
Code Review using Amazon CodeGuru
Amazon CodeGuru is a developer tool powered by machine learning that provides intelligent recommendations for improving code quality and identifying an application’s most expensive lines of code. Amazon CodeGuru Reviewer uses machine learning to identify critical issues and hard-to-find bugs during application development to improve code quality.
In this exercise, you will use CodeGuru to do code review of the Java code.
The AWS Resource consumption for the exercise does not fall under AWS Free Tier.
Step1: Pre-Requisite
You need to have an AWS account with administrative access to complete the exercise. If you don’t have an AWS account, kindly use the link to create free trial account for AWS.
Step2: Create Amazon CodeCommit Repository
Let’s start with Amazon CodeCommit repository. The repository works as the source control for the Java Code.
-
Login to the AWS Console and goto the AWS region where Amazon CodeGuru is available. The exercise will use the Ireland region.
-
Goto the CodeCommit console page and click on the Create repository button.
-
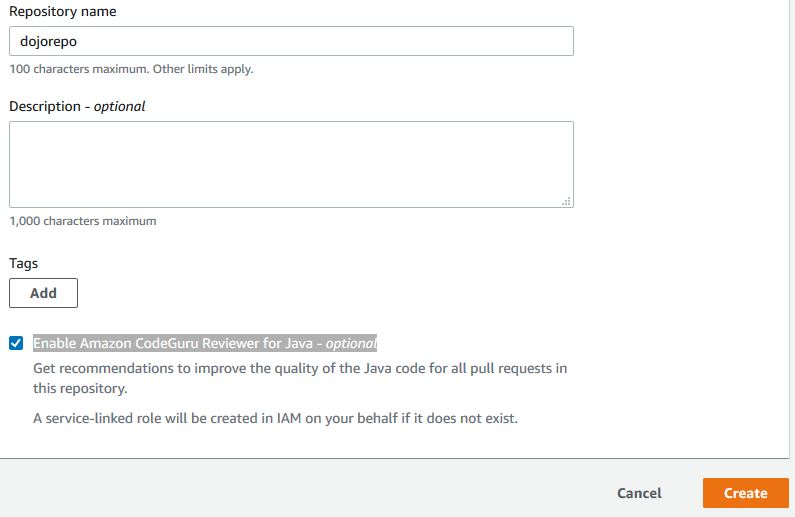
On the next screen, type in dojorepo as the repository name. Check for Enable Amazon CodeGuru Reviewer for Java - optional option. Then click on the Create button.
-
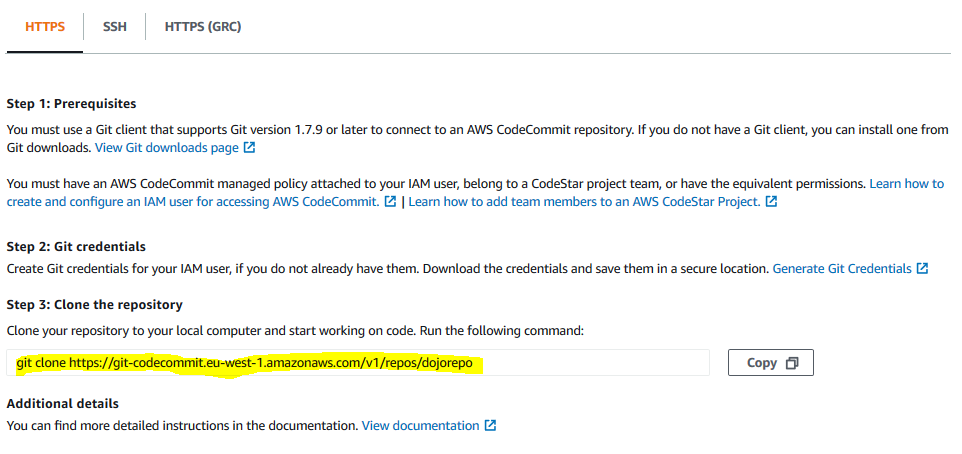
The repository is created in no time. On the HTTPS tab, copy the Clone the repository command. You need it in the next step to clone the repository in the development environment.
-
Next you launch a Cloud9 development environment which is used to check in the Java code.
Step3: Check-in Java Code to the Repository
Create an Amazon Cloud9 development environment which is used to check in the Java code. The sample Java code for the exercise is available at the link in zip file. Download the zip file and extract the Java files to some local folder.
-
Goto the AWS Cloud9 console and click on the Create environment button.
-
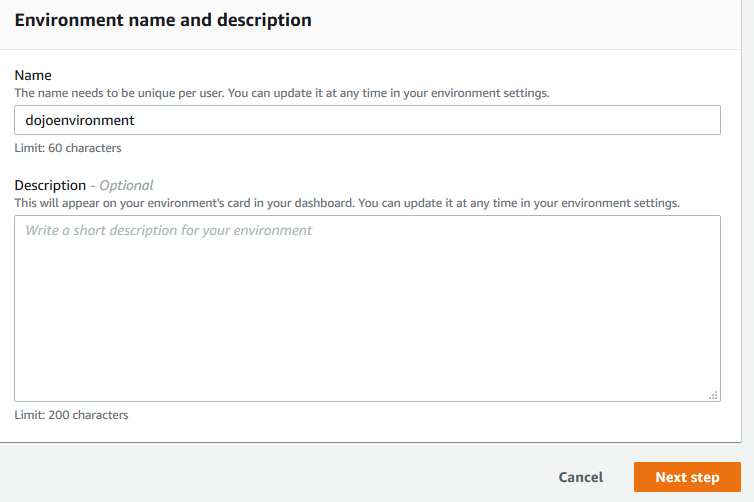
On the next screen, enter dojoenvironment as the name and click on the Next step button.
-
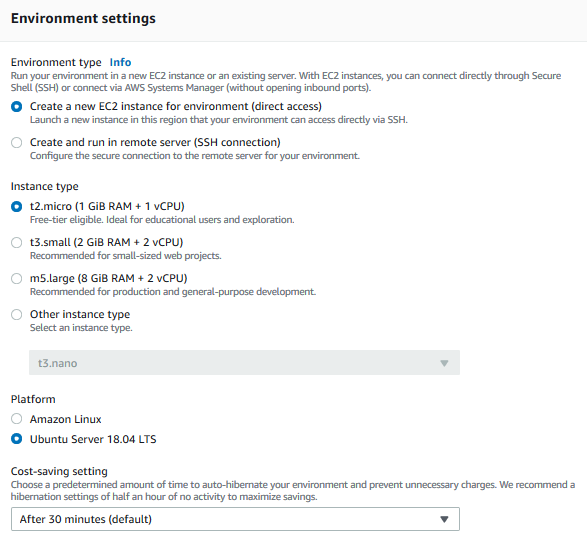
On the next screen, select Environment type as Create a new instance for environment (direct access). Select Instance type as t2.micro (1 GiB RAM + 1 vCPU). Select Ubuntu Server 18.04 LTS for the Platform. The development environment will have Ubuntu as the operating system. Keep rest of the fields with the default values and click on the Next step button.
-
On the next screen, click on the Create environment button. It will take couple of minutes to create the environment. Wait for the environment to be ready. Once it is ready, you can see bash console window in the bottom part of the screen. It provides console based access to the development machine.
-
In the Cloud9 environment console, run clone the repository command you copied in the previous step. It will clone empty repository and create dojorepo folder in the environment.


-
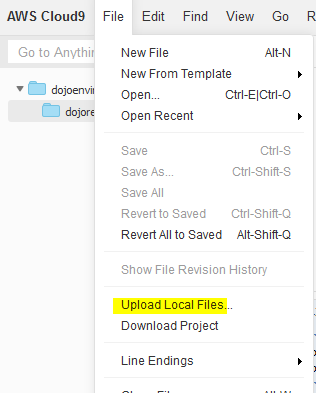
Select dojorepo folder in the environment and use Upload Local Files… option in the File menu to upload the Java files from your local folder (you downloaded and extracted earlier) to the dojorepo folder.
-
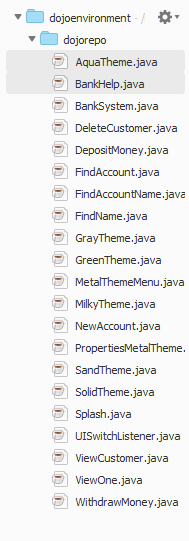
All the Java files are in dojorepo folder.
-
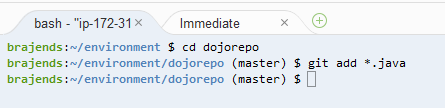
Run cd dojorepo command to move into the dojorepo folder. Then run “git add *.java” command to add all the Java files.
-
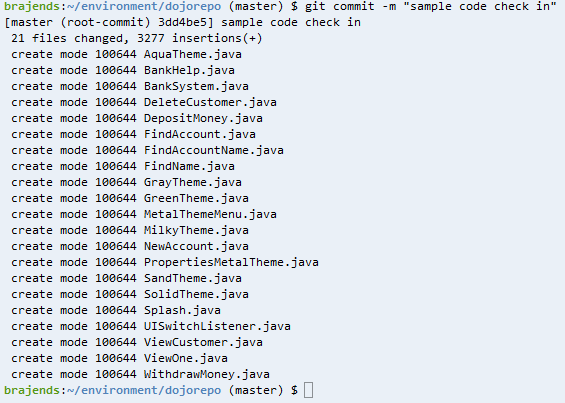
Next run git commit -m “sample code check in” command to check in all the Java files.
-
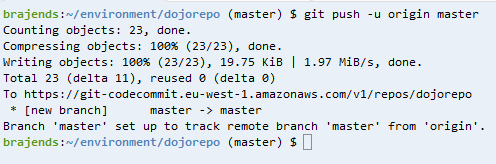
Finally, run git push -u origin master command to push the code to the repository.
-
The code is now in the repository in the master branch. You can go to Amazon CodeCommit Repository to verify this.

-
The next step is to configure CodeGuru to review the Java Code.
Step4: Start Code Review in CodeGuru
Time to do the code review. Let’s configure Amazon CodeGuru for that.
-
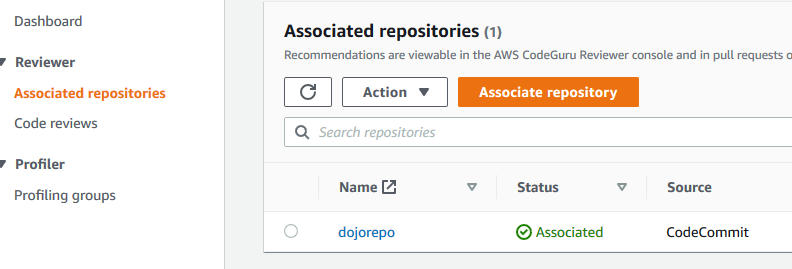
Goto CodeGuru Console and click on the Associated repositories menu option in the left. You can see dojorepo repository already associated with CodeGuru.
-
If due to some reason, you don’t see the repository associated with CodeGuru, then use Associate repository button to manually associate the repository. Here onwards, CodeGuru Reviewer automatically provides a code review when you create a pull request.
-
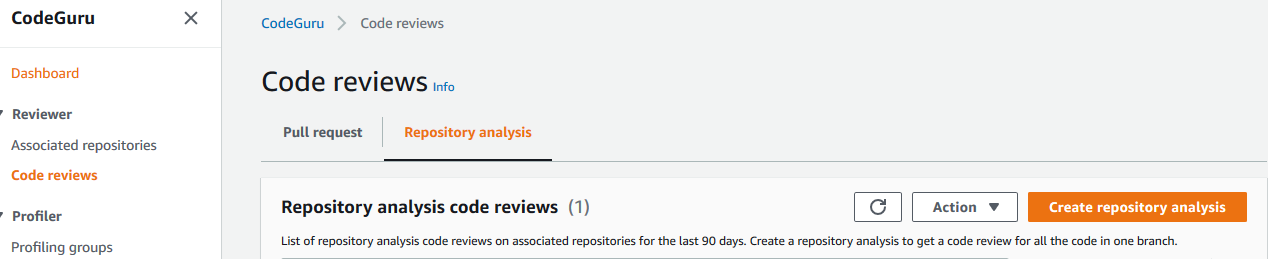
For this exercise, you will do on demand repository analysis to get a code review for all the code in the master branch. Click on the Code reviews menu in the left. On the Repository analysis tab, click on the Create repository analysis button.
-
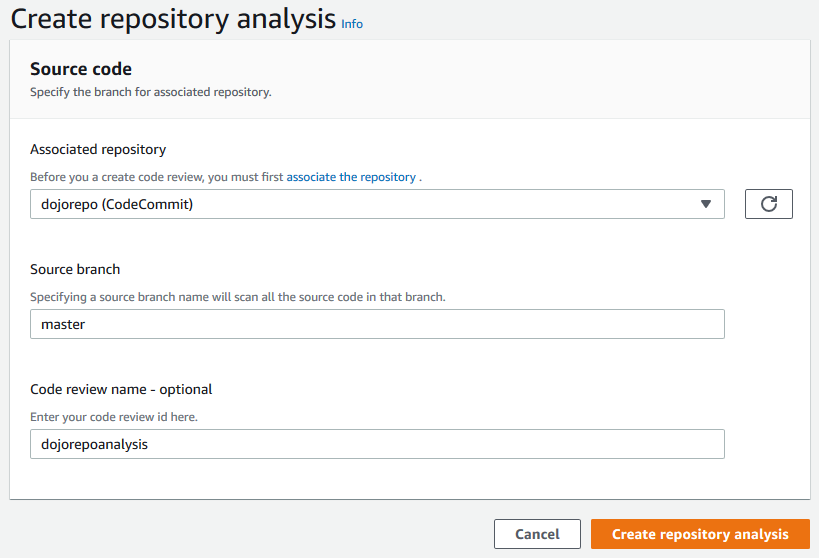
On the next screen, select dojorepo (CodeCommit) as the associated repository. Type in master for the source branch. Type in dojorepoanalysis for the Code review name - optional field. Finally click on the Create repository analysis button.
-
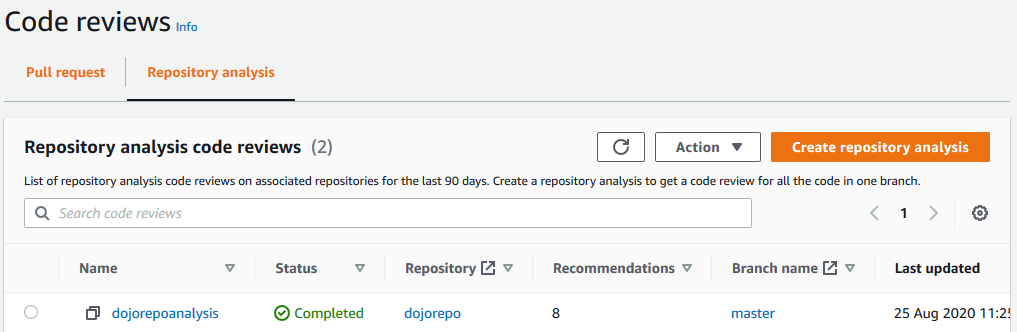
It will start the analysis. It will take a while to complete the analysis. Wait till the status changes to Completed.
-
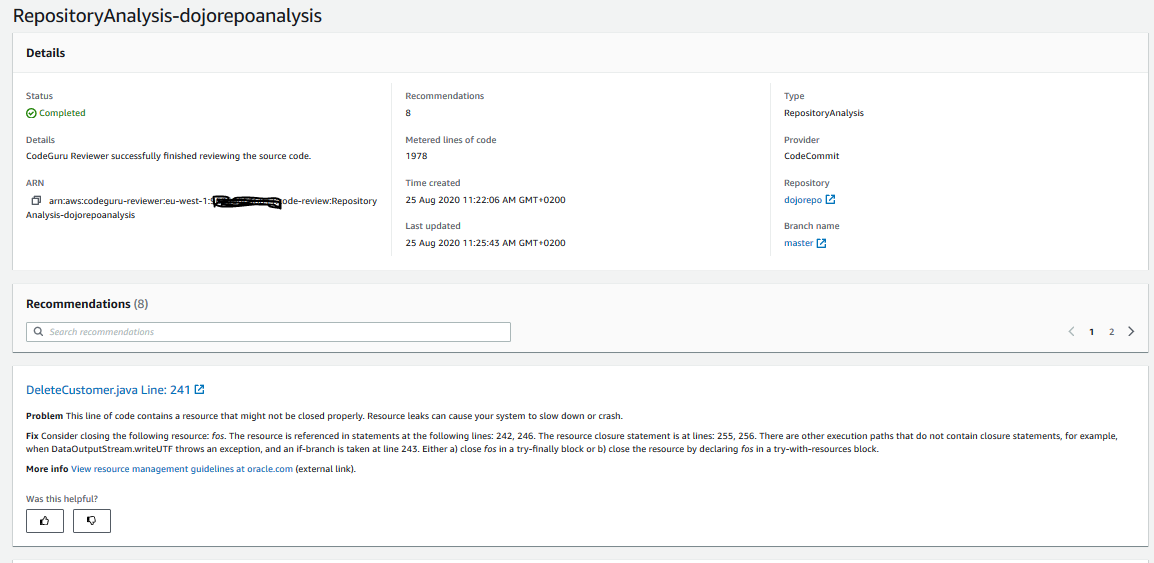
Click on the dojorepoanalysis analysis to check the details. You can see summary of the code review along with the individual recommendations.
-
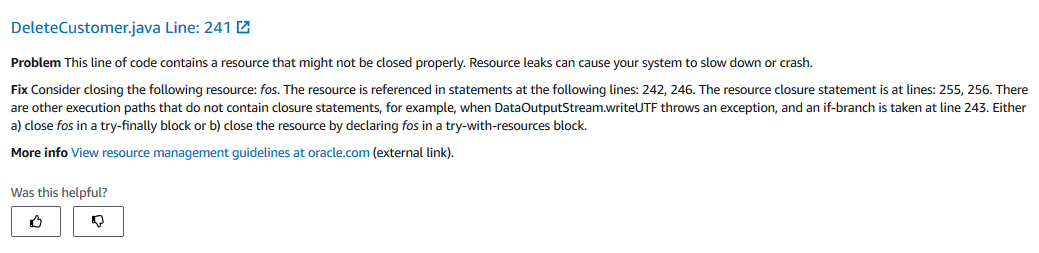
For the individual recommendation, you can read problem and fix. You can click on the code link to jump to the right code location in the CodeCommit repository. You can also provide feedback about the usefulness of the recommendation.
-
This finishes the exercise. Please follow next step to clean-up the resources so that you don’t incur any cost post the exercise.
Step5: Clean up
Delete dojoenvironment Cloud9 environment.
Disassociated dojorepo repository in CodeGuru.
Delete dojorepo repository in CodeCommit.
Thanks and hope you enjoyed the exercise.