
Improving Application Performance using Amazon Global Accelerator
AWS Global Accelerator is a service that improves the availability and performance of the applications with local or global users. It provides static IP addresses that act as a fixed entry point to the application endpoints in a single or multiple AWS Regions. AWS Global Accelerator uses the AWS global network to optimize the path from the users to the applications, improving the performance of the traffic by as much as 60%.
In this exercise, you use Global Accelerator to improve the traffic performance of a web application by optimizing the path from the users to the application using AWS global network.

The AWS Resource consumption for the exercise does not fall under AWS Free Tier.
Step1: Pre-Requisite
You need to have an AWS account with administrative access to complete the exercise. If you don’t have an AWS account, kindly use the link to create free trial account for AWS.
Step2: Create Role for the EC2 Instance
The first step is to create a role which is assigned to the EC2 instance hosting the web site. The role will enable using session manager from AWS Systems Manager to manage the instance remotely.
-
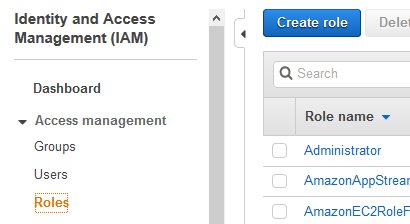
Login to the AWS Console and goto IAM Management console.
-
Click on the Roles menu in the left and then click on the Create role button.
-
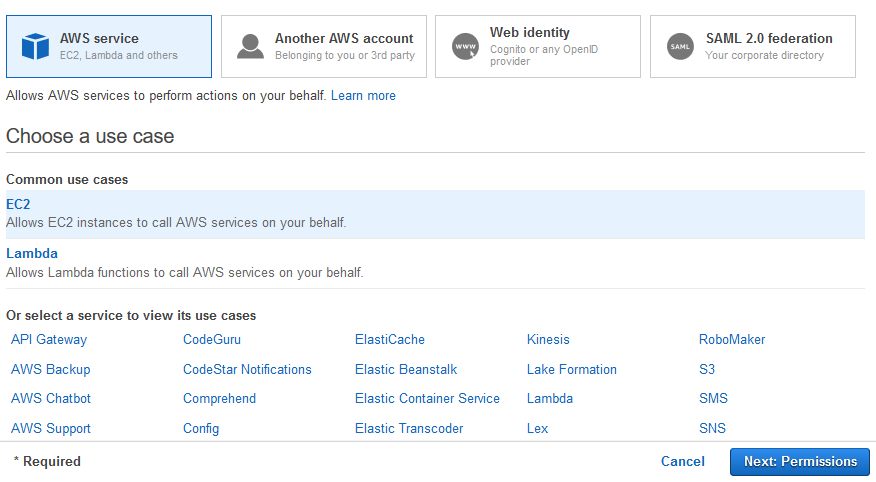
On the next screen, select EC2 as the service and click on the Next: Permissions button.
-
On the next screen, select AmazonSSMManagedInstanceCore as the policy and click on the Next: Tags button.

-
On the next screen, click on the Next: Review button.
-
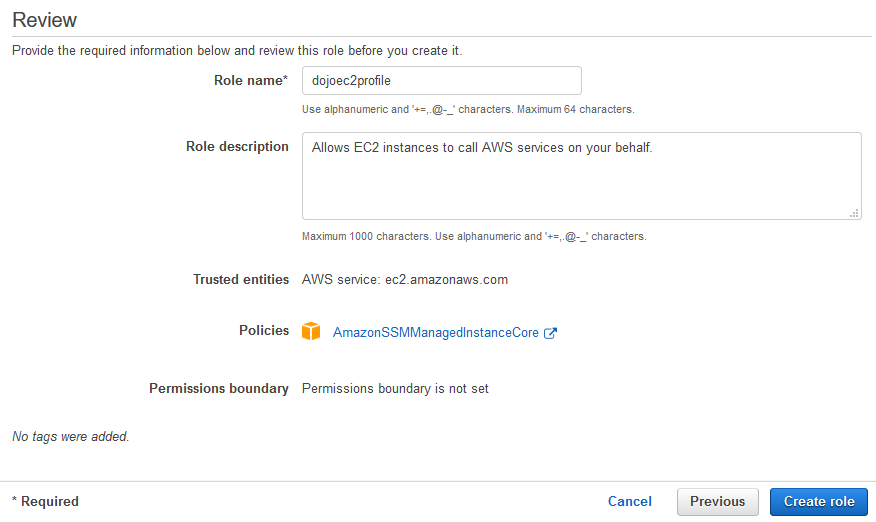
On the next screen, type in dojoec2profile as the role name and click on the Create role button.
-
The role is created in no time. Launch EC2 instance in the next step.
Step3: Launch EC2 Instance
The EC2 instance profile or role is created. Let’s launch the EC2 instance which is used to host the web site.
-
Login to the AWS Console. Select an AWS Region of your choice. You will see the exercise using the Ireland region.
-
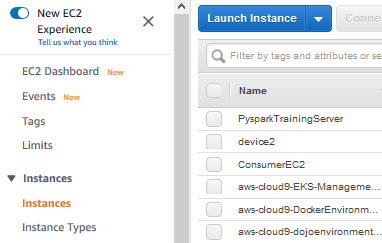
Goto EC2 Management Console. Click on the Instances in the left menu and then click on the Launch Instance button.
-
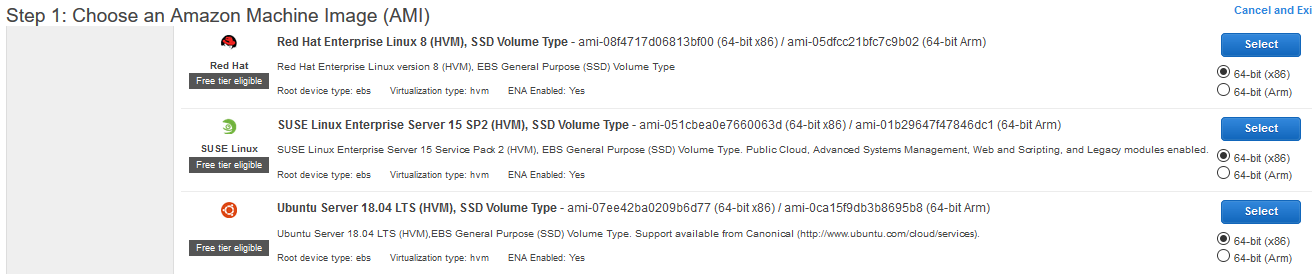
On the next screen, select Ubuntu Server 18.04 LTS (HVM), SSD Volume Type as the image and click on the Select button.
-
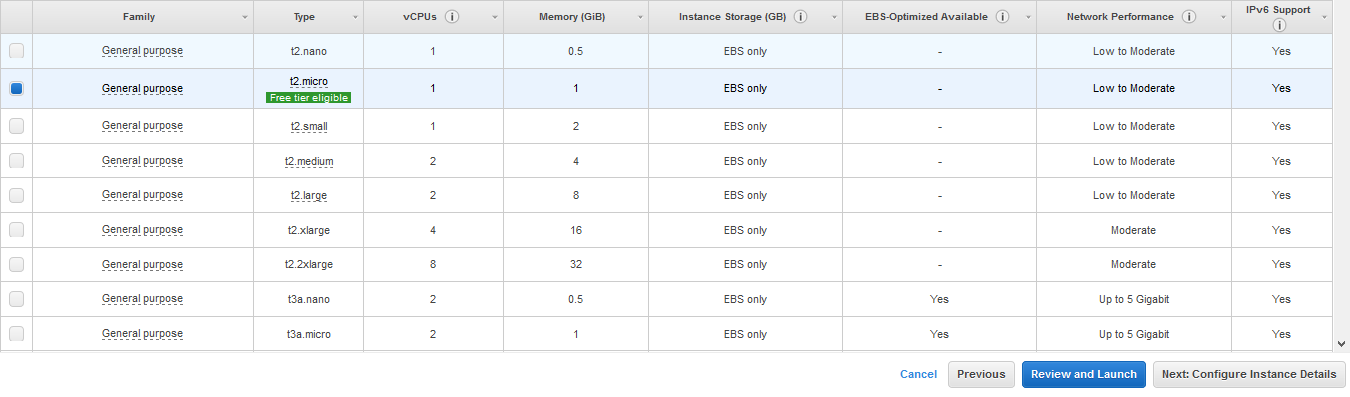
On the next screen, select t2.micro as the instance type and click on the Next: Configure Instance Details button.
-
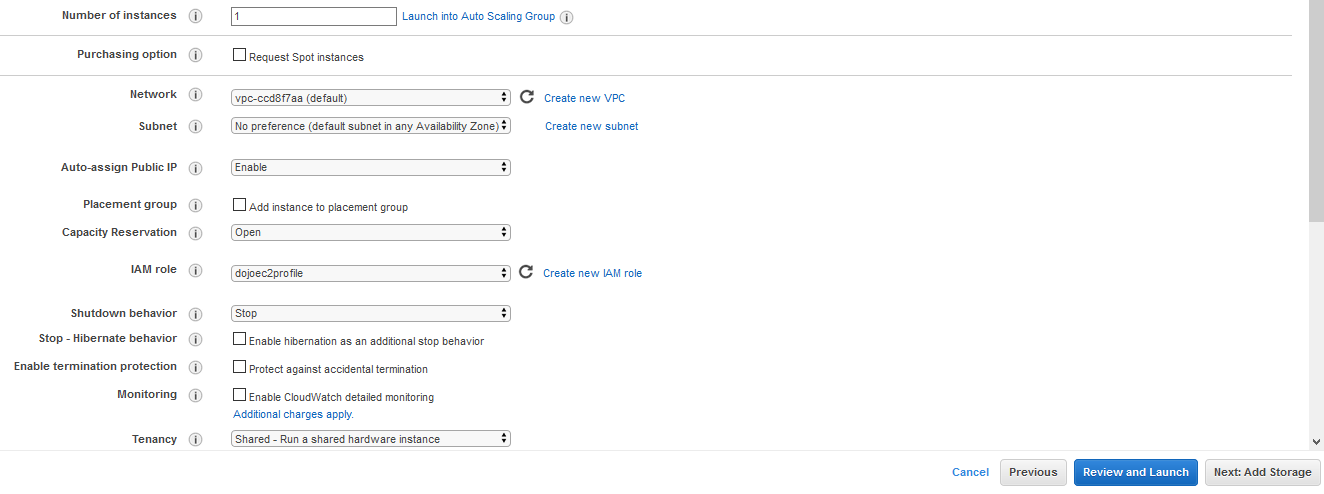
On the next screen, select the default VPC for the network field. Select Enable for the Auto-assign Public IP. Select dojoec2profile for the IAM role field. Then click on the Next: Add Storage button.
-
On the next Add Storage page, leave everything to the default and click on the Next: Add Tags button.
-
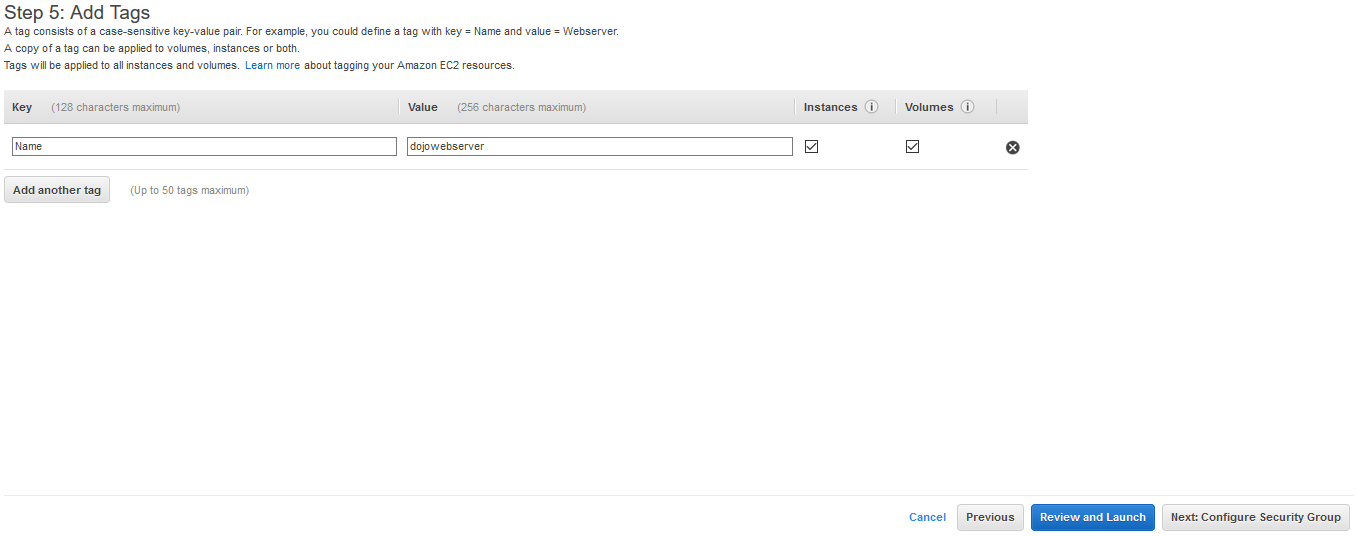
On the next screen, type in Name for the Key field and dojowebserver for the Value field. Click on the Next: Configure Security Group button.
-
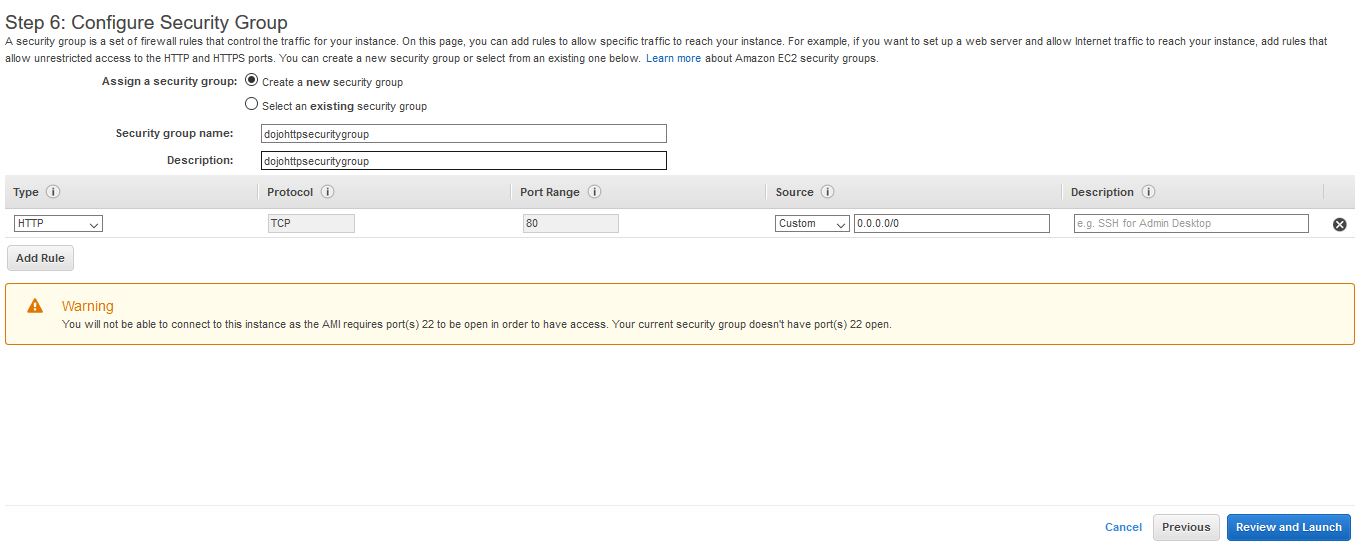
On the next screen, type in dojohttpsecuritygroup for the Security group name and description fields. Update inbound rule for Type = HTTP, Protocol = TCP, Port Range = 80 and Source = 0.0.0.0/0. Click on the Review and Launch button. Ignore the warnings as we don’t need access beyond http protocol.
-
On the next Review Instance Launch page, click on the Launch button.
-
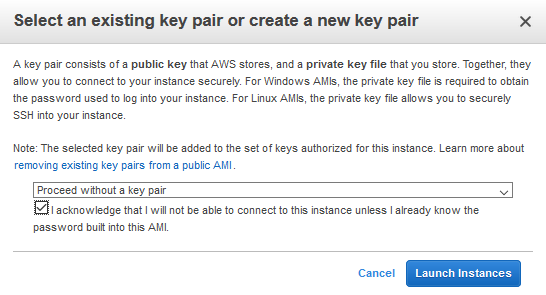
On the keypair popup window, select Proceed without a key pair option. Check for the acknowledgement and click on the Launch Instances button.
-
The EC2 instance is launched. It will take couple of mins before the instance is completely ready. Wait till the status changes to 2/2 checks passed.

-
The EC2 instance is ready. Let’s install Apache Web Server on it.
Step4: Use Session Manager to Install Apache Web Server
In this step, you use Systems Manager - session manager to install Apache Web Server on the EC2 instance. Then this EC2 will work as the web site which we configure with Global Accelerator to improve the traffic performance.
-
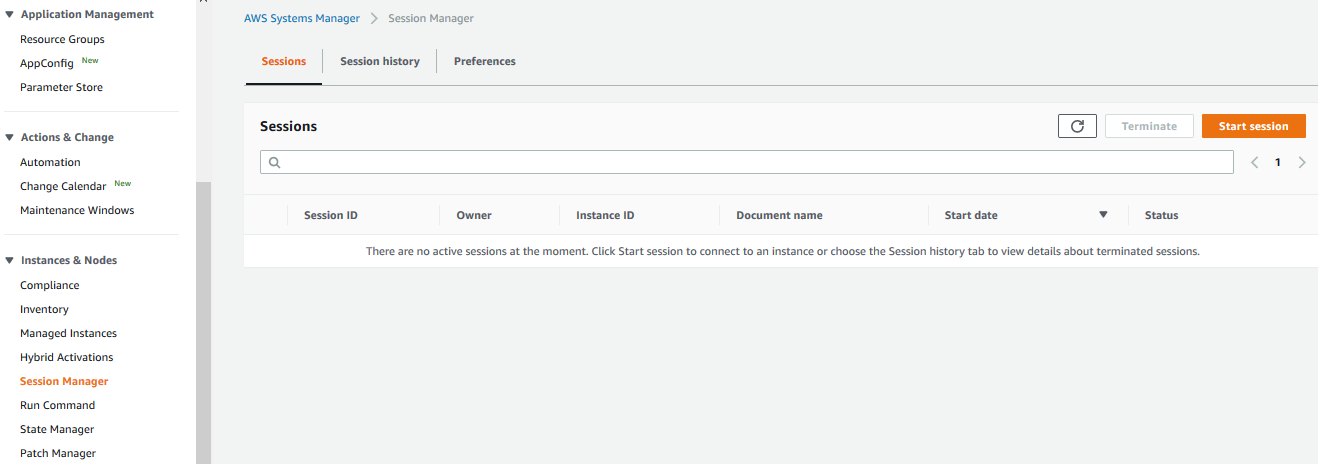
Goto Systems Manager Console. Click on the Session Manager in the left and then click on the Start session button.
-
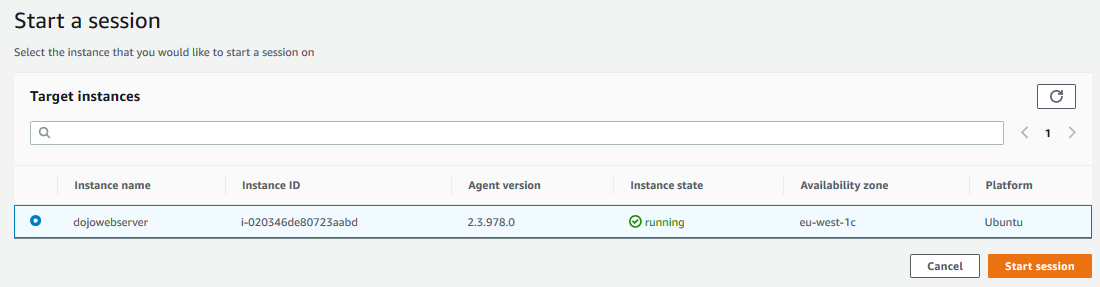
On the next screen, select dojowebserver instance and click on the Start session button.
-
The session manager starts the session with the EC2 instance in separate browser window or tab.

-
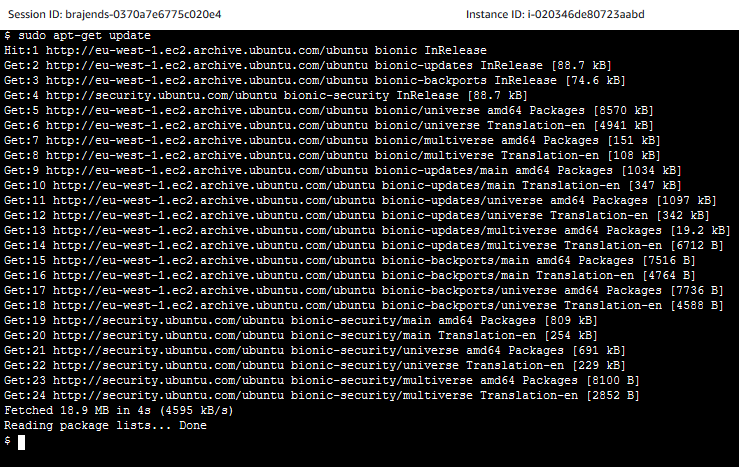
Run the command sudo apt-get update to refresh your local software package database.
-
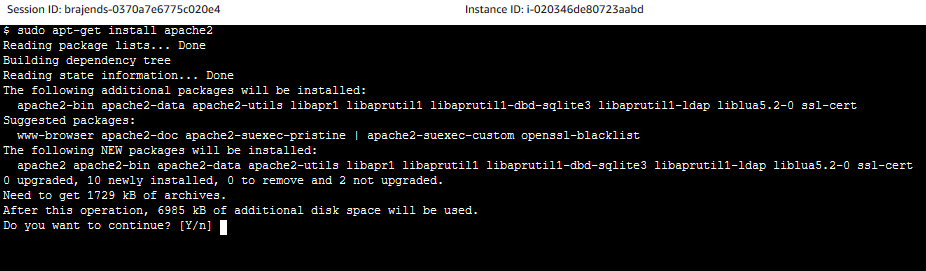
Run the command sudo apt-get install apache2 to install the Apache package on Ubuntu. Type-in Y, when it asks for the confirmation.
-
The Apache Web Server is now installed on the EC2 instance. Click on the Terminate button to close the session. Go back to EC2 management console and make note of the public IP address of the dojowebserver instance.

-
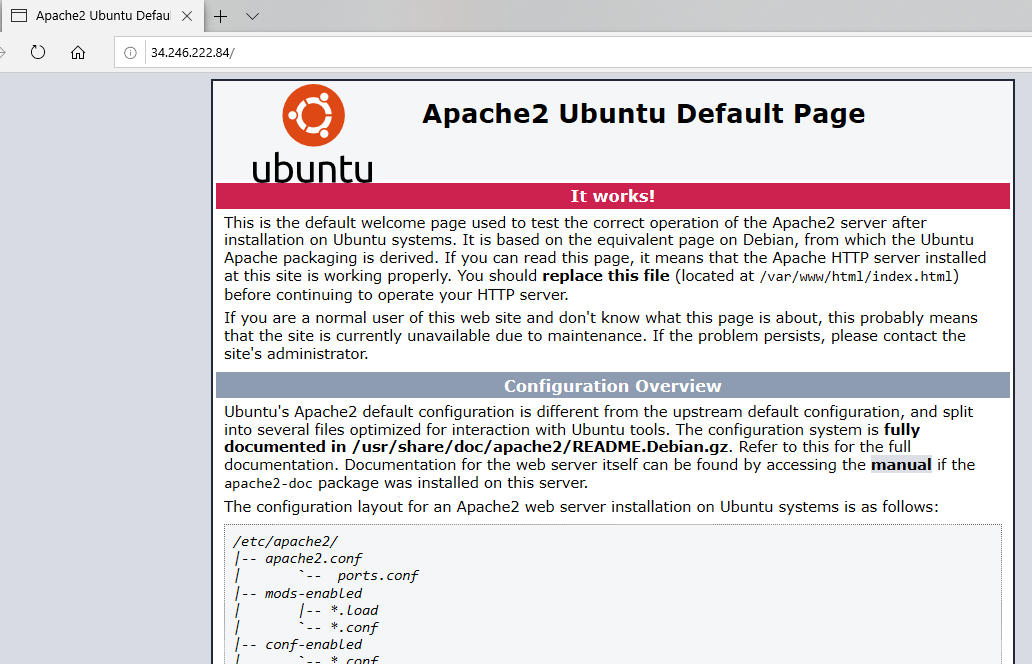
Access the Apache2 Ubuntu Default Page in browser using url - http://[ec2-public-ip].
-
The EC2 instance will be used as the web site to configure with Global Accelerator. Generally, you will have more than one web servers configured for auto-scaling behind the load-balancer. You will also use Route53 for the DNS mapping. But we are avoiding it to keep the cost minimum. The exercise will configure Global Accelerator with EC2 based web site but the configuration is not different from what you do with a load-balancer. The Next step is to configure the Global Accelerator.
Step5: Configure Global Accelerator
Amazon Global Accelerator is used to optimize the access path to the web application. The path uses AWS Global Network instead of internet network hopping to provide access to the web server. Such high-bandwidth and optimize path enhances the application response and user experience.
-
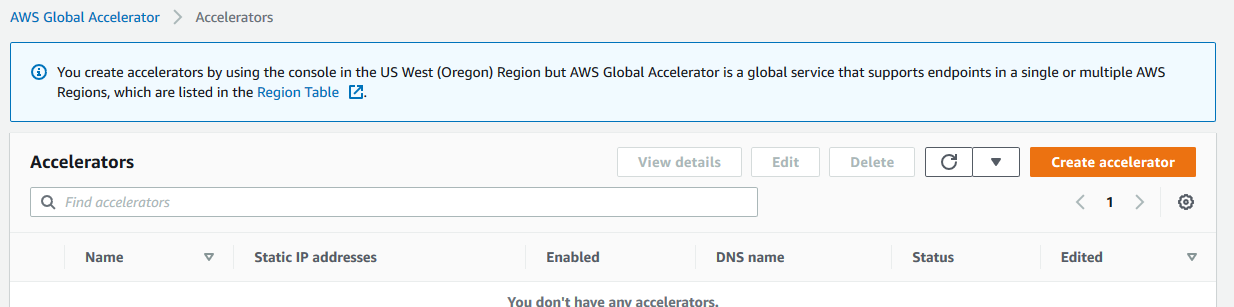
Goto Global Accelerator management console. You create accelerators by using the console in the US West (Oregon) Region but AWS Global Accelerator is a global service that supports endpoints in a single or multiple AWS Regions. Click on the Create accelerator button.
-
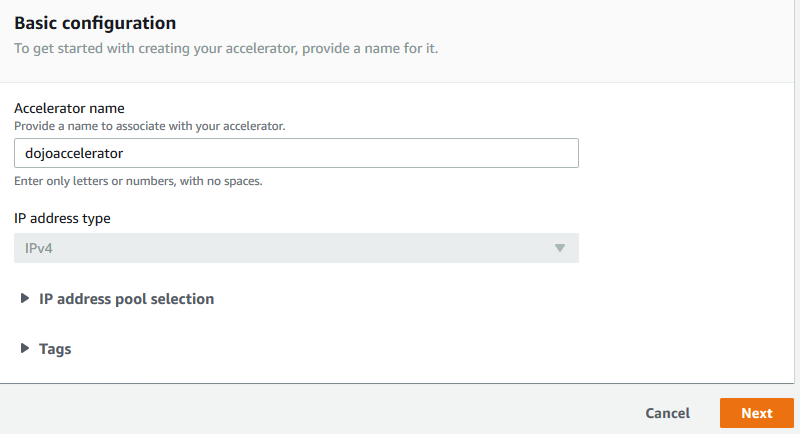
On the next screen, type-in dojoaccelerator as the accelerator name and click on the Next button.
-
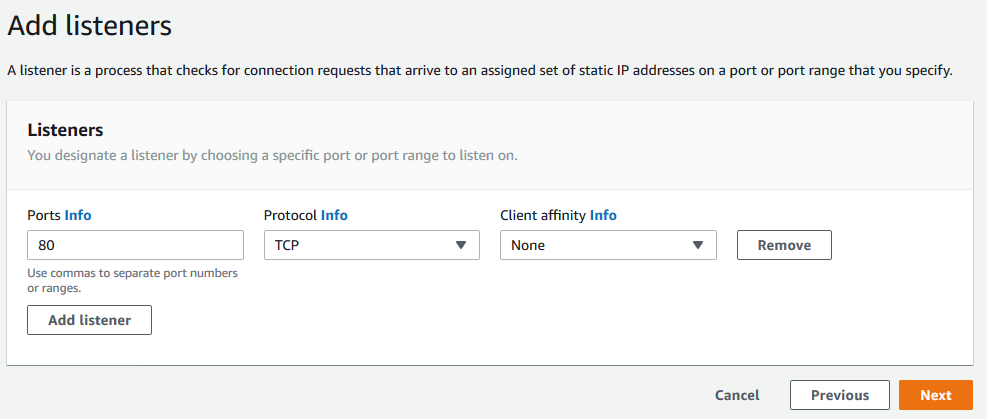
On the next screen, type-in 80 for the ports. Select TCP for the Protocol and click on the Next button.
-
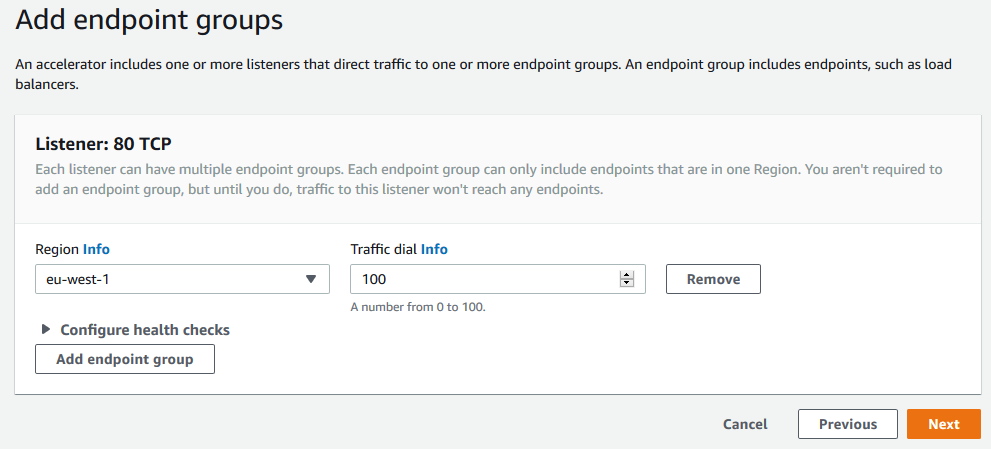
On the next screen, select eu-west-1 as the region and then click on Next button.
-
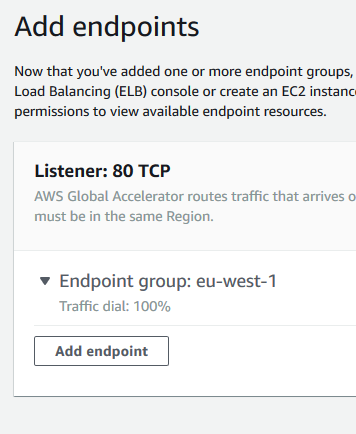
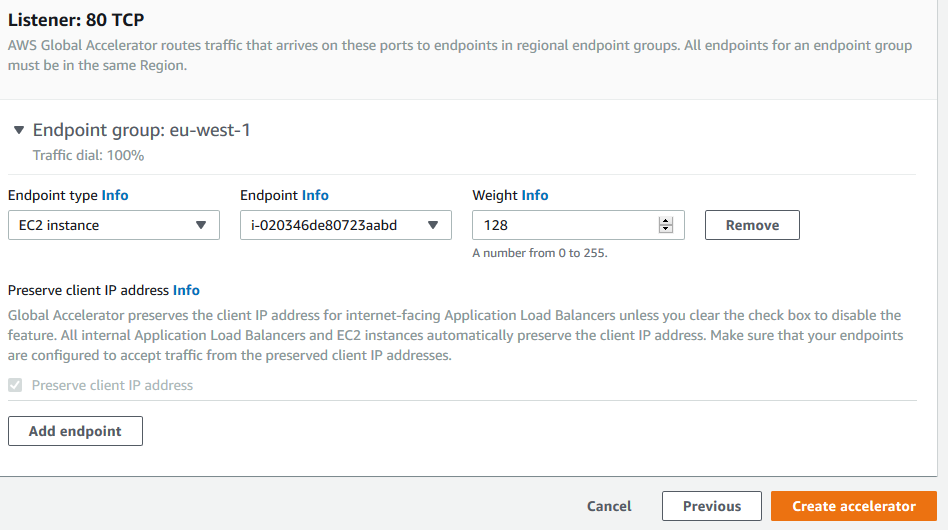
On the next screen, click on the Add endpoint button.
-
On the next screen, select EC2 instance as the Endpoint type. Select dojowebserver EC2 instance as the Endpoint and then click on the Create accelerator button.
-
It will start the creation of the Global Accelerator. It will take some time. Wait till the status of the accelerator changes to Deployed. Make note of the DNS name as you need it to access the web application.

-
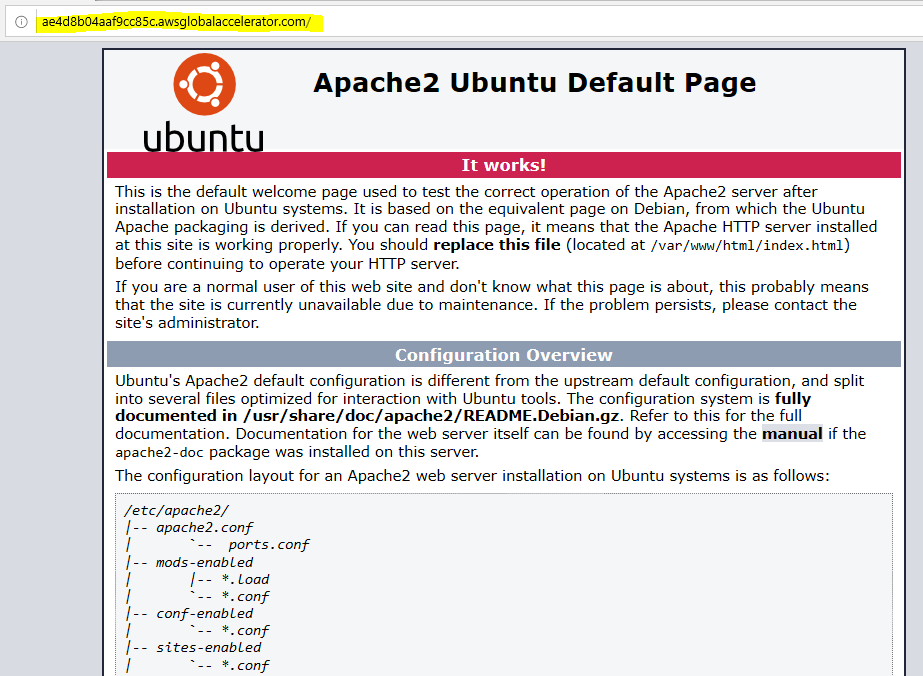
You now can access the web site using Global Accelerator and when you do so you are using AWS Global Infrastructure for the most of the path in place of internet network hopping. Use Global Accelerator DNS name to access the web application - http://[dns-name].
-
This was quick exercise to learn using Global Accelerator to improve web site / application performance by optimizing the traffic path. The exercise is complete. Follow the next step to clean-up the resources so that you don’t incur any cost post the exercise.
Step6: Clean up
Delete dojoaccelerator Global Accelerator in the Oregon region.
Delete the dojowebserver EC2 instance in the Ireland region or the region you choose for the exercise.
Delete the dojoec2profile IAM role.
Thanks and hope you enjoyed the exercise.