
Discover & protect sensitive data with Amazon Macie
Amazon Macie is a data security and data privacy service to enable discovery and protection of the sensitive data stored in Amazon S3. The service can automatically discover the sensitive data such as personally identifiable information (PII), financial information and intellectual property. It can publish discovery findings to AWS Services such as Event Bridge or Security Hub for action and remediation. Macie also enables to define custom detection rules that handle organization specific intellectual property, proprietary data, and particular scenarios.
In this exercise, you will store two files sample1.csv and sample2.pdf in Amazon S3 bucket and discover sensitive data in these files using Amazon Macie. You also create a simple custom detection rule to understand handling of the organization specific requirements.
The AWS Resource consumption for the exercise falls under AWS Free Tier.
Step1: Pre-Requisite
You need to have an AWS account with administrative access to complete the exercise. If you don’t have an AWS account, kindly use the link to create free trial account for AWS.
Step2: Create S3 Bucket
The first step is to create the Amazon S3 bucket which is used to store the two sample files.
-
Login to the AWS Console. Select an AWS Region of your choice where Amazon Macie is available. You will see the exercise using the Ireland region.
-
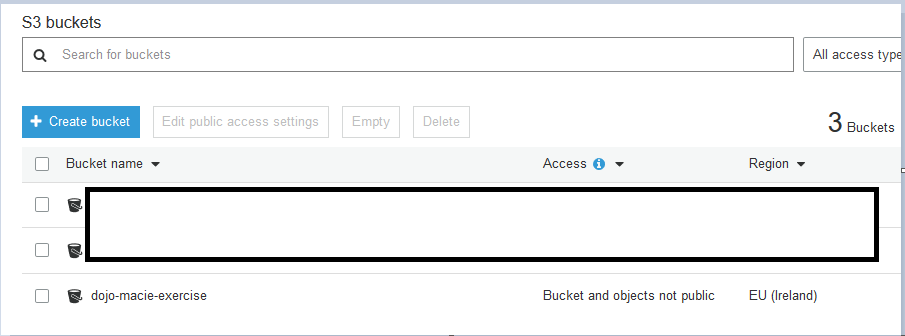
Goto S3 Management Console. Use + Create bucket button to create a new bucket dojo-macie-exercise. If the bucket name is not available, then create a bucket with the name which is available.
-
That is all for this step now. We will come back later to upload files here. Let’s enable Amazon Macie in the AWS account.
Step3: Enable Amazon Macie
If you are working with Amazon Macie for the first time; then you need to enable it first.
-
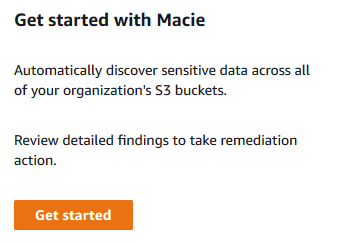
Goto the Amazon Macie Console and click on the Get started button.
-
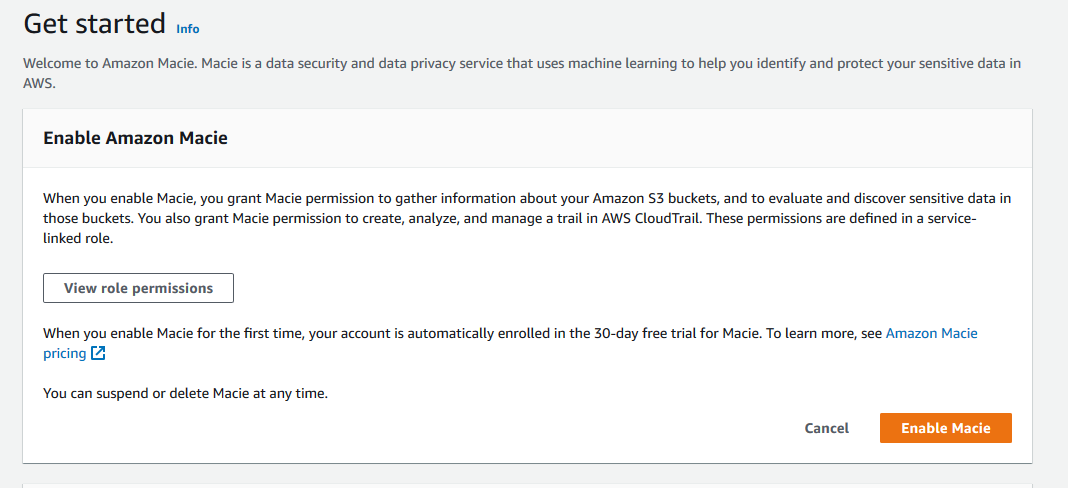
On the next screen, click on the Enable Macie button.
-
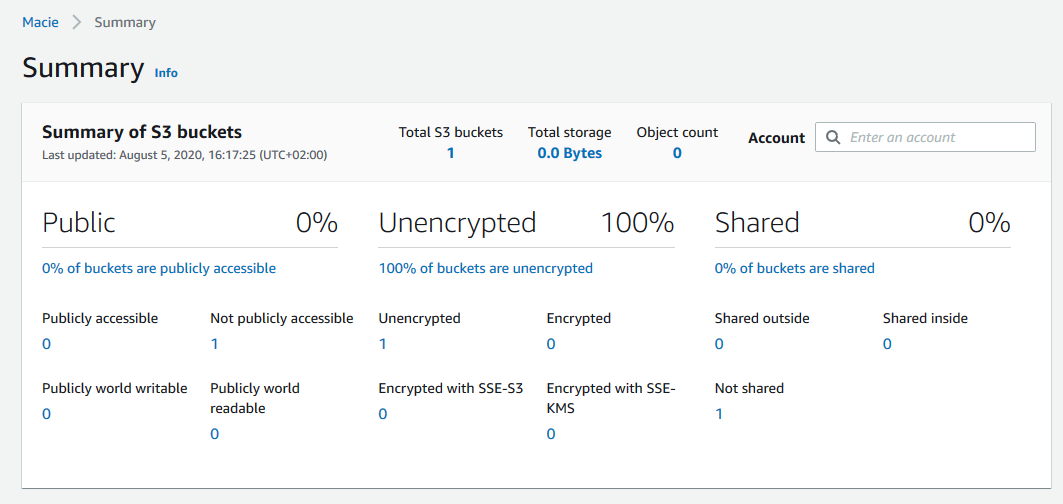
It will take some time to enable Macie. Please wait. When the Macie is enabled, it comes back with some initial analysis of the S3 buckets from the public access, encryption and sharing point of view. This is good but you want to go beyond and discover sensitive data in the S3 storage.
-
Macie is enabled. Let’s upload the data files in the next step. Macie will discover sensitive data in these data files.
Step4: Upload data Files to S3
You are using two data files for the discovery - sample1.csv and sample2.pdf. The first files has customer identifiable information. While the second file has a small text paragraph where we would apply custom detection rule to discover sensitive information.
-
Download the sample files from the following links. Please open these files to see what content is there - just to know.
-
Goto S3 Management Console, upload sample1.csv and sample2.pdf files to the dojo-macie-exercise bucket. If you created bucket with a different name, then use that one.
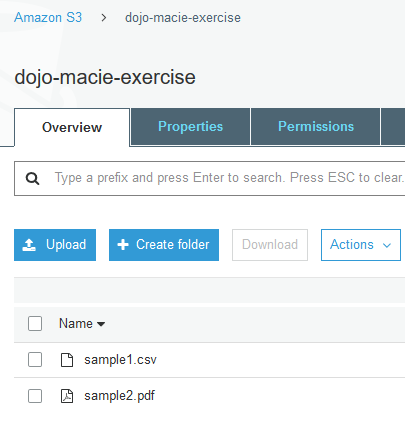
-
The data is ready. Time to configure Macie.
Step5: Create Custom Detection Rule
You try to create a simple custom detection rule. For instance, you will try to check if login word is used in the text and if yes then you want to discover it as a sensitive data. You can use regular expression to create really complex rules but let’s stick with this simple one for now.
-
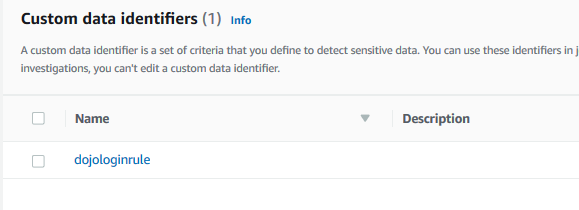
Goto Macie Management Console and click on the Custom data identifier in the left menu and then click on the Create button.

-
On the next screen, type in dojologinrule as the name, type in login in the Regular expression and then click on the Submit button. Basically, you are writing rule to detect login word as the sensitive data. You can use combination of Regular expression, Keywords and Ingore words fields to create a real complex rule.
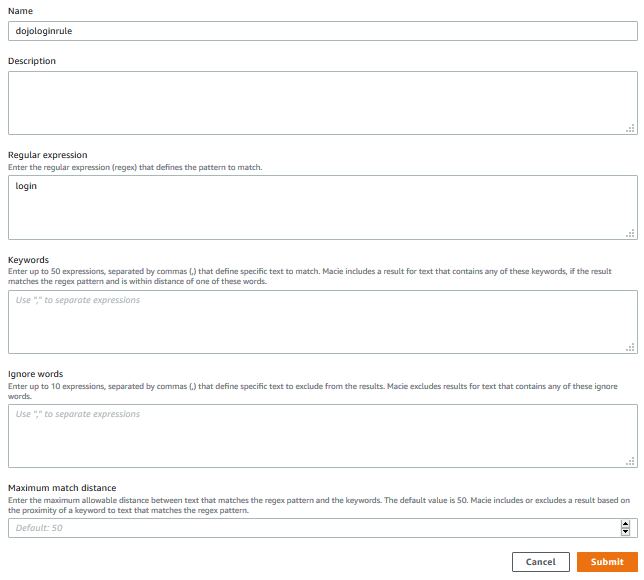
-
The rule is created in no time. Once the rule is created, you should test to check if this is working as defined. In order to test, click on the dojologinrule to see the rule details.
-
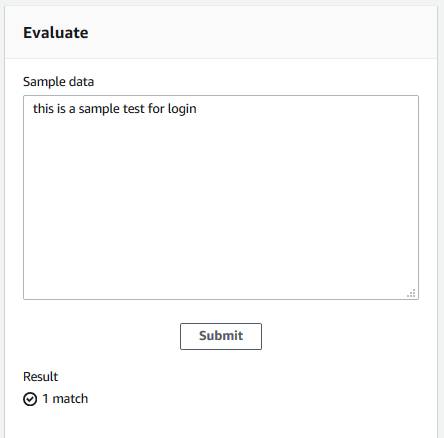
On the next screen, you see the Evaluate form on the right. Type in this is a sample test for login as the Sample data and then click on the Submit button.
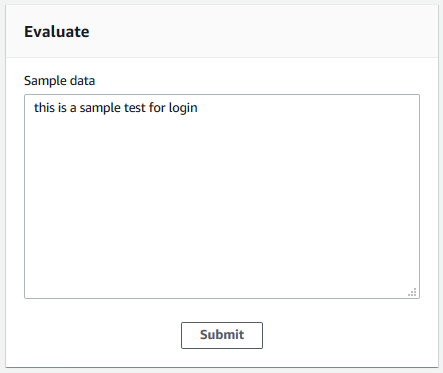
-
The result finds one match which shows that the rule is working.
-
Great. The custom rule is ready. Let’s create a job in Macie to do sensitive data discovery.
Step6: Create and run Macie Job
You create a job to discover sensitive data in the Amazon S3 buckets you want. Let’s create one.
-
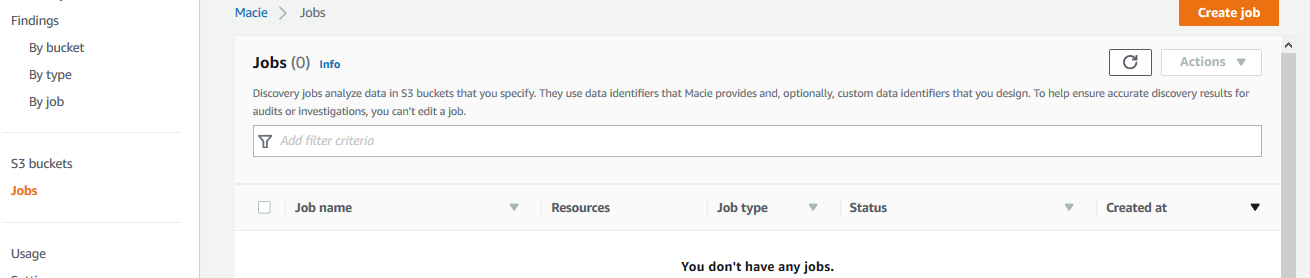
Goto Macie Management Console and click on the Jobs in the left menu and then click on the Create job button.
-
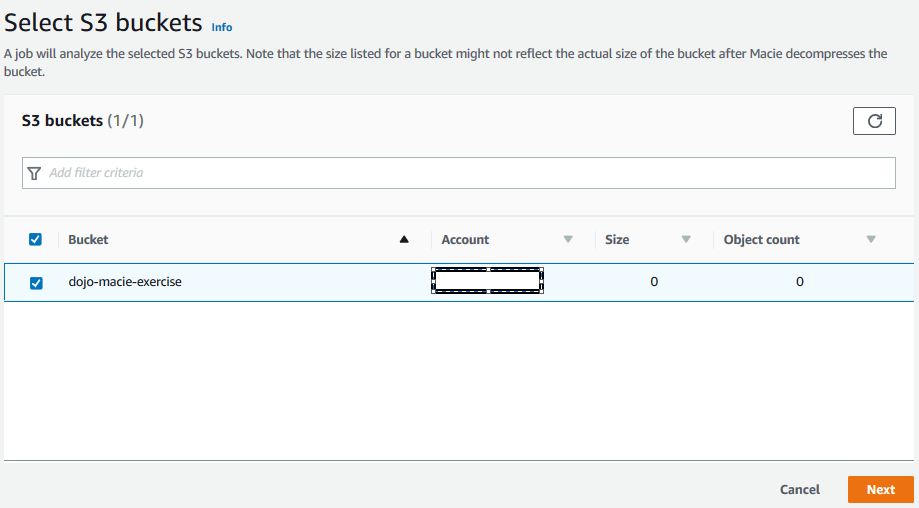
On the next screen, select dojo-macie-exercise as the bucket to discover and click on the Next button. If you created bucket with a different name; then select that one.
-
On the next Review S3 buckets screen, click Next button.
-
On the next screen, select One-time job as the option. In the production deployment, you would prefer to schedule this job. However, for this exercise, you will run it only once. Click on the Next button.

-
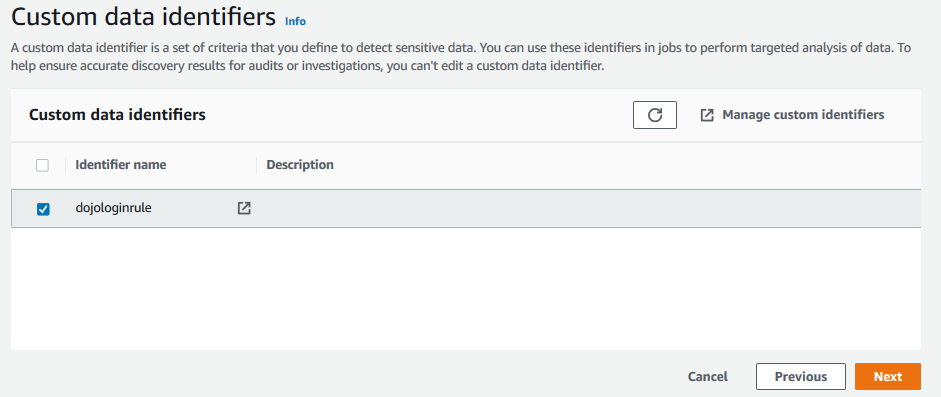
On the next screen, select dojologinrule custom data identifier and click on the Next button. You create this identifier in the previous step.
-
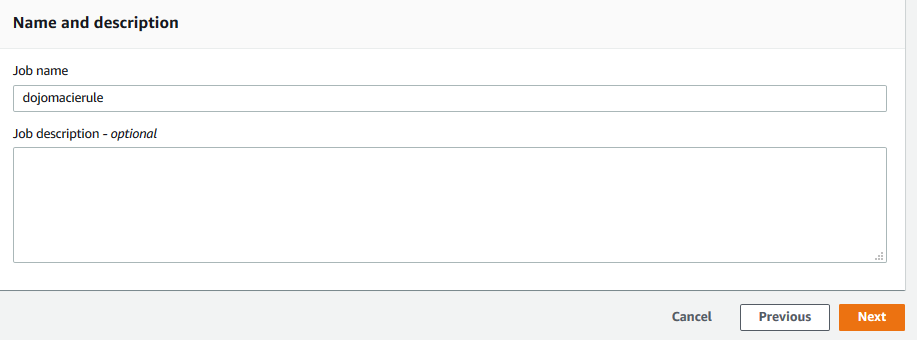
On the next screen, type in dojomacierule as the job name and click on the Next button.
-
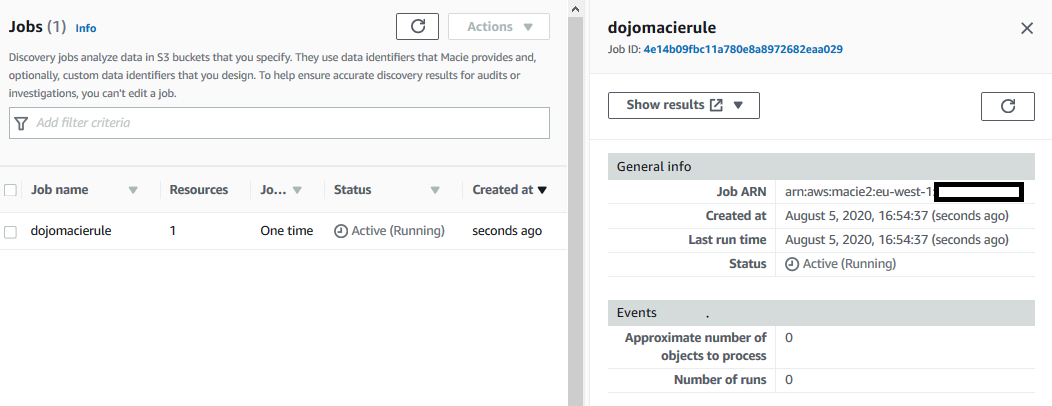
Finally on the Review and create screen, click on the Submit button. The job is created in no time. It will also start running with status Active (Running). Wait till job status changes to Complete. It might take a while so you can take a break.
-
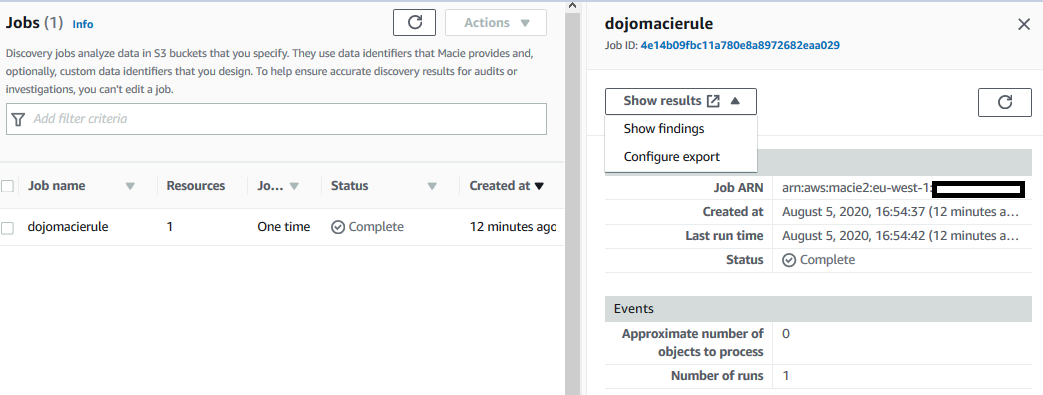
Once the job status changes to Complete, click on the Show results dropdown menu and then click on the Show findings option.
-
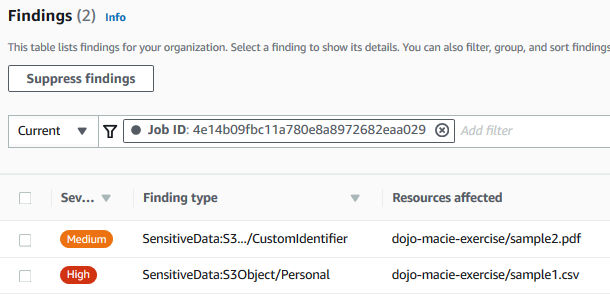
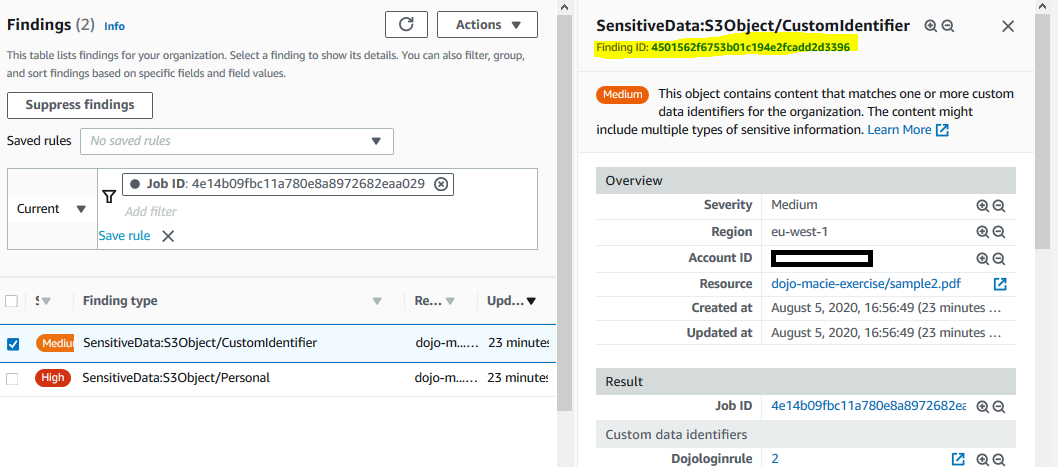
It will open the results on a new browser tab or window. You can see findings for both files. One shows finding as the CustomIdentifier type and other the Personal type.
-
Select the SensitiveData:S3Object/CustomIdentifier finding to check the details. The details are presented in the right. Click on the Finding ID to check the finding json file.
-
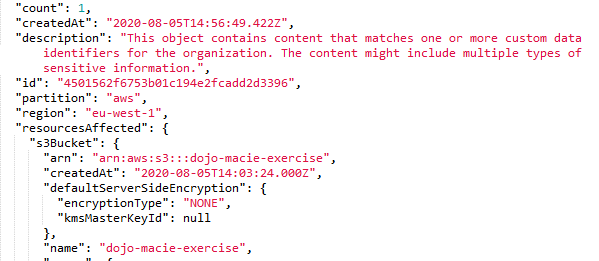
The finding json shows the complete details of the finding. For instance SensitiveData:S3Object/CustomIdentifier finding json shows -
-
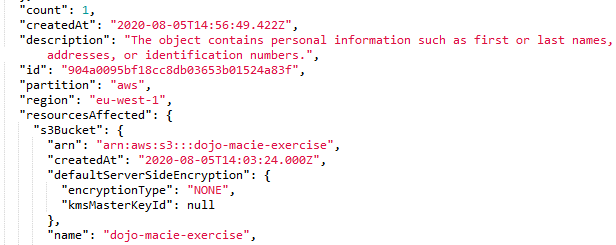
Similarly, if you open finding json for SensitiveData:S3Object/Personal finding, it looks like the following -
-
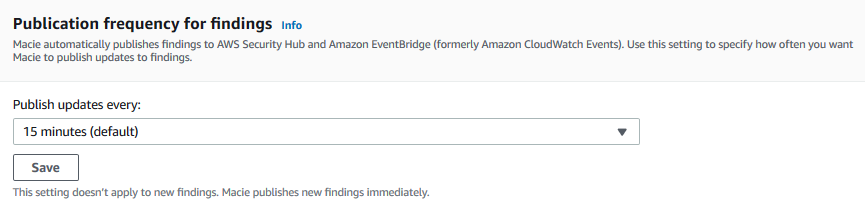
You can download these json findings. In actual production use, these finding are published to other AWS Services such as Event Bridge or Security Hub to handle the findings for the notification and remediation. Macie does publishing automatically. You can see the publish frequency in the Settings area.
-
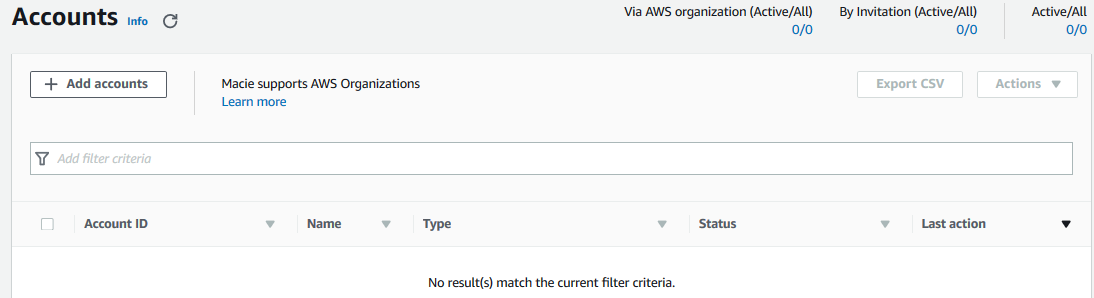
You can also add multiple AWS accounts for the sensitive data discovery under Macie. This configuration is completed in the Account section of the Settings area.
-
It finishes the exercise. Please follow the next step to clean-up the resources so that you don’t incur cost after the exercise.
Step7: Clean up
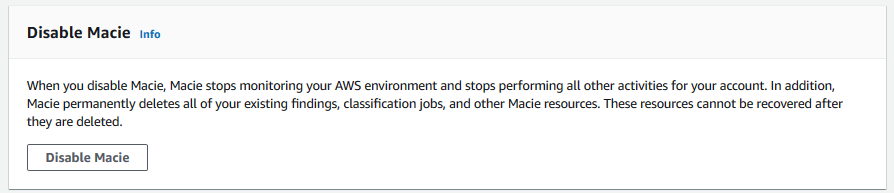
Disable Amazon Macie again. You can do it in the Settings area.
Delete dojo-macie-exercise bucket. If you create bucket with a different name then delete that one.
Thanks and hope you enjoyed the exercise.