
Using Microsoft Visual Studio with AWS .NET SDK
Microsoft Visual Studio is one of the most popular IDE for .NET framework based development. Amazon Web Services comes with AWS .NET SDK which allows the developers to work with the AWS Service using the languages like c#. This exercise will help you learn about configuring Microsoft Visual Studio to work with AWS .NET SDK.
Step1: Pre-Requisite
You need to have an AWS account with administrative access to complete the exercise. If you don’t have an AWS account, kindly use the link to create free trial account for AWS.
You also need to have Microsoft Visual Studio (2017, 2019, 2015 or 2013) installed and ready on the machine where you are running this exercise. The exercise assumes that you know how to use Microsoft Visual Studio.
Step2: Create Developer IAM Account
You first create a developer account in Amazon IAM to use with the Visual Studio. Microsoft Visual Studio will use the developer account permission to run the code using AWS .NET SDK. You will create the account with full Amazon S3 access and then use the c# code to create a bucket.
-
Login to the AWS Console. Select an AWS Region of your choice. You will see the exercise using the Paris region.
-
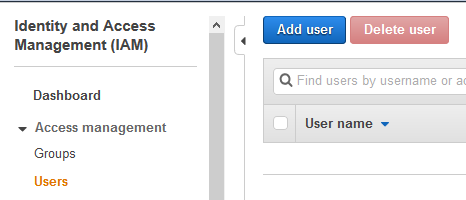
Goto the IAM Management console, click on the Users menu in the left and then click on the Add user button.
-
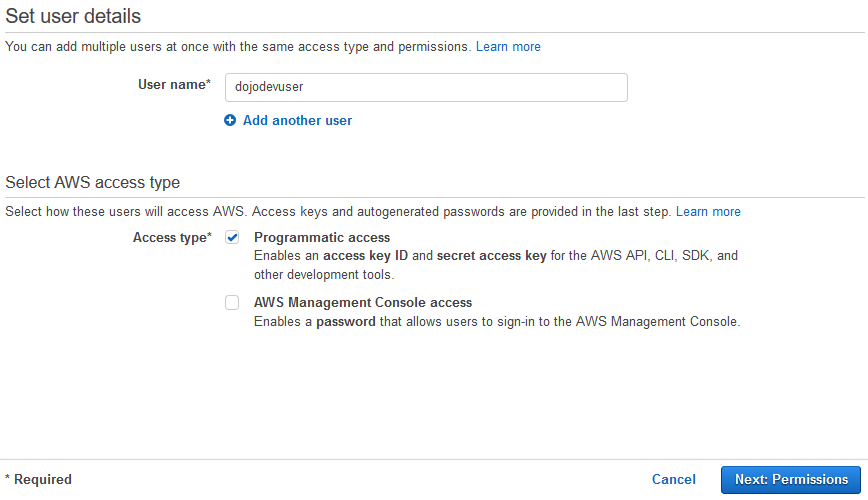
On the next screen, enter dojodevuser as the User name. Select Programmatic access only for the Access type and then click on the Next: Permissions button.
-
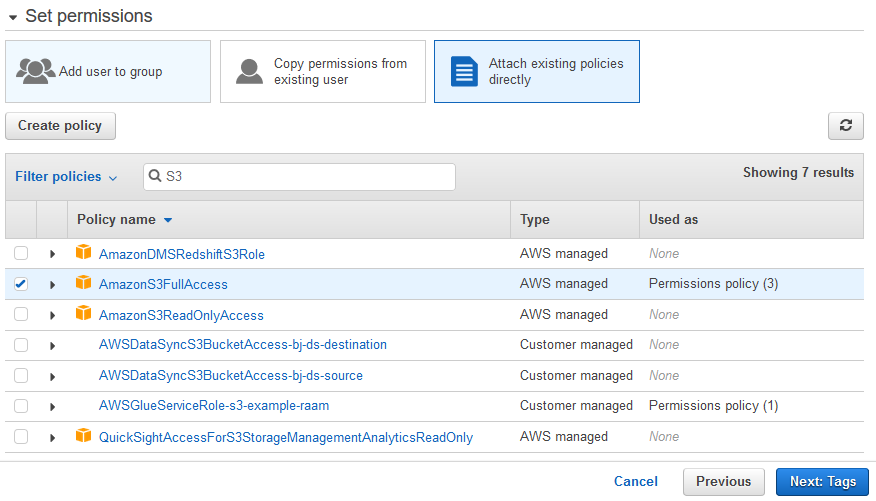
On the next screen, select Attach existing policies directly option for the Set permissions, select AmazonS3FullAccess as the policy and click on the Next: Tags button.
-
On the next screen, click on the Next: Review button.
-
On the next screen, click on the Create user button.
-
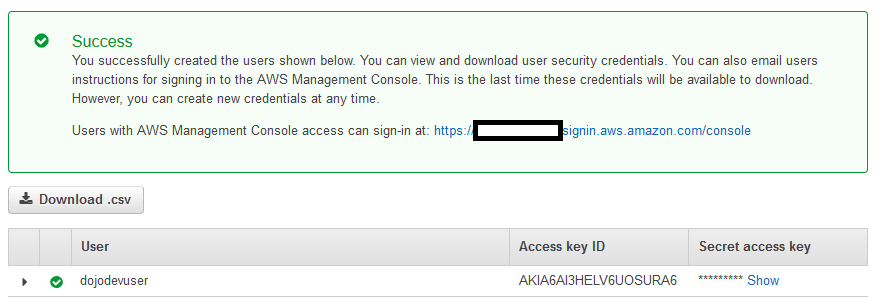
The user account is created in no time. On the next screen, the Access key ID and Secret access key are generated. Click on the Download .csv button to download it. Important Note - you must download the .csv file because if you leave this screen, you will never be able to recover the same keys.
-
The keys are used as credentials for the IAM user account in the Microsoft Visual Studio to make call to AWS Services using AWS .NET SDK. You must keep the keys safe and must not share with anyone as it might be misused.
Step3: Configure Microsoft Visual Studio
You already have Microsoft Visual Studio installed. You will now configure it to work with AWS .NET SDK. The exercise is using Microsoft Visual Studio Community 2017.
-
On the same machine where Microsoft Visual Studio is installed, kindly download and install AWS Toolkit for Visual Studio from the link. Kindly use the right version for the Visual Studio you have.
-
It takes a while to install the toolkit. Once it is installed, open Microsoft Visual Studio and click on the AWS Explore option under the menu View.

-
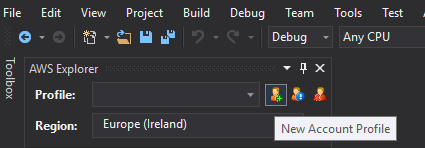
It will open AWS Explore. Click on the New Account Profile.
-
On New Account Profile window, enter dojoprofile as the profile name, use Import from csv file… button to import Access Key Id and Secret Access Key from the CSV file downloaded in the previous step. Finally click on the OK button to create the profile.

-
The profile is ready.
Step4: Run the Sample Application
It is time to create a sample application using AWS .NET SDK and test it.
-
In Microsoft Visual Studio, create a New Project of Console App (.NET Framework) type.
-
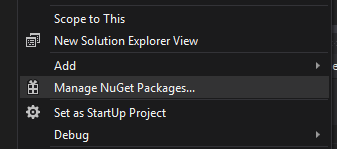
When the project is created, use Manage NuGet Packages… menu option to open Nuget Package Manager.
-
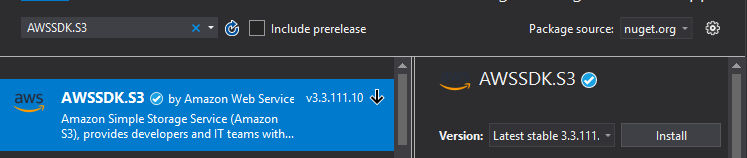
Search for AWSSDK.S3 package and install it.
-
Once the package is installed, open App.config file. Add the following appSettings section under the configuration. You are configuring the application to use the profile access keys for the authentication. You also configure the AWS region. The exercise is using the Paris region but if you are using another AWS region then mention that AWS region code over here.
  <appSettings>
    <add key="AWSProfileName" value="dojoprofile"/>
    <add key="AWSRegion" value="eu-west-3"/>
  </appSettings>
`
-
Next open Program.cs file. Replace the code with the following code. The exercise is trying to create a bucket with the name dojo-bucket-x001 using AWS .NET SDK APIs for Amazon S3. When you run the application, you might get error for the duplicate bucket or the bucket name already exists. In such case, the bucket name is not available and you should use another bucket name over here.
    using System;
    using System.Collections.Generic;
    using System.Linq;
    using System.Text;
    using System.Threading.Tasks;

    using Amazon.S3;
    using Amazon.S3.Model;

    namespace ConsoleApp2
    {
        class Program
        {
            static void Main(string[] args)
            {
                AmazonS3Client client = new AmazonS3Client();

                client.PutBucket(new PutBucketRequest().BucketName = "dojo-bucket-x001");
            }
        }
    }
`
-
Finally, run the application. Once the application completes the execution, goto AWS S3 Management console and you can see the S3 bucket created.

-
Congratulations, you finished the exercise. Kindly follow the clean up step to remove the resources created.
Step5: Clean up
-
Go back to the IAM Management Console and delete the dojodevuser user.
-
Delete the dojo-bucket-x001 bucket. If you created bucket with a different name, then delete that one.
-
Delete the csv file (containing AWS access and secret keys) stored on your local machine.
-
Delete dojoprofile profile created in AWS Explore in Microsoft Visual Studio.
Thanks and hope you enjoyed the exercise.