You worked on the writing PySpark code in the previous task. In this task, you will take all that code together and convert into an AWS Glue Job.
-
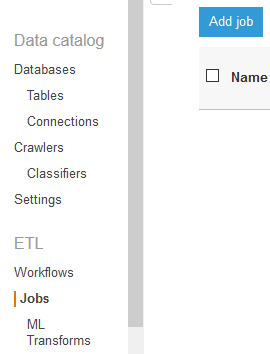
On the AWS Glue console, click on the Jobs option in the left menu and then click on the Add job button.
-
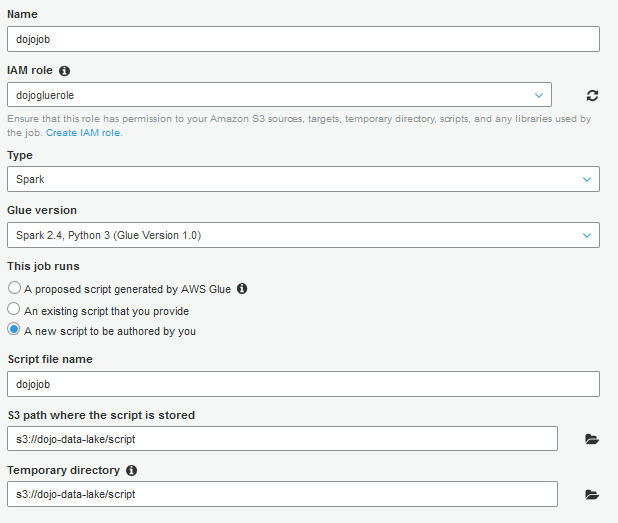
On the next screen, type in dojojob as the job name, select dojogluerole as the IAM role, select A new script to be authored by you option, type in s3://dojo-data-lake/script as the bucket location for S3 path where the script is stored and Temporary directory fields. If you created bucket with a different name, then use that one. Keep rest of the configuration as the default and click on the Next button.
-
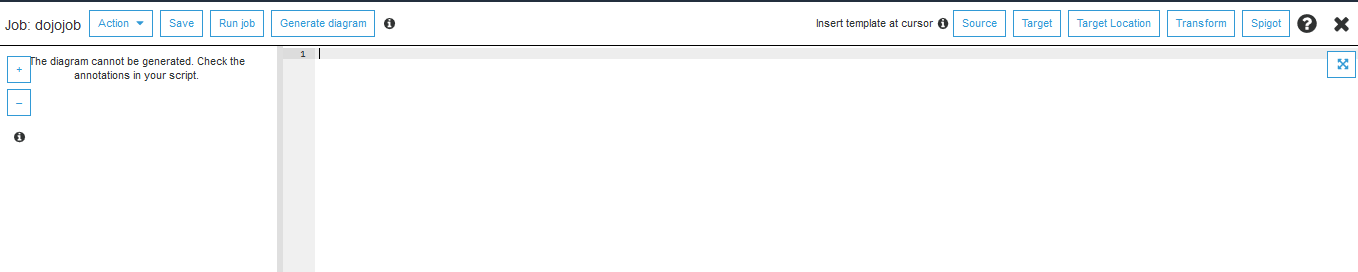
On the next Connections page, click on the Save job and edit script button. You come to the page where you can write your code. It is the same code you wrote in the previous task in the notebook.
-
Copy paste the following code and click on the Save button. There is a bucket location s3://dojo-data-lake/data/customer-sales mentioned in the script as the target location for the data. If you created bucket with a different name then use that bucket name.
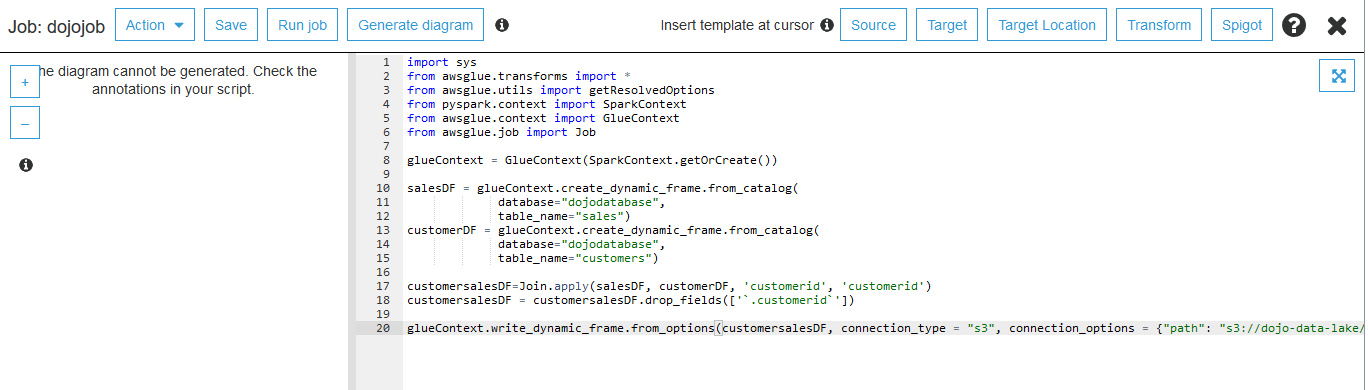
import sys
from awsglue.transforms import *
from awsglue.utils import getResolvedOptions
from pyspark.context import SparkContext
from awsglue.context import GlueContext
from awsglue.job import Job

glueContext = GlueContext(SparkContext.getOrCreate())

salesDF = glueContext.create_dynamic_frame.from_catalog(
             database="dojodatabase",
             table_name="sales")
customerDF = glueContext.create_dynamic_frame.from_catalog(
             database="dojodatabase",
             table_name="customers")

customersalesDF=Join.apply(salesDF, customerDF, 'customerid', 'customerid')
customersalesDF = customersalesDF.drop_fields(['`.customerid`'])

glueContext.write_dynamic_frame.from_options(customersalesDF, connection_type = "s3", connection_options = {"path": "s3://dojo-data-lake/data/customer-sales"}, format = "json")
-
The job is saved. Click on the X button in the right top corner of the job definition to close the job definition.

-
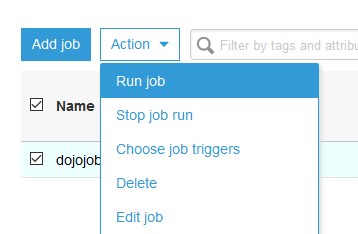
The job is ready. Select the job and click on the Run job menu under Action dropdown menu. On the popup window, click on the Run job button again.
-
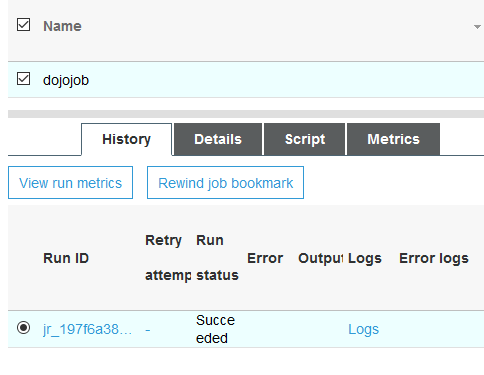
You can see status of the job in the lower pane of the window.

-
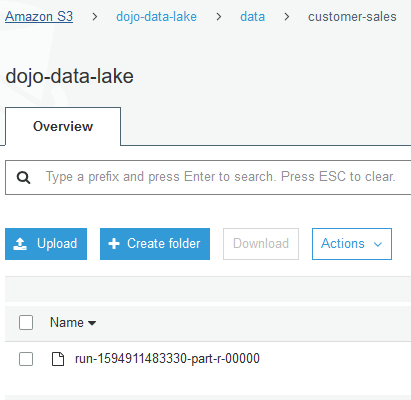
Wait till the job status changes to Succeeded. It might take some time in finishing the job. Once the job completes, you can see the data created in the S3 location by the job.
Job Status
File in the bucket
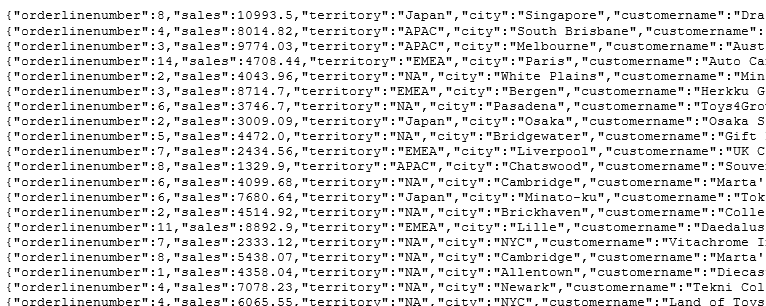
File format
-
That was all for this part of the workshop. The next task is about cleaning up the resources so that you don’t incur any cost post the workshop.