You configure service which is used to launch a task using the task definition created earlier.
-
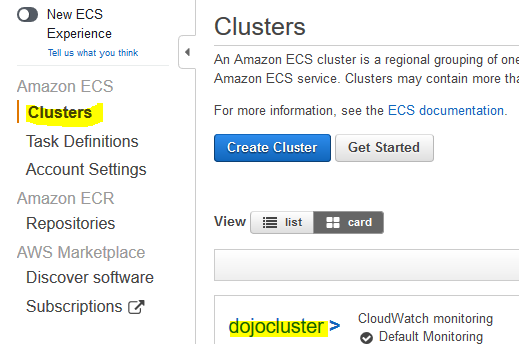
Goto the AWS Elastic Container Services (ECS) console and click on the Clusters menu in the left and then click on the dojocluster link.
-
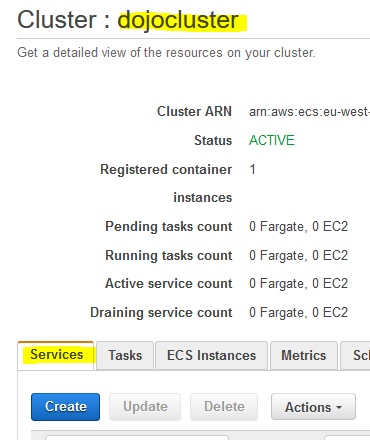
On the next screen, under the Services tab, click on the Create button.
-
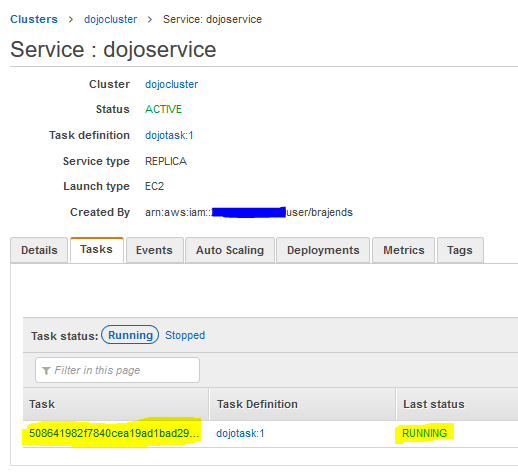
On the next screen, select EC2 for the launch type. Select dojotask as the task definition. Select dojocluster for the cluster. Type in dojoservice as the service name. Select REPLICA as the service type. Select 1 for the number of tasks. Keep rest of the configuration to the default and click on the Next step button.

-
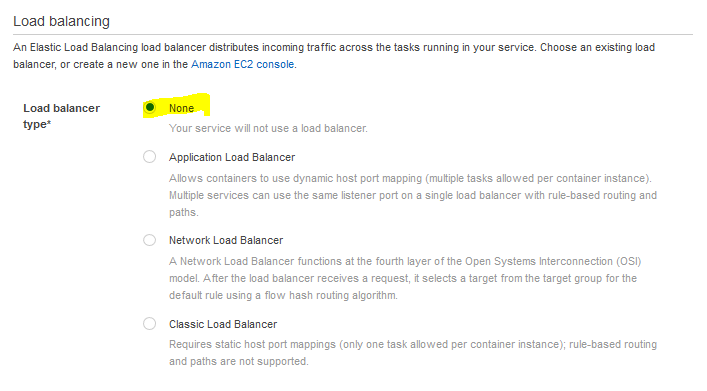
On the next screen, select None for load balancer type and click on the Next step button.
-
On the next screen, select Do not adjust the service’s desired count for service auto scaling and click on the Next step button.

-
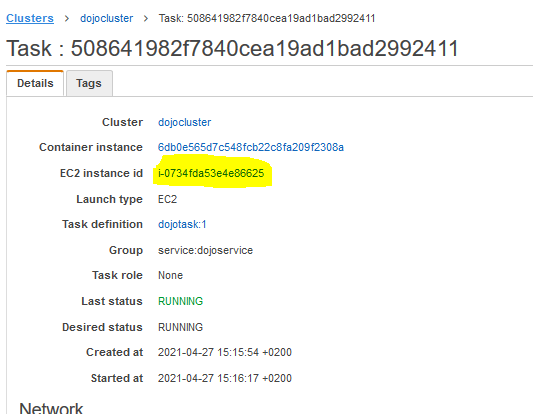
On the next review screen, click on the Create service button. It will create the service. You can see the task running under the cluster. Click on the Tasks tab in the cluster to see the task running. Then click on the task id.
-
On the next screen, click on the EC2 instance id link.
-
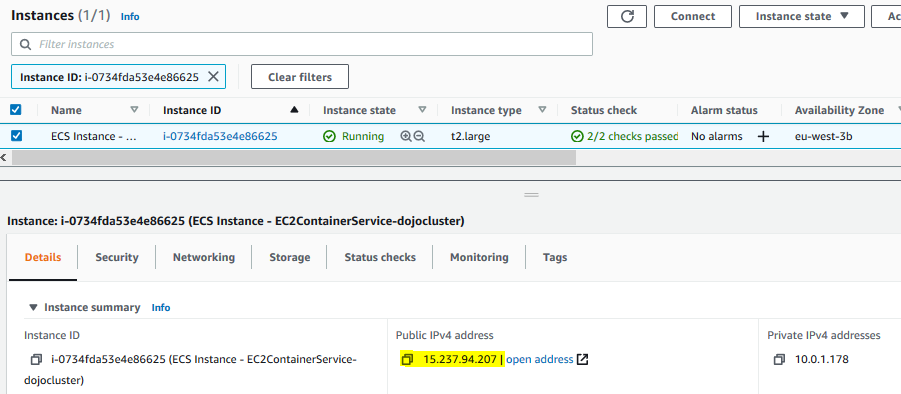
It will open the instance details on a new browser window or tab. Select the instance and make note of the public IPv4 address.
-
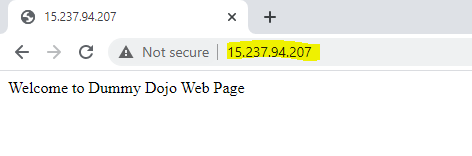
Access the IP address over http port like http://ipaddress. It will open the flask application web page.
-
This finishes the workshop. Follow the next step to clean-up the resources so that you don’t incur any cost post the workshop.