You will launch AWS Cloud9 environment. When you launch an environment, it starts an Amazon EC2 instance in the background and uses it with AWS Cloud9 IDE as the development machine.
-
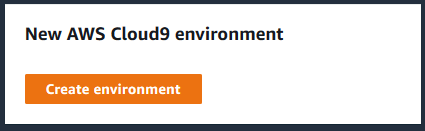
Goto the AWS Cloud9 console and click on the Create environment button.
-
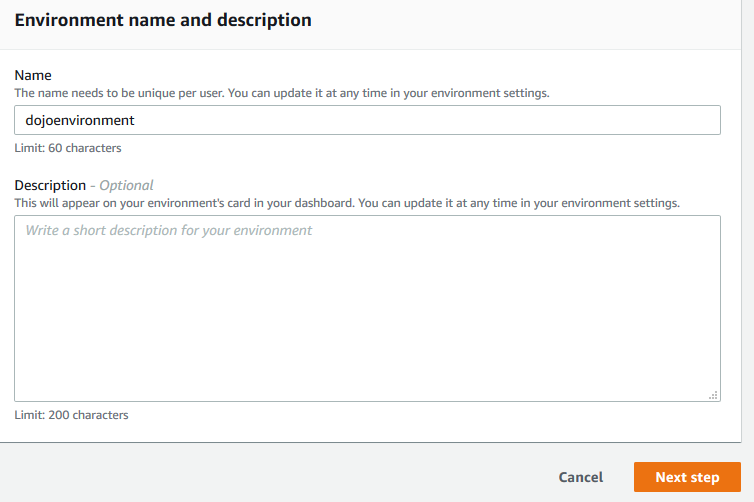
On the next screen, enter dojoenvironment as the name and click on the Next step button.
-
On the next screen, select Environment type as Create a new instance for environment (EC2). Select Instance type as t3.small (2 GiB RAM + 2 vCPU). Select Ubuntu Server 18.04 LTS for the Platform. The development environment will have Ubuntu as the operating system. Keep rest of the fields with the default values and click on the Next step button.

-
On the next screen, click on the Create environment button.
-
It will take couple of minutes to create the environment. Wait for the environment to be ready. Once it is ready, you can see console window in the bottom part of the screen. It provides console base access to the development machine.
-
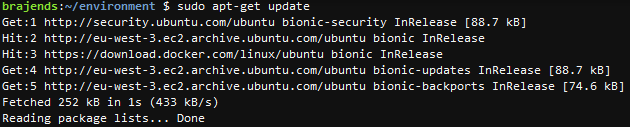
You will now configure the environment for the Docker. Run the following command in the console to update the environment.
sudo apt-get update`
-
The Docker is installed and configured. Run the following command to check the version of the Docker installed.
docker --version`

-
With environment ready, it is time to create the Docker package.