You start with creation of Private VPC & Subnet where EC2 instances are launched.
-
Login to AWS Management Console and change the region to Ireland.
-
Goto VPC Management console. Select Your VPCs menu option in the left and then click on the Create VPC button.

-
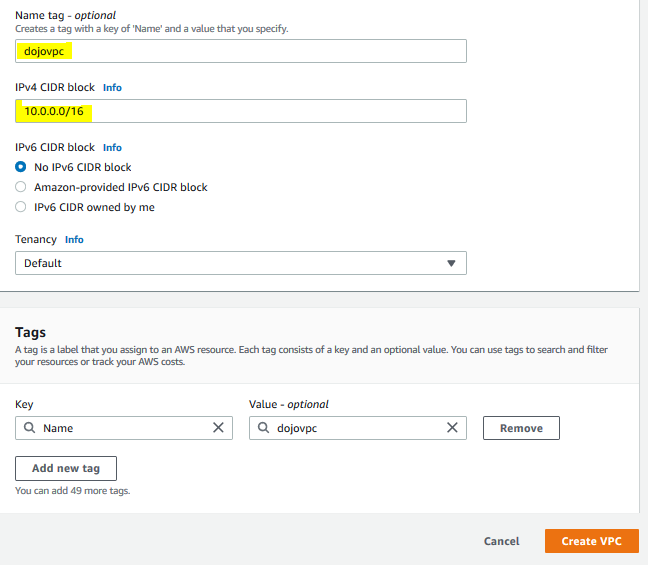
On the next screen, enter dojovpc as the VPC Name. Type in 10.0.0.0/16 for the IPv4 CIDR block. Keep rest of the configuration to the default and click on the Create VPC button.
-
The VPC is created in no time. Select Subnets menu option in the left and then click on the Create subnet button.

-
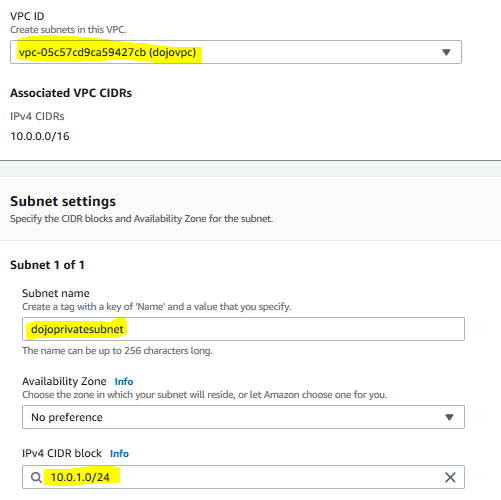
On the next screen, select dojovpc as the VPC ID. Type in dojoprivatesubnet for the subnet name. Type in 10.0.1.0/24 for the IPv4 CIDR block. Keep rest of the configuration to the default and click on the Create subnet button.
-
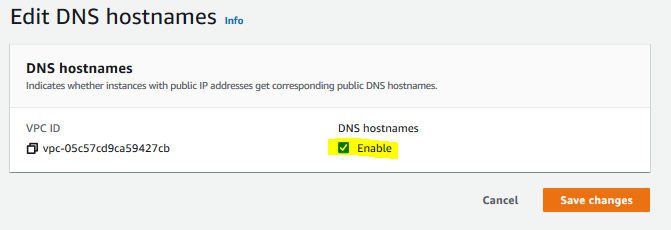
The subnet is created in no time. You now enable DNS Configuration for the dojovpc. Select dojovpc and click on Edit DNS hostnames option under the Actions menu.

-
On the next screen, check the enable option and click on the Save changes button. The configuration is saved.
-
In the next step, you configure Security Group which is used by the endpoints configured at the later steps.