You launch a Redshift cluster which is used as the data source in the AWS Wrangler based code.
-
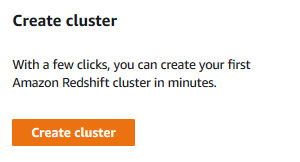
Goto Redshift Management Console and click on the Create cluster button.
-
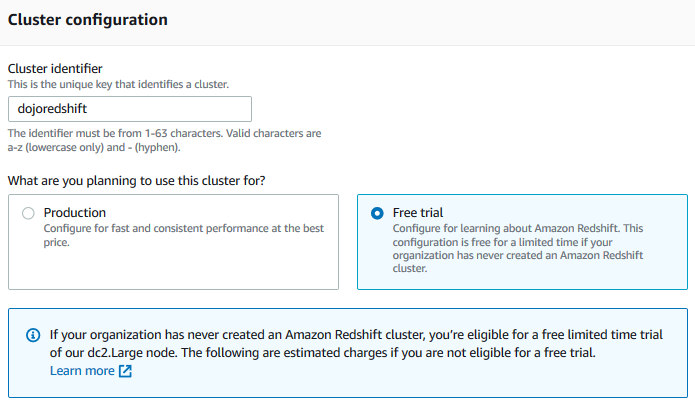
On the next screen, type in dojoredshift for the cluster identifier and select Free trial option.
-
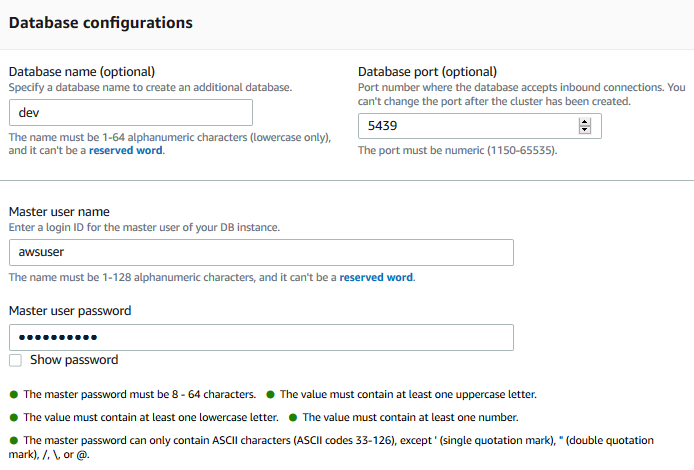
On the same screen, in the Database configurations section, type in Password1! for the master user password field. Keep rest of the fields as the default.
-
It will take a moment to create the Redshift cluster. Wait till the status of the cluster changes to Available.

-
Few things to remember about the cluster which will be useful later.
cluster identifier: dojoredshift
username: awsuser
password: Password1!
database: dev
-
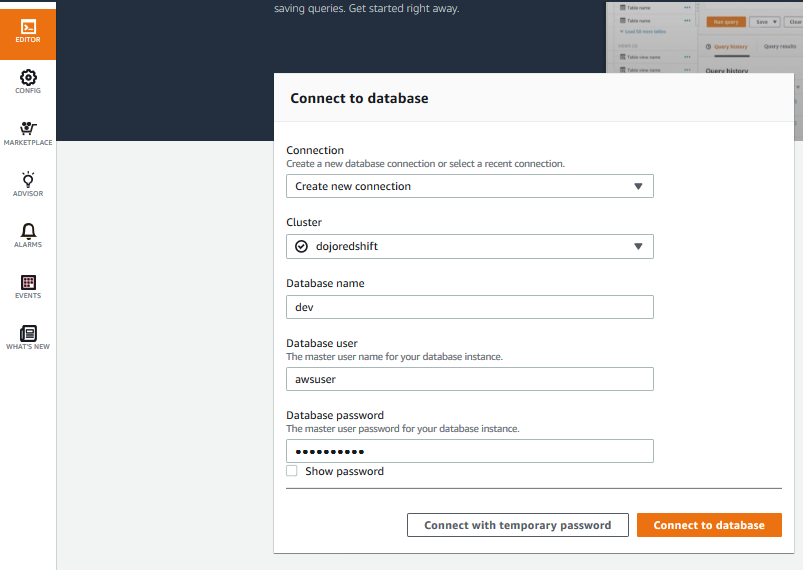
The cluster is ready. In the Redshift Management Console, click on the EDITOR menu in the left. It will open the Connect to database popup. Select Create new connection option. Select dojoredshift as the cluster. Type in dev for the database. Type in awsuser for the user and Password1! for the password. Finally click on the Connect to database button to connect to the cluster.
-
On the next screen, run the following SQL statements one by one to create table dojotable and then insert three sample data into it.
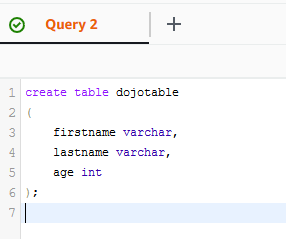
create table dojotable
(
    firstname varchar,
    lastname varchar,
    age int
);
`

insert into dojotable values ('James','Smith',34),('Henary','Club',41),('Jony','Whack',25);`
-
The Redshift cluster and data is ready. Let’s move on to Glue configurations.
