You learnt how to use Jupyter Notebook for PySpark coding. In this step, you submit the entire code as task in Jupyter notebook.
-
Create a local file with the name dojoemrtask.py and copy-paste the following code into it. If you created bucket with a different name, replace the bucket name in this code with that name. It is the same code which you tried in the Jypyter Notebook but with little change. The input and output locations have been parameterized in order to avoid hard-coding.
import sys
from datetime import datetime

from pyspark.sql import SparkSession
from pyspark.sql.functions import *

spark = SparkSession\
    .builder\
    .appName("SparkETL")\
    .getOrCreate()

customerdf = spark.read.option("inferSchema", "true").option("header", "true").csv(sys.argv[1])

customerdf = customerdf.select("CUSTOMERNAME","EMAIL")

customerdf.write.format("parquet").mode("overwrite").save(sys.argv[2])
`
-
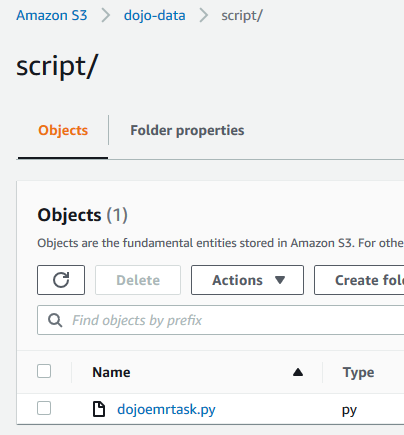
Upload the dojoemrtask.py file to the script folder under dojo-data bucket. If you created bucket with a different name then use that bucket.
-
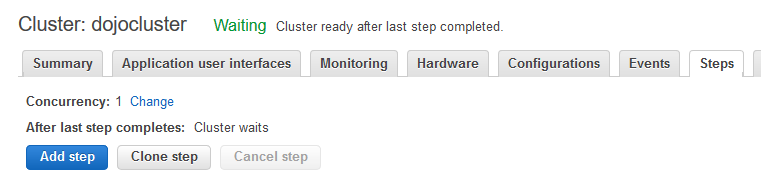
Goto the EMR Management console and open the dojocluster EMR cluster details. Click on the Steps tab.

-
On the next screen, click on the Add step button.
-
On the next popup screen, select Custom JAR for the step type. Type in dojotask for the name. Type in command-runner.jar for the JAR location. Copy-Paste spark-submit s3://dojo-data/script/dojoemrtask.py s3://dojo-data/input/customers.csv s3://dojo-data/output/taskoutput/ for the Arguments. If you created bucket with different name, use that one. You are providing three arguments - command to submit spark task, input file location and output folder location. The script above uses the input and output location in the code. Finally, click on the Add button.

-
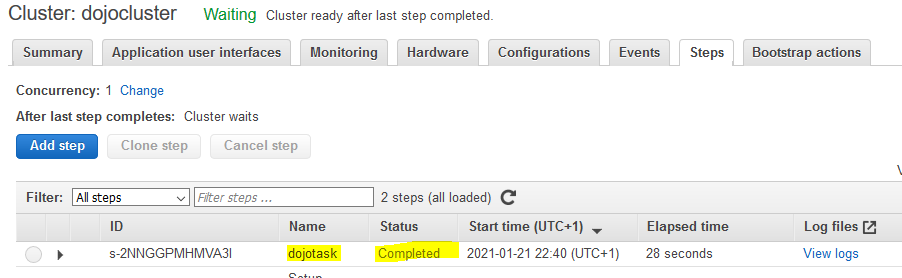
The step will be added and the execution will start in a while. Wait till the status of the task changes to Completed.
-
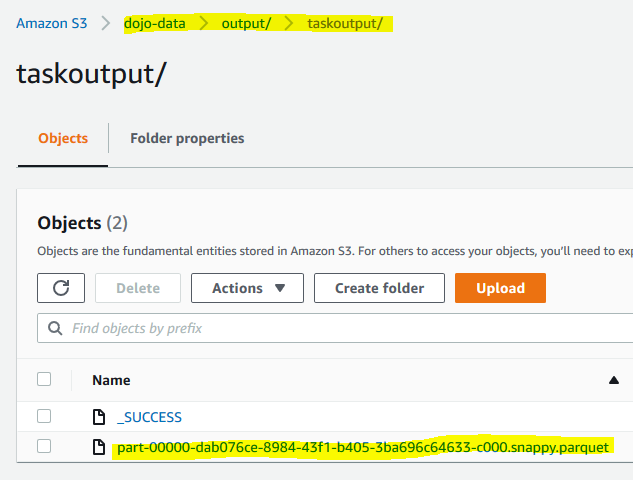
The task has completed. It has written output to the output location in the S3 bucket. You can verify it.
-
This finishes the workshop. Follow the next step to clean-up the resources so that you don’t incur any cost post the workshop.