In this step, you create a Glue Workflow which will orchestrate both crawler and job. The workflow will run the crawler first and then will run the job after the crawler finish running successfully.
-
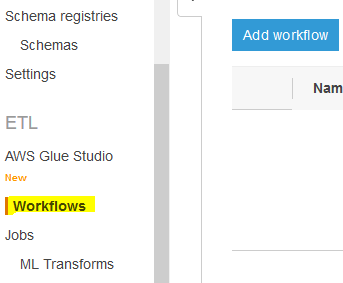
Goto Glue Management console. Click on the Workflows menu in the left and then click on the Add workflow button.
-
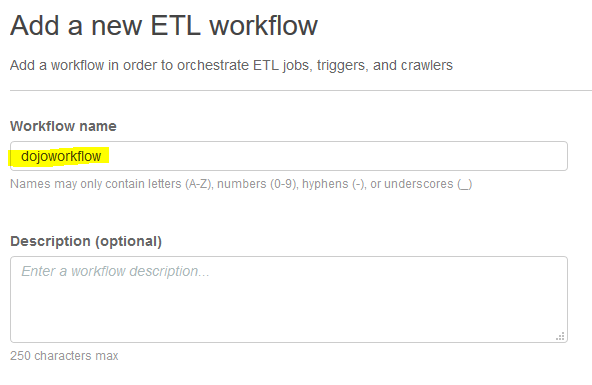
On the next screen, type in dojoworkflow as the workflow name and click on the Add workflow button.
-
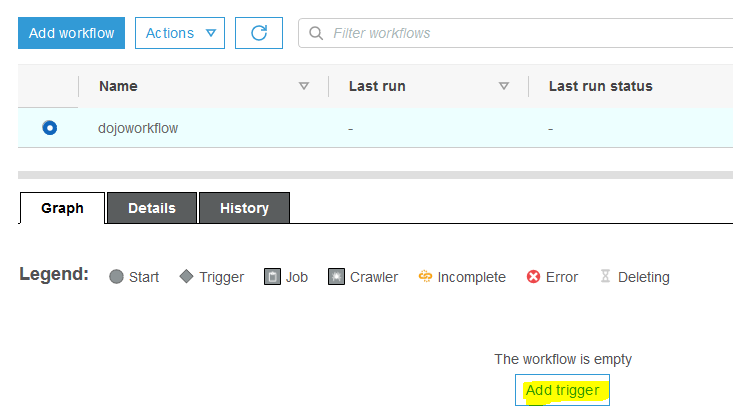
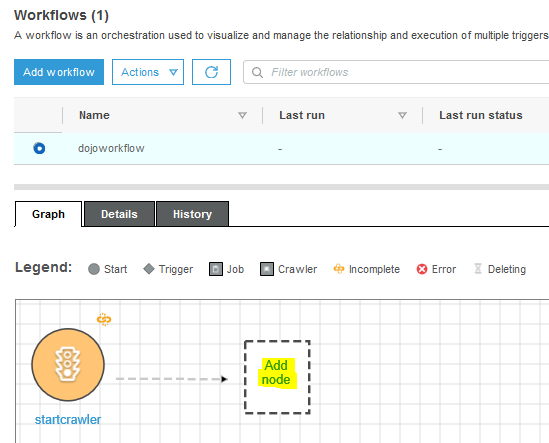
The workflow is created. Select the workflow and click on the Add trigger link.
-
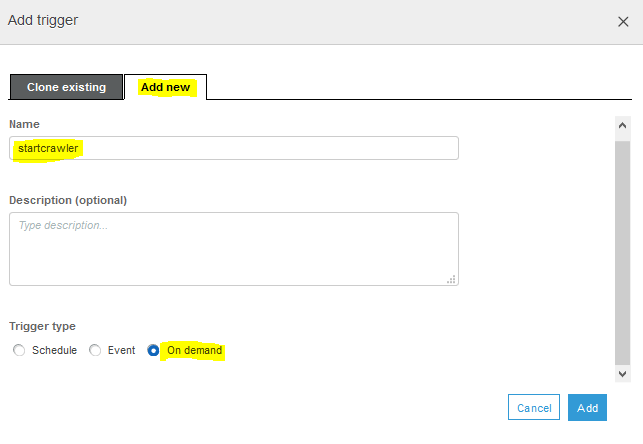
On the Add trigger popup, select Add new tab. Type in startcrawler as the trigger name and select On demand for the trigger type. You are selecting trigger type as on demand because you will start the workflow manually in this workshop. Click on the Add button.
-
The trigger is added to the workflow. Click on the Add node link to configure what you want to run after the trigger.
-
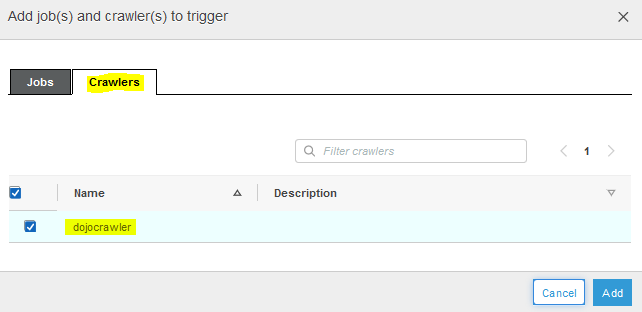
On the popup screen, select Crawlers tab. Select dojocrawler and click on the Add button.
-
The crawler node is added as the next step to the trigger. Next, select Add trigger option under the Action menu to add another trigger.

-
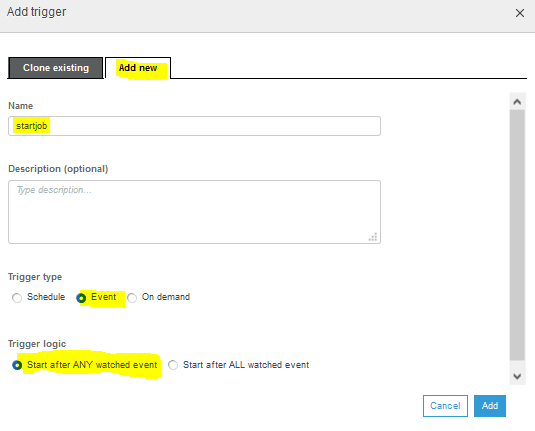
On the popup screen, select Add new tab. Type in startjob as the name. Select Event for the trigger type. Select Start after ANY watched event for the trigger logic. Finally click on the Add button.
-
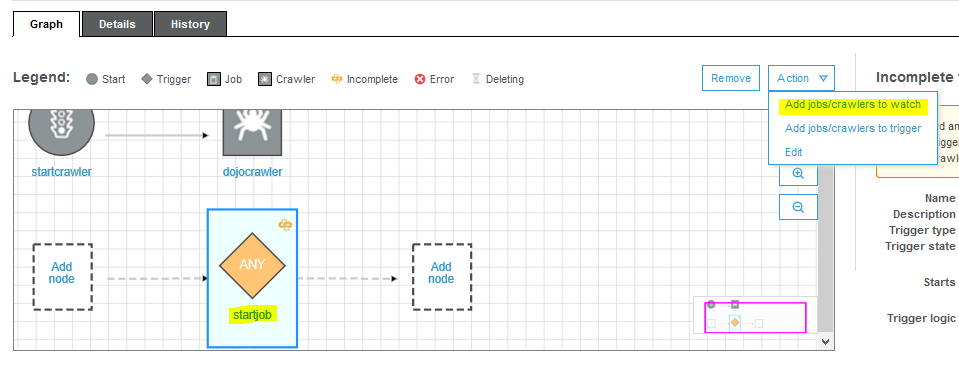
The trigger is added. Select the startjob trigger and select Add jobs/crawlers to watch option under the Action menu.
-
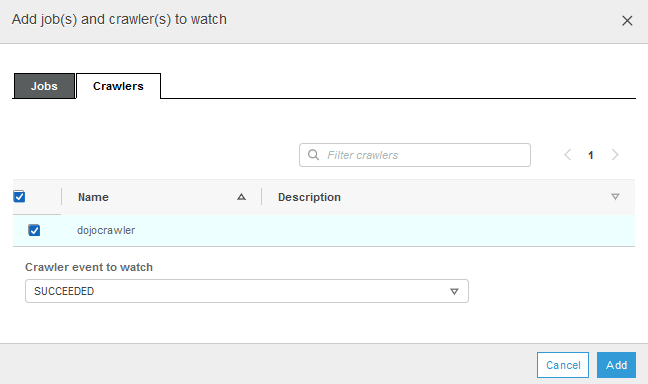
On the popup screen, select Crawlers tab. Select dojocrawler. Select SUCCEEDED for the Crawler event to watch field. Finally click on the Add button.
-
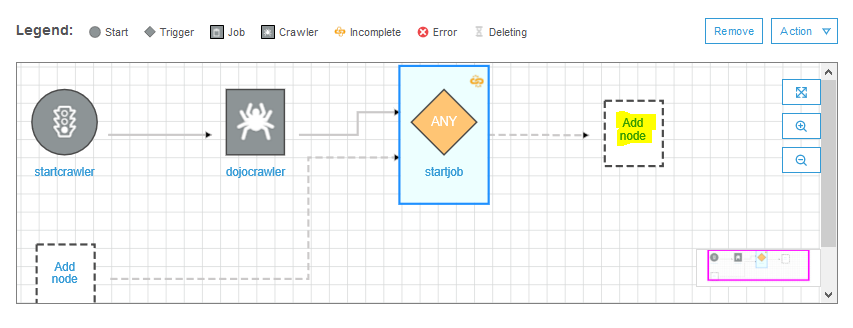
The startjob trigger is now configured to run when the crawler finishes execution successfully. Click on the Add node icon next to startjob to configure what job or crawler the statjob trigger will invoke.
-
On the popup screen, select Jobs tab. Select dojojob and click on the Add button.

-
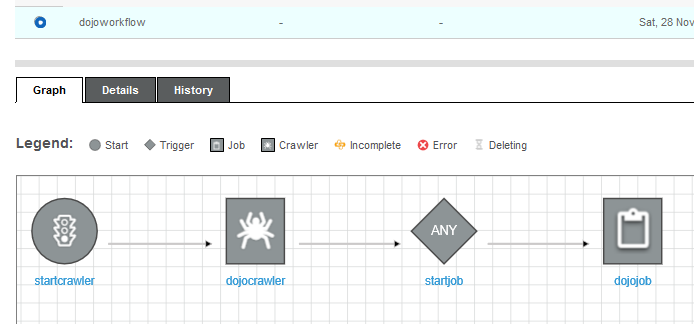
The workflow is now configured end to end. It will first run the crawler and then the job.
-
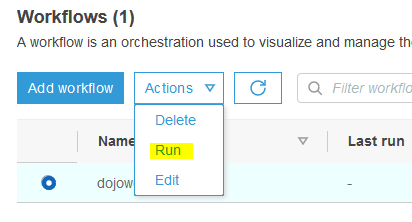
Select dojoworkflow and click on the Run option under the Action menu.
-
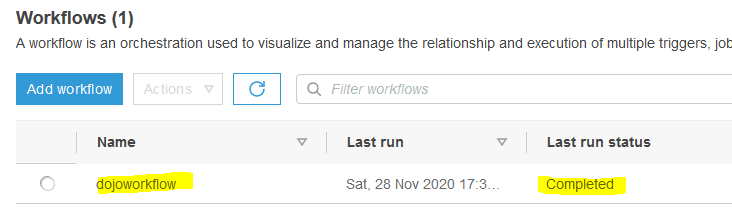
The workflow execution will start with the status Running. Wait till the status changes to Completed.
-
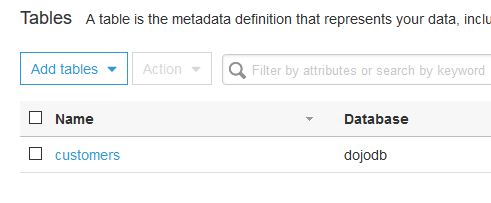
You can see the crawler run in the workflow has added the table customers under the dojodb database.
-
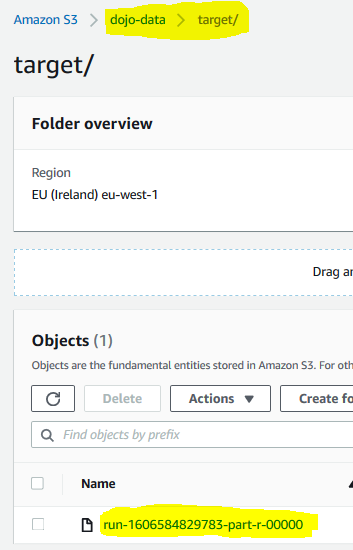
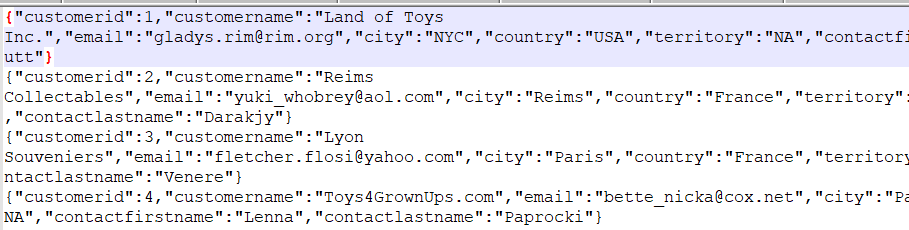
You also see the job run in the workflow has created the file in the target folder. The data has been transformed from the csv to json format.
-
This finishes the workshop. Follow the next step to clean-up the resources so that you don’t incur any cost post the workshop.