The model is ready. The development environment is also ready.In this step, you create client using Python to call model using Amazon Rekognition APIs to check if a given picture is of a cat or dog. You first need to start model, then recognize cat or dog in the picture using the model and finally stop the model. You do all these steps using Python code.
-
In the AWS Cloud9 console, click on the New File option under the File menu to add a new file. Write the following code in the new file and save it as startmodel.py.
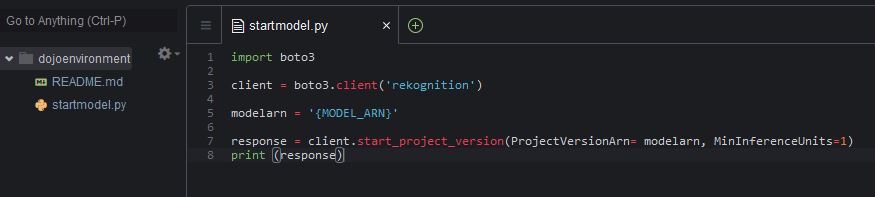
import boto3

client = boto3.client('rekognition')

modelarn = '{MODEL_ARN}'

response = client.start_project_version(ProjectVersionArn= modelarn, MinInferenceUnits=1)
print (response)
`
-
In the code above, replace {MODEL_ARN} with the model ARN you noted in the earlier steps.
-
The code is simple. You first create client for rekognition. Then you call start_project_version method to start the model with minimum inference unit as 1. Finally you print the response of the start_project_version method call to verify if the call went successful.
-
In the console window, execute python startmodel.py command to run the startmodel.py code. The code execution finishes in no time and it will start the model.

-
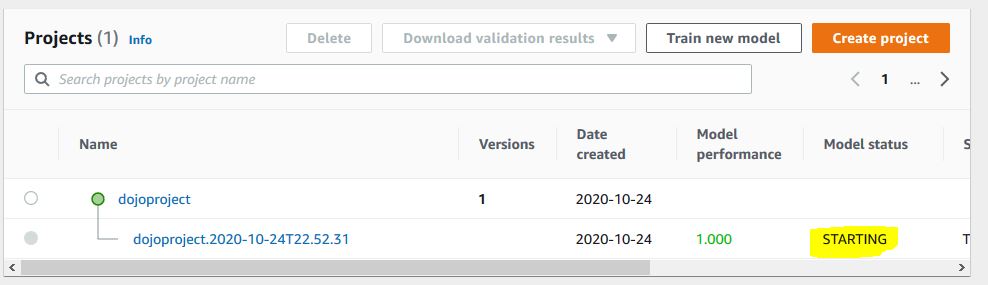
If you go back to Amazon Rekognition console and check the model status, it has changed to STARTING.
-
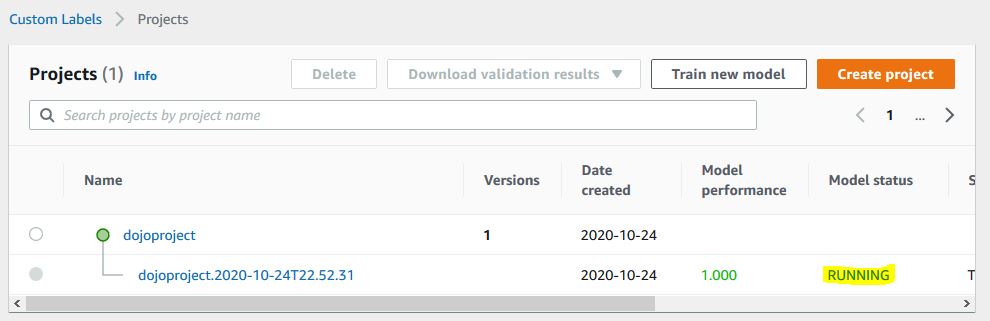
Wait till the status of model changes to RUNNING. It might take some time to reach the running status.
-
The model is running now. You can now test your images. Remember, you uploaded test1.jpg,test2.jpg,test3.jpg & test4.jpg images in the dojo-test-images bucket. If you created bucket with a different name; then use that. You will use these images to test with python code.
-
Go back to Cloud9 environment. Create a new file with the name testmodel.py and copy-paste the following code.
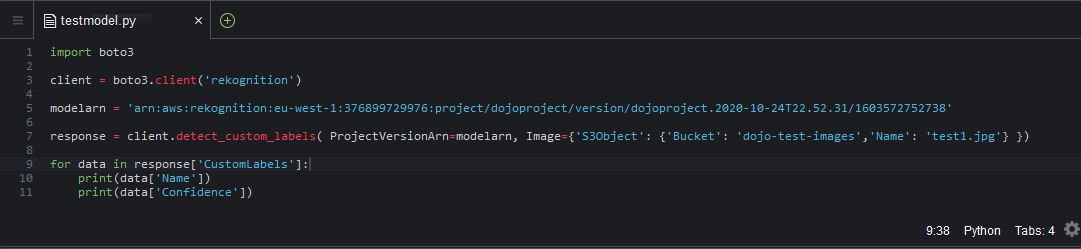
import boto3

client = boto3.client('rekognition')

modelarn = '{MODEL_ARN}'

response = client.client.detect_custom_labels( ProjectVersionArn=modelarn, Image={'S3Object': {'Bucket': 'dojo-test-images','Name': 'test1.jpg'} })

for data in response['CustomLabels']:
    print(data['Name'])
    print(data['Confidence'])
`
-
In the code above, replace {MODEL_ARN} with the model ARN you noted in the earlier steps. If you created S3 bucket with a different name, replace dojo-test-images bucket name with that name.
-
The code is simple. You first create client for rekognition. Then you call detect_custom_labels method to detect if the object in the test1.jpg image is a cat or dog. Finally, you print the label and the confidence about it.
-
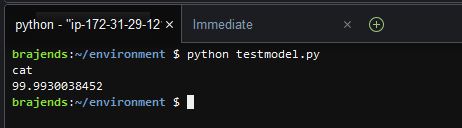
In the console window, execute python testmodel.py command to run the testmodel.py code. The code execution finishes in no time and it will print the label on the image and confidence about it.
-
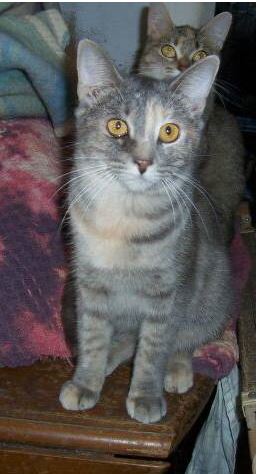
You can see the model is predicting the picture to be of a cat with 99.99% confidence. This is true because below is the tes1.jpg picture.
-
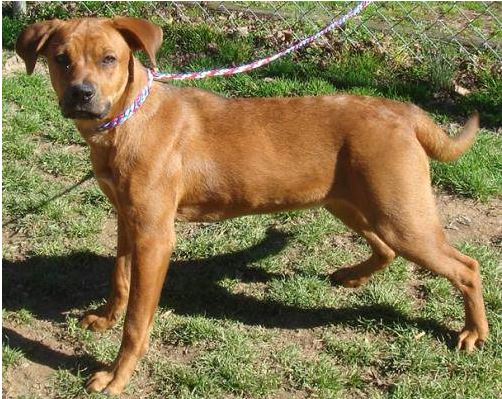
Modify the code and run it for test4.jpg image (shown below). It prints label as dog with 100% confidence.
-
You are free to test other images. You can bring your own images and test them as well.
-
Finally, we write code to stop the model. Create a new file stopmodel.py and copy-paste the following code.
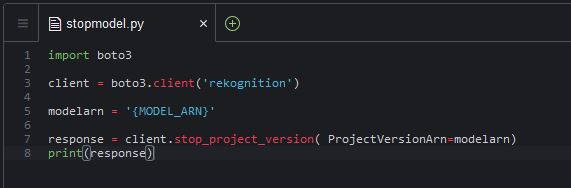
import boto3 client = boto3.client('rekognition') modelarn = '{MODEL_ARN}' response = client.stop_project_version( ProjectVersionArn=projectversion) print(response) -
In the code above, replace {MODEL_ARN} with the model ARN you noted in the earlier steps. In the console window, execute python stopmodel.py command to run the stopmodel.py code. The code execution finishes in no time and it will stop the model.

-
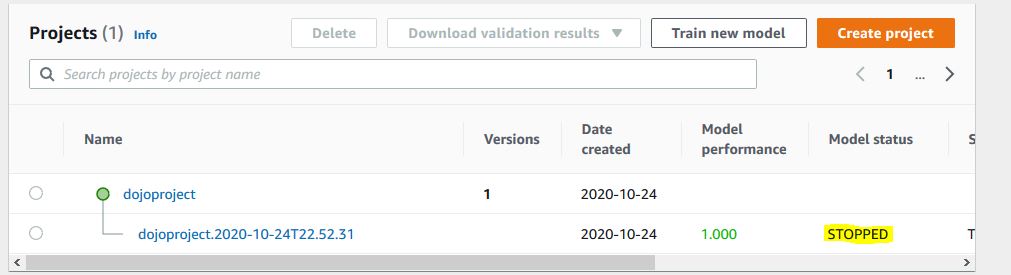
You can also verify the model being stopped in the Amazon Rekognition console.
-
The workshop finishes here. Follow the next step to clean-up the resources so that you don’t incur any cost post the exercise.