The step is to create dataset group in Amazon Personalize using the training data. Amazon Personalize will import the training data from the S3 bucket and make use of it for the model training.
-
Goto Amazon Personalize console, click on the Get started button for new dataset group.
-
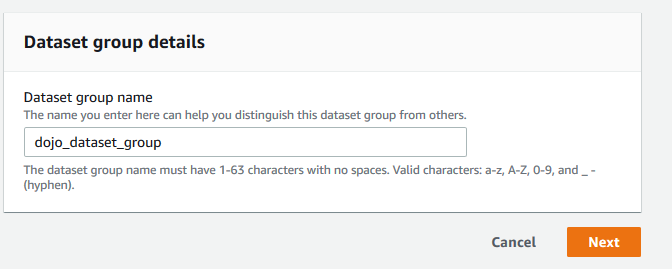
On the next screen, type in dojo_dataset_group as the dataset group name. Click on the Next button.
-
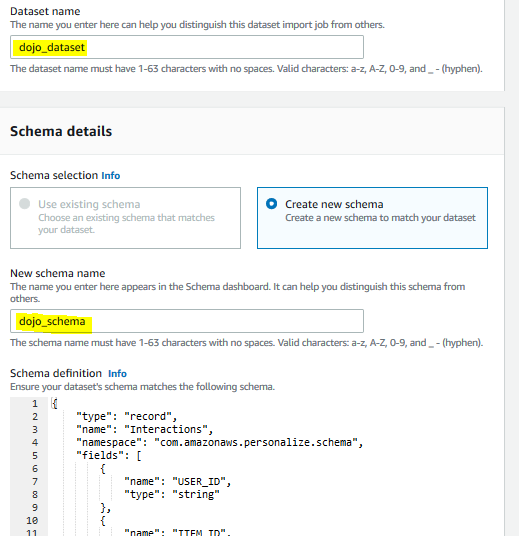
On the next screen, type in dojo_dataset as the dataset name. Select Create new schema option. Type in dojo_schema as the schema name. You don’t need to make any changes to the schema as it already matches with the data format you have for this workshop.
-
The data schema above matches to the sample data format. Recall the sample data we discussed earlier.
1st field - USER_ID - Represents the customer. The movie recommendations are provided for USER_ID.
2nd field - ITEM_ID - Represents the movie watched by a customer. The recommendations are provided about the movies for a customer.
3rd field - TIMESTAMP - Timestamp when the movies was watched by the customer.
-
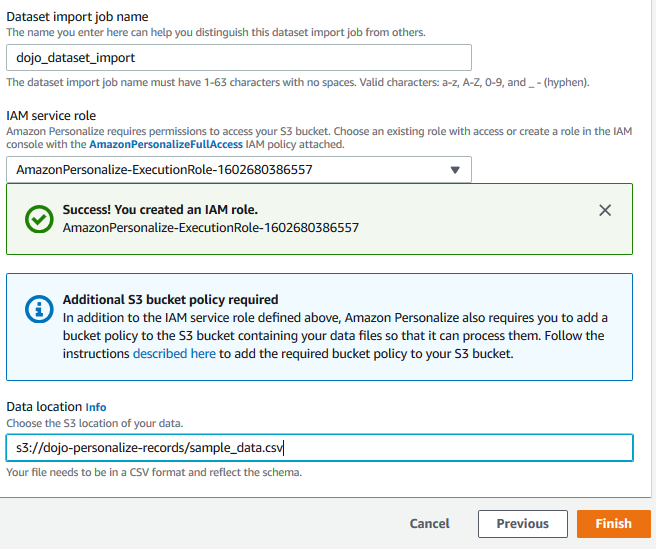
On the next screen, type in dojo_dataset_import for the import name. Choose Create a new role for the IAM Service Role field.

-
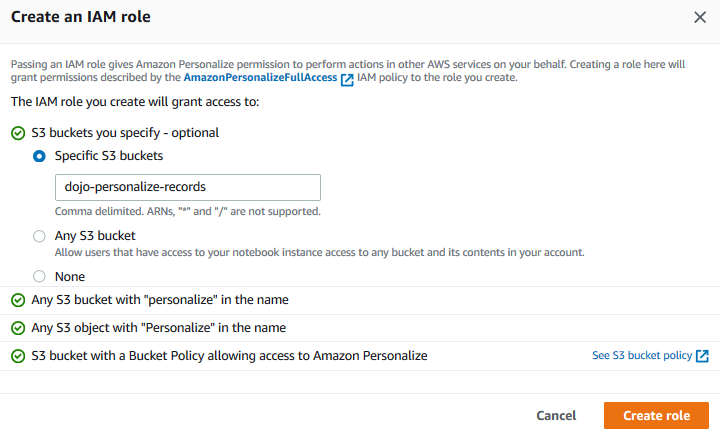
It shows a popup to configure the role access for Amazon Personalize. Select Specific S3 buckets option. Type in dojo-personalize-records as the bucket name. If you created bucket with a different name; then use that name. Keep rest of the configuration to the default. Click on the Create role button.
-
The role is created and configured. Please make sure the role created is selected by the default. Type in sample data location in S3 bucket in the data location field. If you created bucket with a different name; use that one. Finally click on the Finish button.
-
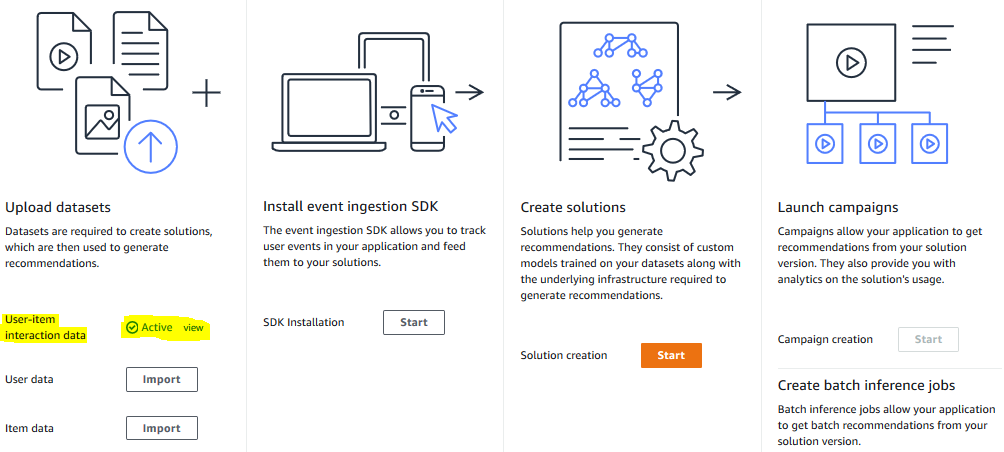
The data import will start. You can see the import progress in the Personalize dashboard. It will take a while. Wait till the status changes to Active.
-
Once the data import status changes to Active, follow the next step to train the model using the sample training data.