You create Amazon S3 bucket and upload data for the data lake. For this workshop, you are uploading data manually but in actual production usage the data is uploaded using data ingestion services / pipeline such as AWS Glue, Amazon Kinesis etc. Since the focus of the workshop is using custom tranformation in AWS Glue Studio, it keeps the data ingestion out of scope.
-
Goto S3 Management console, use + Create bucket button to create a new bucket with name dojo-customer-data. If the bucket name is not available, then use a different name which is available.

-
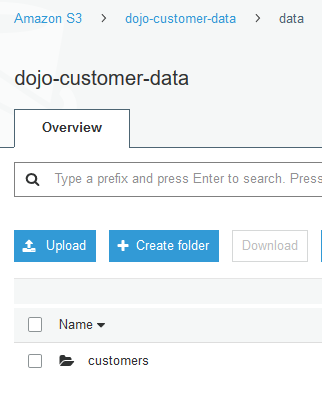
Click on the dojo-customer-data bucket to open it. Within the dojo-customer-data bucket, create two folders data and output using the + Create folder button. The data folder is used to keep the data lake data while the output folder is used by the Glue Job to write processed data.

-
Click on the data folder to open it. Within the data folder, create a folder customers using the + Create folder button.
-
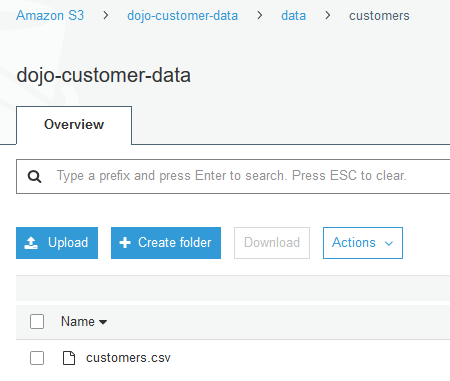
Click to open customers folder and upload customers.csv file. Use Upload button to upload the files. The customers.csv file is available for download using the following link - customers.csv
-
The data is ready. Let’s start with the data lake configuration.