You first create IAM Roles which are used by the AWS Glue crawler and AWS Glue Job to catalog and process data in the data lake.
-
Login to AWS Console and choose Paris as the region.
-
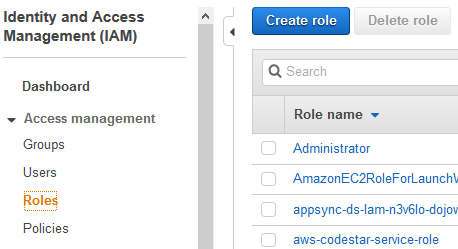
Go to IAM Management Console. Click on the Roles menu in the left side and then click on the Create role button.
-
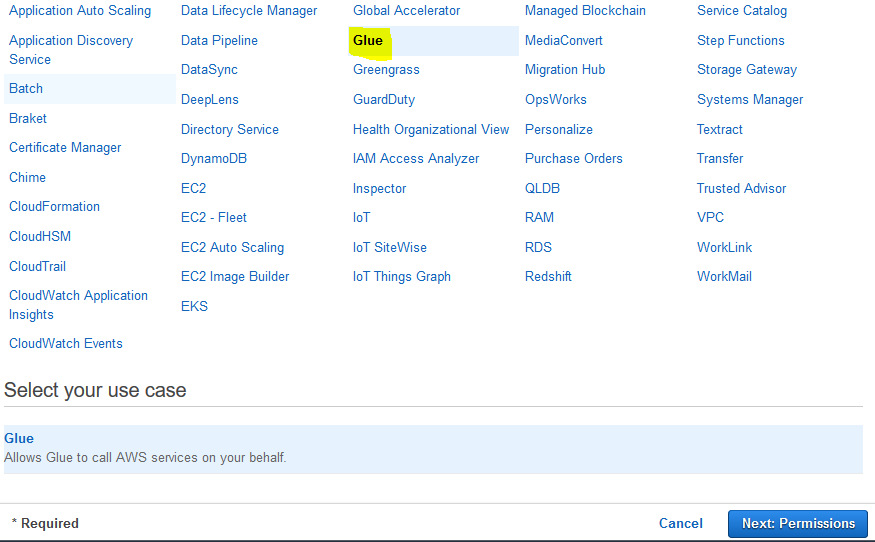
On the next screen, select Glue as the AWS Service. Click on the Next: Permission button.
-
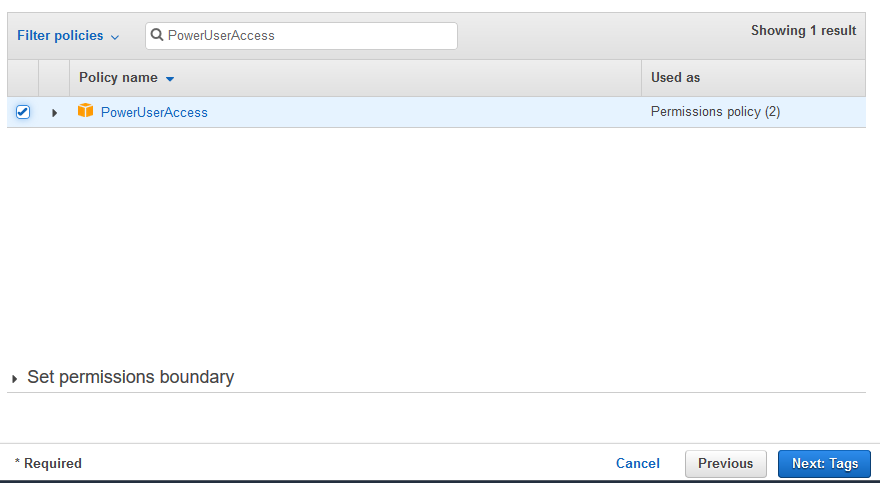
On the next screen, select PowerUserAccess as the policy. The workshop is using this policy to simplify the authorization. However, in the production implementation, you select minimum required permission to the AWS Services. Click on the Next: Tags button.
-
Click on the Next: Review button on the next screen.
-
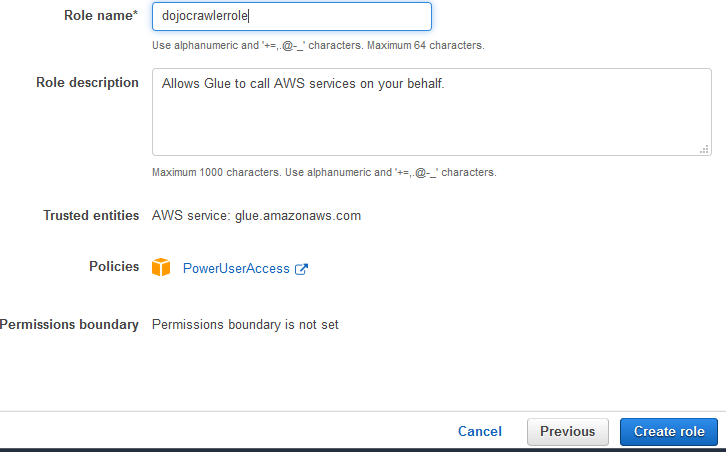
On the next screen, enter the Role name as dojocrawlerrole and click on the Create role button.
-
The role is created in no time. Repeat steps 1 to 4 to create another role with the name dojogluerole.
-
The next step is to configure data in the S3 bucket.