In this step, you create a job using Glue Studio which reads data from the customers table and writes only {CUSTOMERNAME, EMAIL} fields to a S3 bucket folder.
-
First you grant dojogluerole role Select access permission on the customers table because this role is used by the job you are going to create.
-
Go to Lake Formation Console. Click on the Tables menu in the left. Then select customers table and click on the Grant menu option under Actions.

-
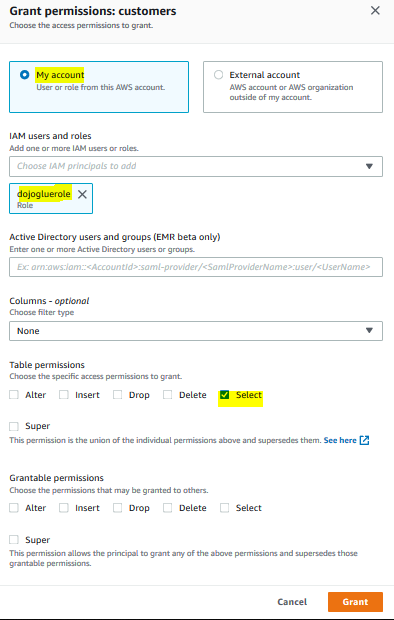
On the next screen, select My account option. Select dojogluerole as the IAM Users and roles. Choose Select for the table permission. Keep rest of the configuration to the default and click on the Grant button.
-
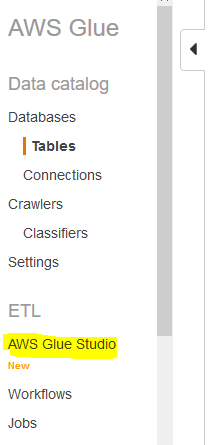
The role now has the required access permission. Go to Glue Service console and click on the AWS Glue Studio menu in the left.
-
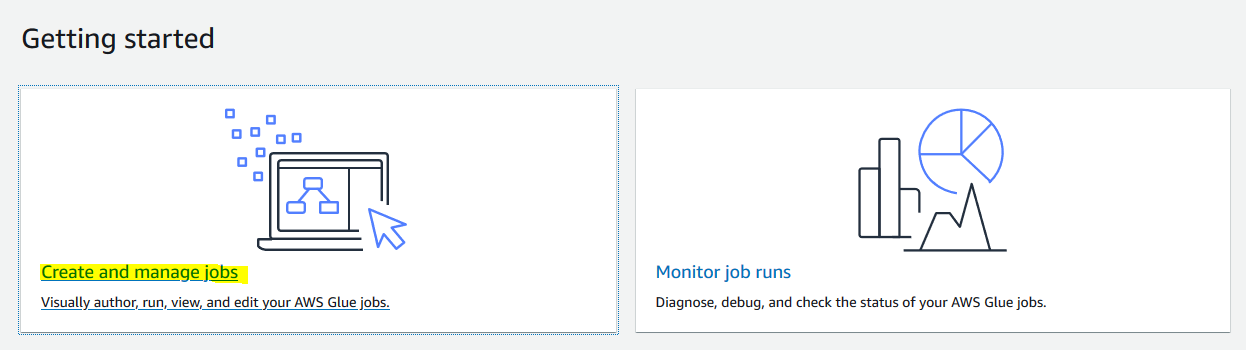
On the next screen, click on the Create and manage jobs link.
-
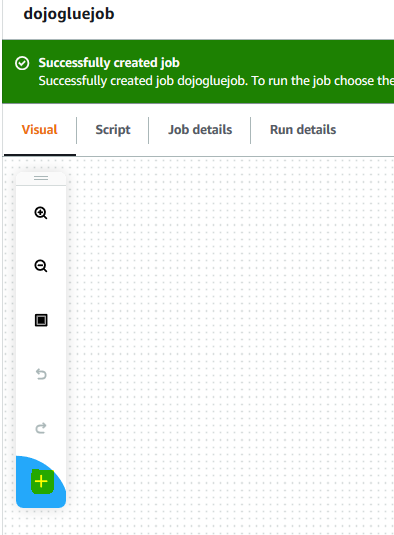
On the next screen, select Blank graph option and click on the Create button.

-
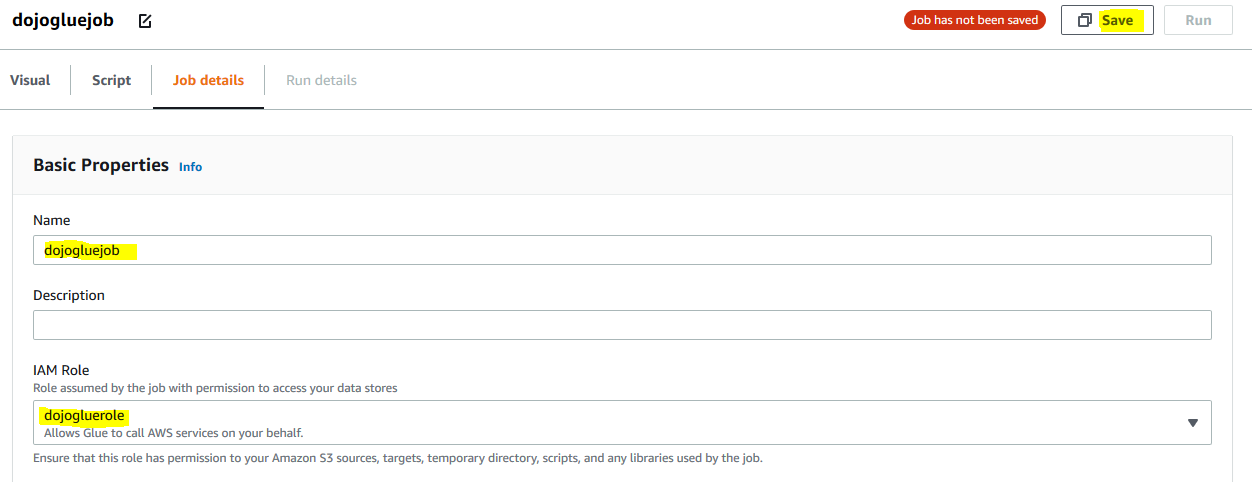
It opens the Glue Studio editor. Click on the Job Details tab. Type in dojogluejob for the name and select dojogluerole for the IAM Role. Keep rest of the fields as the default and click on the Save button.
-
The job name and role configuration is saved. Go back to the Visual tab and click on the + icon.
-
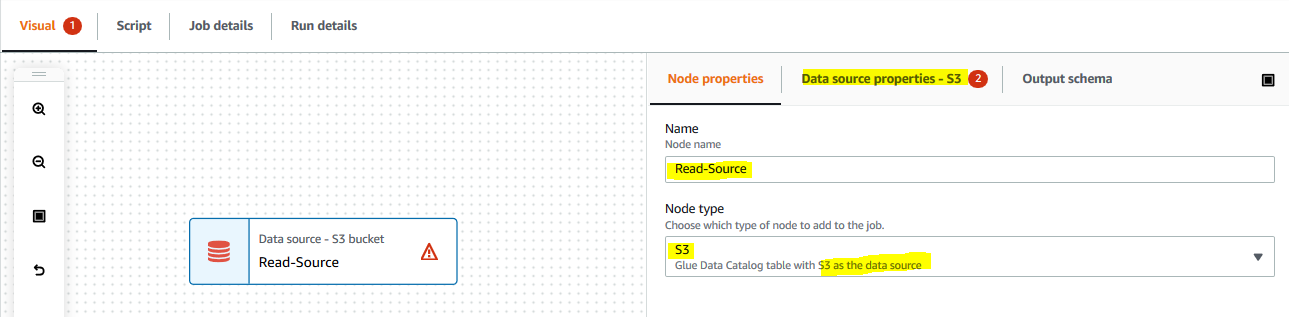
It creates a new node in the editor. On Node properties tab, type in Read-Source for the name. Select Data source - S3 Bucket for the node type. Click on the Data source properties - S3 tab.
-
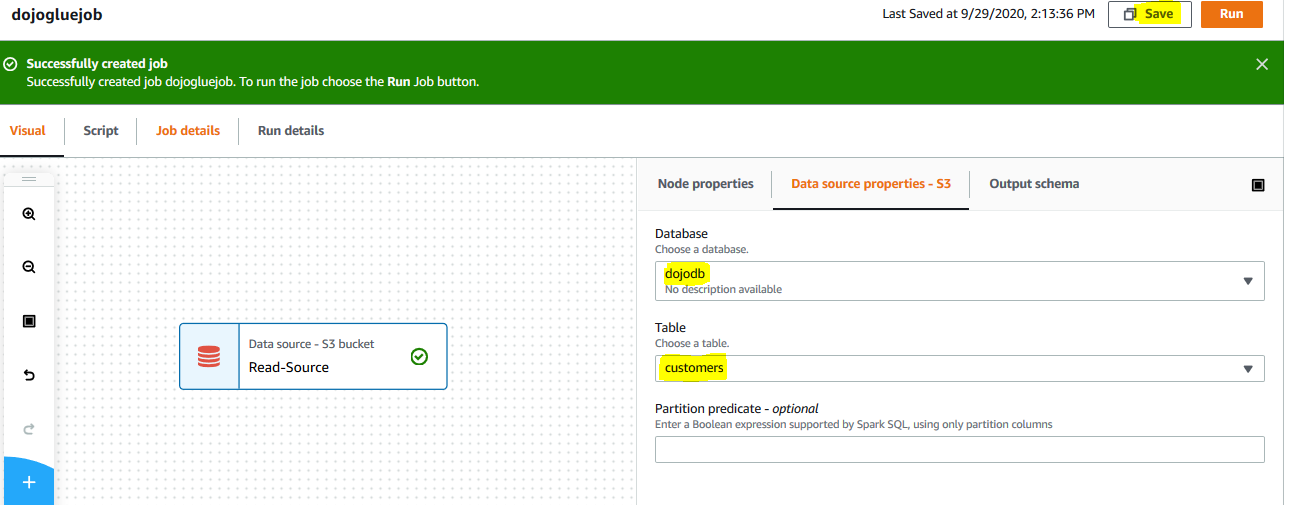
On the Data source properties - S3 tab, select dojodb as the database, select customers for the table. You are selecting customers table in the dojodb as the source. Click on the Save button. The job is saved.
-
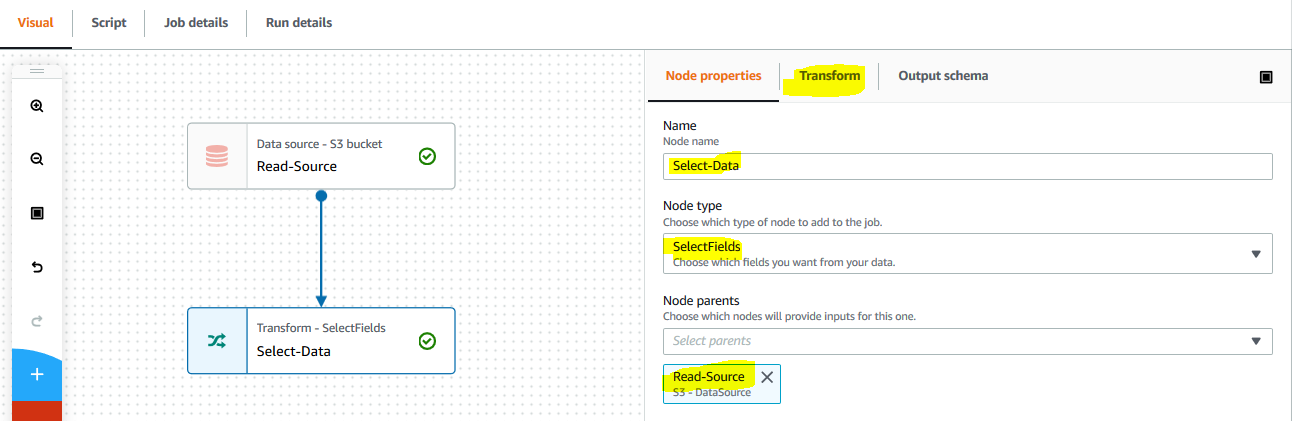
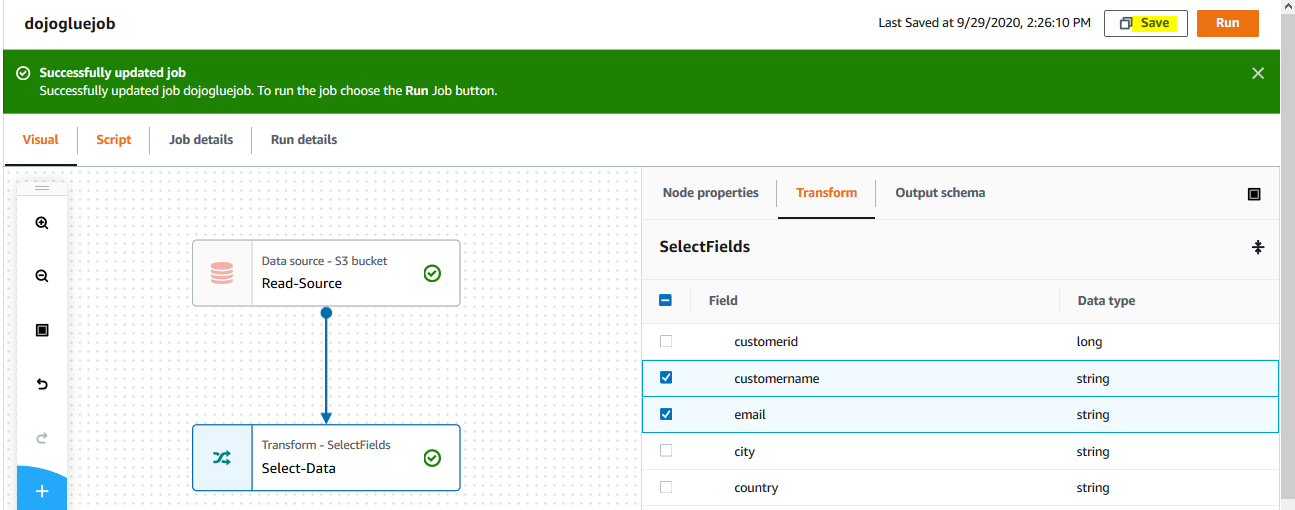
On the Visual tab and click on the + icon to add a new node. On Node properties tab, type in Select-Data for the name. Select Transform - SelectFields for the node type. Keep the node parents field to Read-Source. Then click on the Transform tab.
-
On the Transform tab, select customername and email fields and click on the Save button. You are selecting select fields transformation and filtering down the data column to the customername and email fields. The job is saved.
-
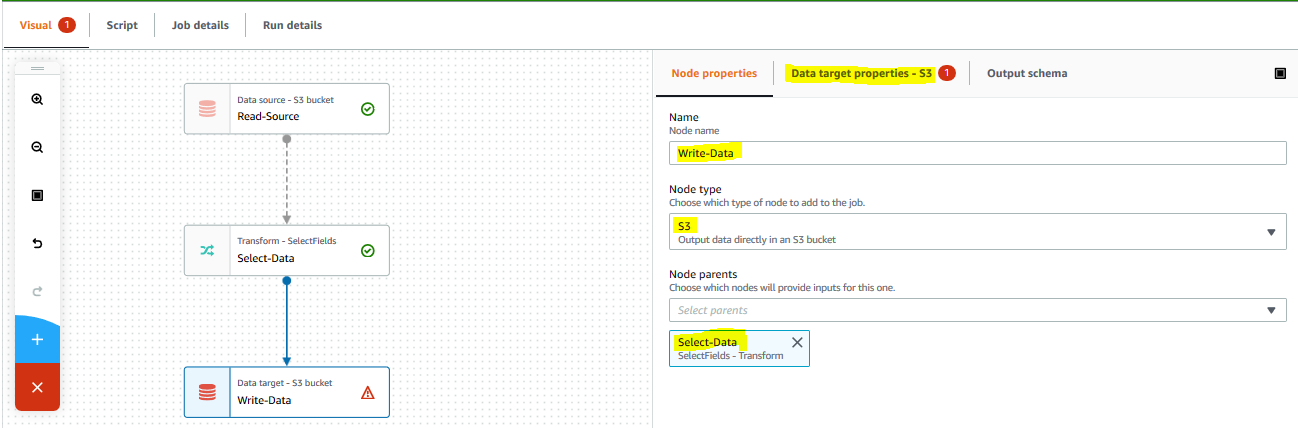
On the Visual tab and click on the + icon to add a new node. On Node properties tab, type in Write-Data for the name. Select Data target - S3 Bucket for the node type. Keep the node parents field to Select-Data. Then click on the Data target properties - S3 tab.
-
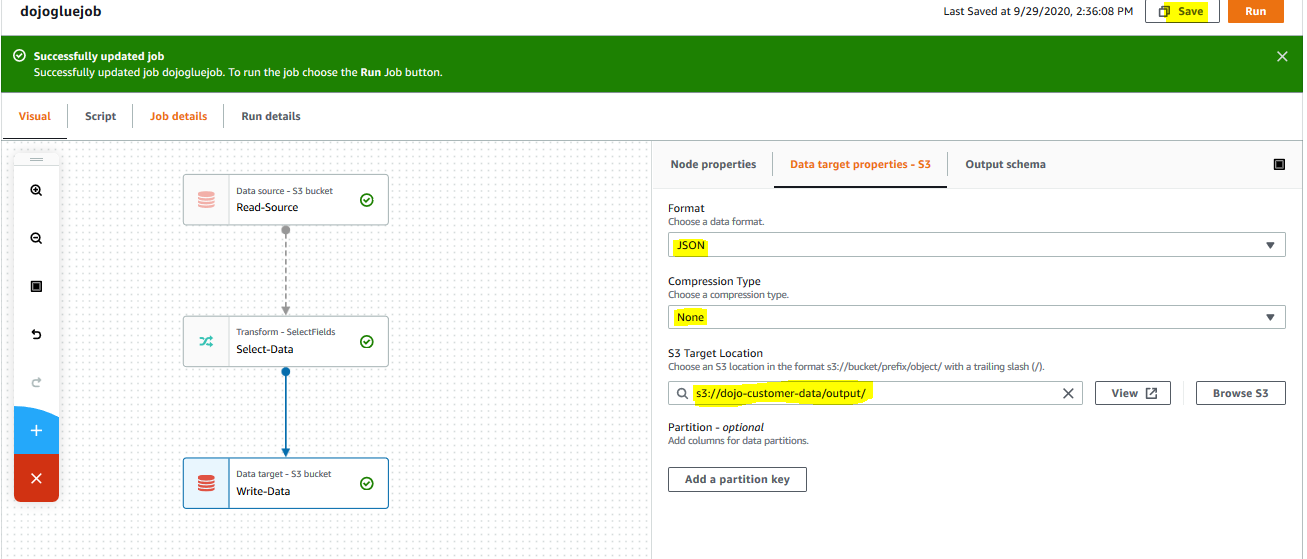
On the Data target properties - S3 tab, keep the format for JSON. Keep compression type to None. Select s3://dojo-customer-data/output/ for the S3 target location. If you created the bucket with a different name, then you replace dojo-customer-data part with that name. Click on the Save button. You are asking Job to write transformed data to the S3 bucket in non-compressed JSON format. The job is saved.
-
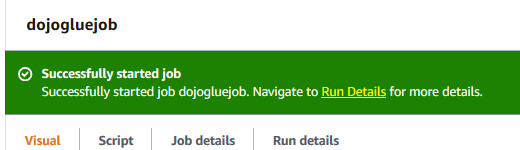
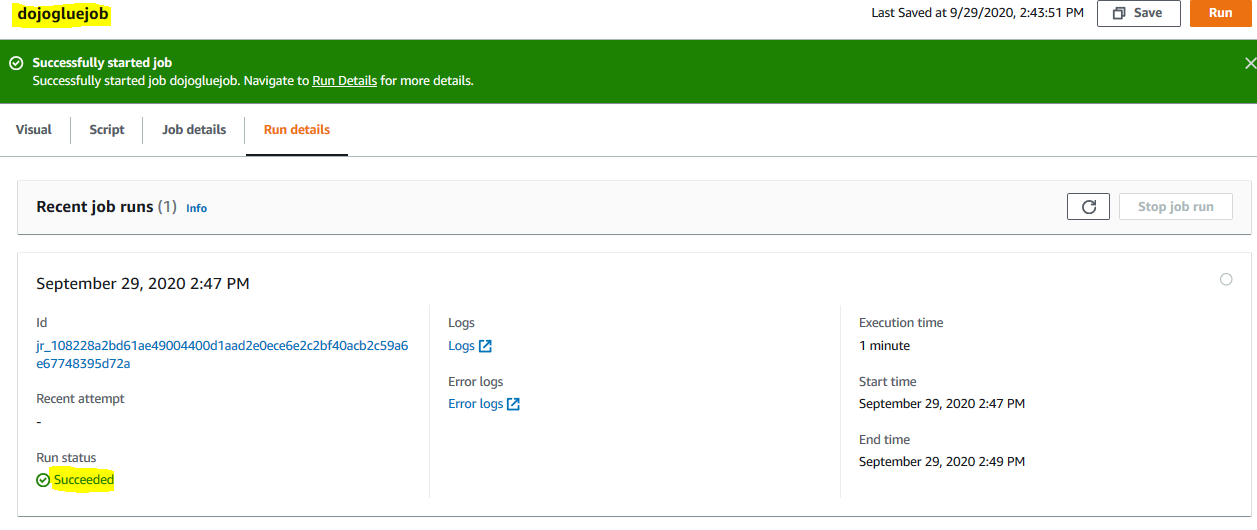
The job is ready. Click on the Run button for the job. It will start the job execution. Click on the Run Details link to check the job status.
-
Wait till the status of the job changes to Succeeded.
-
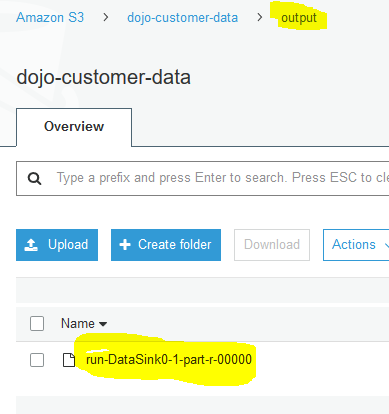
You can go to the output S3 bucket location to see a new file created by the Glue Job.
-
If you download and open the file, you can see the output JSON data.

-
This finishes the workshop where you learnt to create Glue Job using Glue Studio. Follow the next step to clean-up the resources so that you don’t incur any cost post the workshop.