In this task, you write client using python to call AppSync API.
-
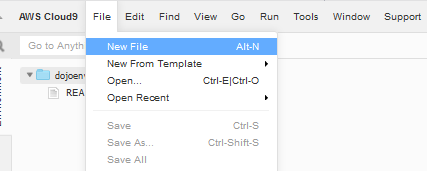
Goto the AWS Cloud9 console and click on the New File option under the File menu.

-
A new Untitled1 file gets created. Write the following code in the Untitled1 file.

import requests
from requests_aws4auth import AWS4Auth

session = requests.Session()

APPSYNC_API_ENDPOINT_URL = "{API-URL}"
API_KEY = "{API-KEY}"

query = "mutation MyMutation { addTask(id: \"2\", description: \"my task\")}"
response = session.request( url=APPSYNC_API_ENDPOINT_URL, method='POST', headers={'x-api-key': API_KEY}  ,json={'query': query})
print(response.json()['data'])

query = "query MyQuery { getTask(id: \"2\")}"
response = session.request( url=APPSYNC_API_ENDPOINT_URL, method='POST', headers={'x-api-key': API_KEY}  ,json={'query': query})
print(response.json()['data'])
`
-
In the code above, replace {API-URL} with the API URL you make note of in the settings of the AppSync API. Similarly, replace {API-KEY} with the API KEY you make note of in the settings of the AppSync API.
-
The code is simple. You make two request calls - one for addTask query and other for getTask query. You make http call to the API URL and you use API Key for the authentication. The addTask query will create a record in DynamoDB table while the getTask query will fetch the records. You print response of both calls. You see the query structure for both methods similar to what you saw during query testing in AppSync console.
-
Click on the Save option under the File menu to save the code with the file name apiclient.py.
-
In the console window, execute python apiclient.py command to run the apiclient.py code. The code execution finishes in no time and it will print responses of the both API calls.

-
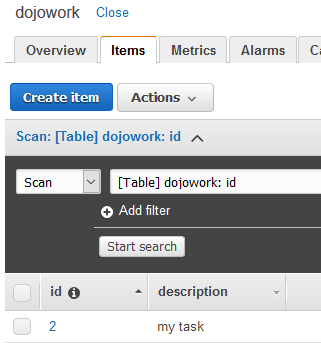
You can also see a record created in the DynamoDB table.

-
Great. The workshop finishes here. Goto the next task to clean-up the resources so that you don’t incur any cost post the workshop.
