In this step, you create S3 bucket which is used as the destination in Kinesis delivery configuration. You also create data schema in Glue Data Catalog which is then used by Kinesis delivery to transform the data format. In this workshop, the source data in JSON format is transformed into Parquet format.
-
Login to the AWS Console and choose a region of your choice. The workshop is using the Ireland region.
-
Goto S3 Management Console and use + Create bucket button to create a bucket with name dojo-kinesis-destination. If this bucket is not available; then create bucket with the name which is available.

-
Next goto Lake Formation console, click on the Databases in the left menu and then click on the Create database button.

-
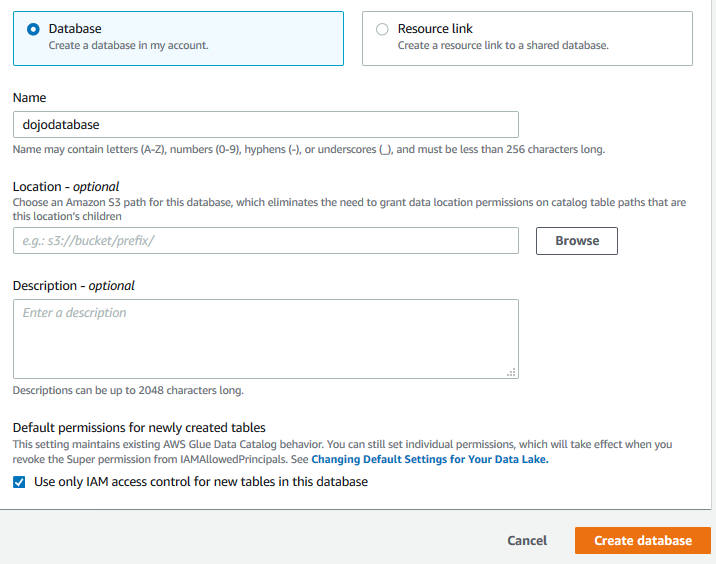
On the next screen, select Database option. Type in the database name as dojodatabase. Select Use only IAM access control for new tables in this database checkbox. Click on the Create database button.
-
The database is created in no time. Next click on the Tables in the left menu and then click on the Create table button.

-
On the next screen, in the Table details section, select Table as the option. Type in dojotable as the table name and select dojodatabase as the database.

-
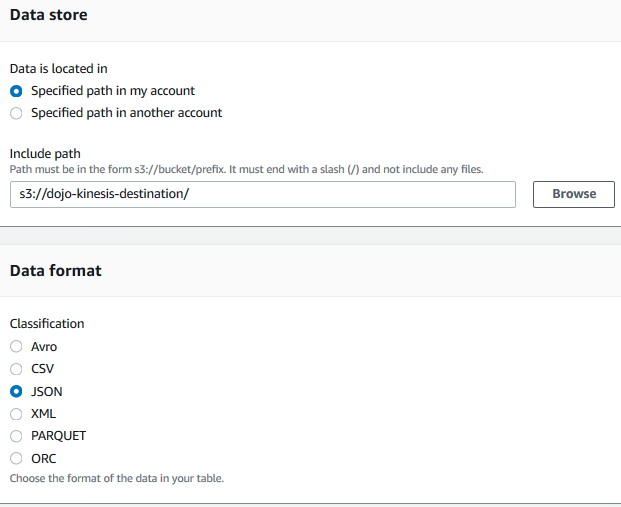
On the same screen, in the Data store section, select Specified path in my account option and select s3://dojo-kinesis-destination/ as the bucket. If you created bucket with a different name, then select that bucket here. In the Data Format section, select JSON as the classification. It means the source data is expected in JSON format.
-
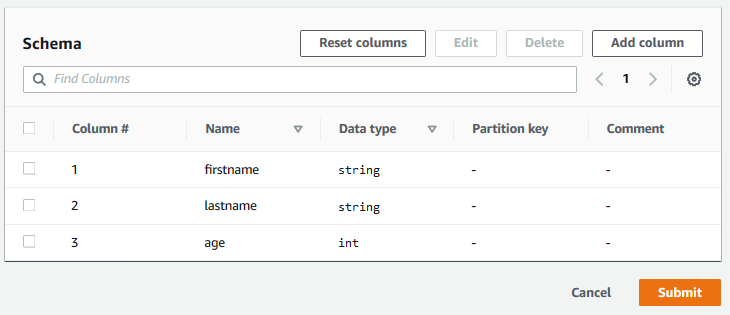
On the same screen, in the Schema section, click on the Add Column button.

-
On the add column popup, type in firstname as the column name. Select String as the data type. Enter 1 for the Column #. Click on the Add button.

-
The column is created in no time. Repeat steps 8 and 9 to create two more columns lastname as string type with column number 2 and age as int type with column number as 3. Finally click on the Submit button.
-
The table is created in no time. This table is used for the schema by the Kinesis delivery. The next step is to configure Kinesis.