Let’s start with creation of the users in Amazon IAM.
-
Login to AWS Console. Select an AWS Region where AWS Service Catalog is available. The workshop is using the Paris region.
-
Goto IAM Management Console. Click on the Users menu in the left and then click on the Add user button.

-
On the next screen, click on Add another user link to add another Username field. Type in usernames as databaseuser and applicationuser. Select AWS Management Console access as the Access type. Select Custom password option for the Console password. Type in the password you want for both users. Make sure you uncheck the Users must create a new password at next sign-in option. Finally click on the Next: Permission button.
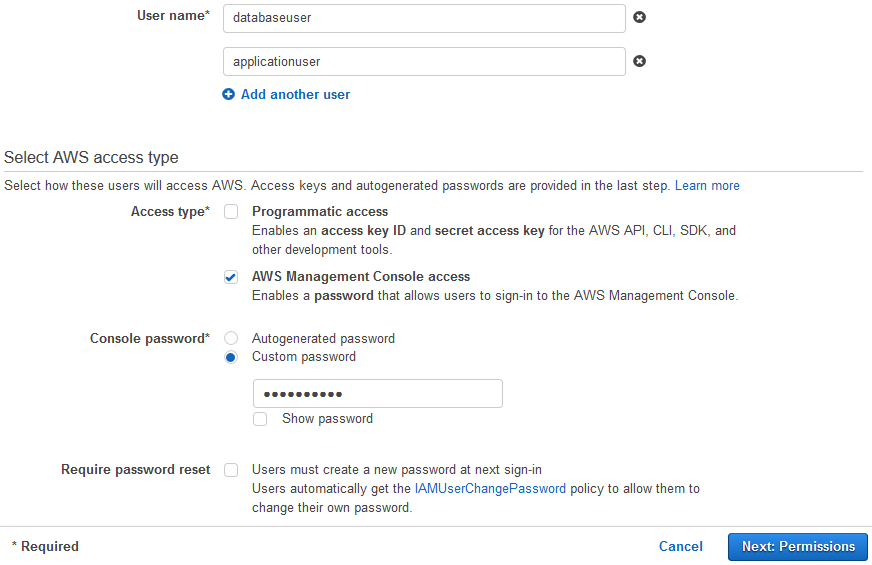
Important Note: Please make sure you remember the user password because you will need that to login later in the workshop.
-
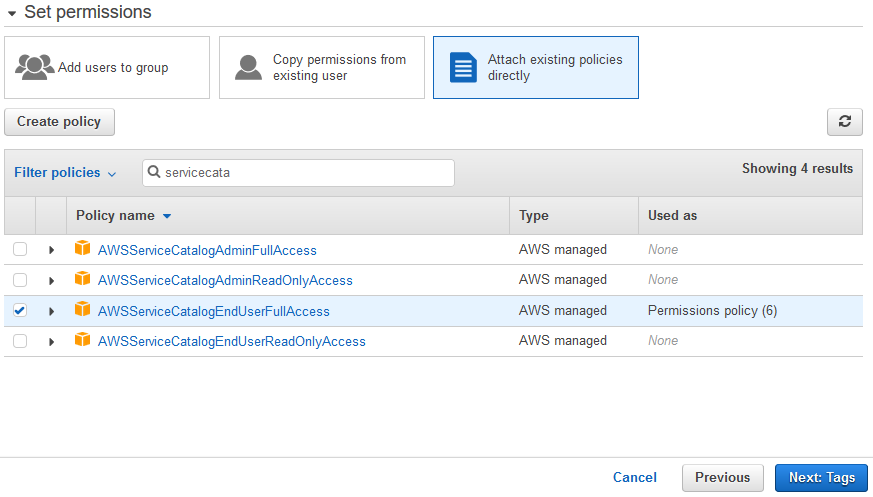
On the next screen, select Attach existing policies directly for the Set permissions. Then select AmazonS3ReadOnlyAccess, AmazonSNSReadOnlyAccess, AmazonSQSReadOnlyAccess, AmazonDynamoDBReadOnlyAccess, AmazonRedshiftReadOnlyAccess and AWSServiceCatalogEndUserFullAccess as the policies. Then click on the Next: Tags button.
-
You are providing the users only limited access to able to use Service Catalog as the enduser and also able to see the resources created.
-
Click on the Next: Review button on the next screen.
-
Click on the Create users button on the next screen.
-
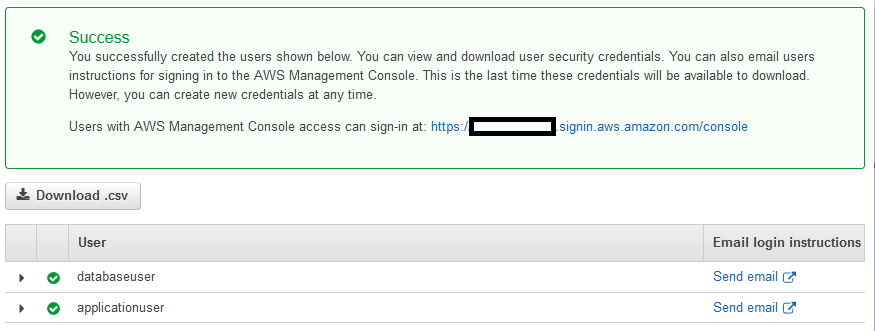
The users are created in no time. Please make note of the console sign-in URL. You need this URL to login as the databaseuser and applicationuser users later. The URL is in the format - https://<AWS-ACCOUNT_NUMBER>.signin.aws.amazon.com/console.
-
The users are created. Next step is to create an IAM role which service catalog uses to provision the products.