One of the fundamental principle of building the data lake is that every data in the data lake should be catalogued. The catalog is automated using crawlers in AWS Glue. The crawler uses role based authorization to create catalog in the data lake database. You created an IAM Role dojocrawlerrole in the earlier task which the crawler will use to create data catalog in the database. You need to assign database permission for this role. After the permission configuration, you will create and run crawler to catalog the data.
-
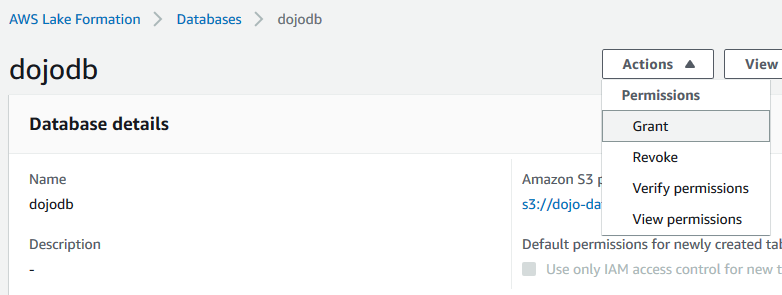
Open the AWS Lake Formation console, click on the Databases option on the left. You will see dojodb database listed.
-
Select the dojodb database and click on the Grant menu option under the Action dropdown menu.
-
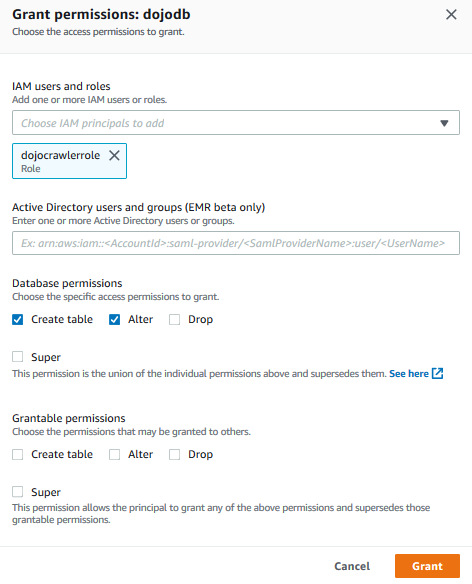
On Grant permissions screen, select dojocrawlerrole for the IAM users and roles field. Select only Create table and Alter permissions for the Database permissions. Then click on the Grant button. It means you are authorizing crawler role to be able to create and alter table in the database.
-
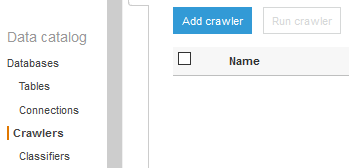
After assigning permission, time to configure and run crawler. Open the AWS Glue console. Click on the Crawlers menu on the left and then click on the Add crawler button.
-
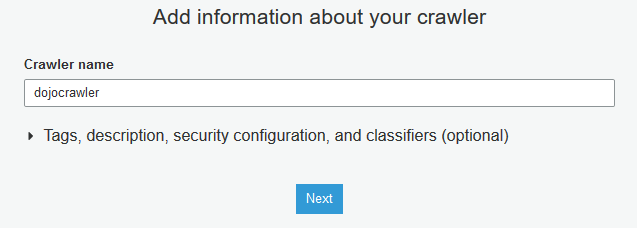
On the next screen, enter dojocrawler as the Crawler name and click Next.
-
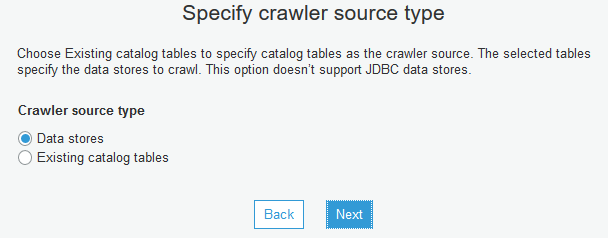
On the next screen, select Data stores as the Crawler source type and click Next.
-
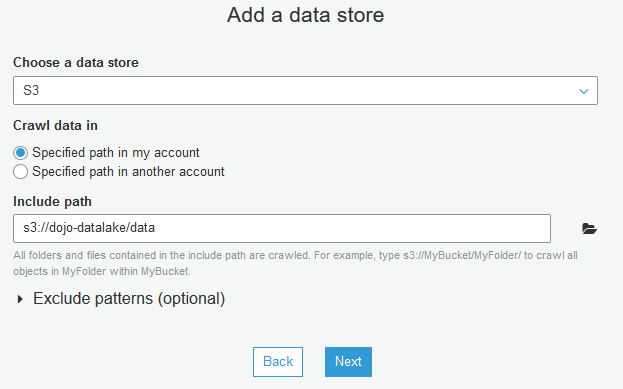
On the next screen, select S3 as a data store and provide the include path for the S3 bucket as s3://dojo-datalake/data. If you created the bucket with a different name, then replace dojo-datalake part with that name. Click Next.
-
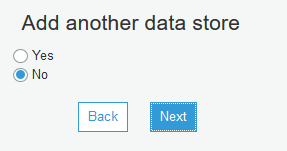
On the next screen, you are going to crawl only one data store, so select No from the option and click Next.
-
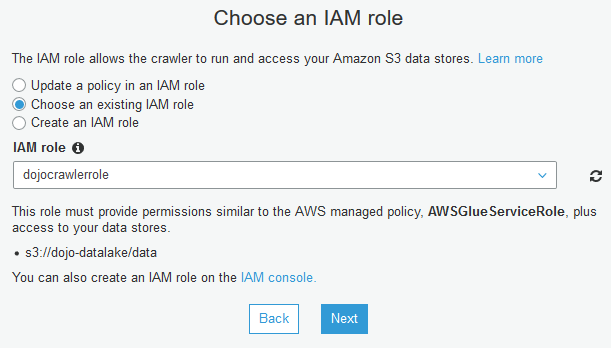
On the next screen, select IAM role dojocrawlerrole from the dropdown list. Click Next.
-
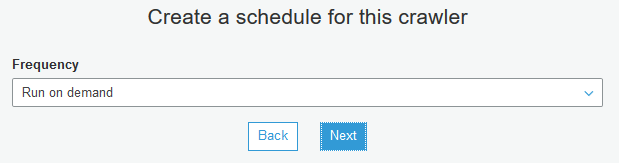
On the next screen, select Run on demand as the frequency and click Next. In actual production use, you generally schedule crawler run so that it automatically updates the catalog.
-
On the next screen, select dojodb as the database. Click Next.

-
On the next screen, verify all crawler information on the screen and click Finish to create the crawler.
-
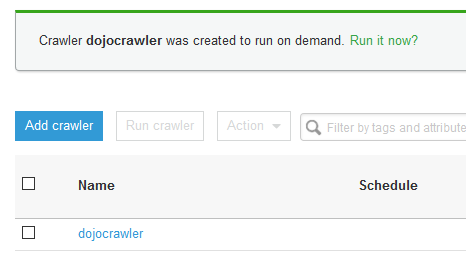
The crawler is created in no time. Click on Run it now? link. Alternatively, you can select the crawler and run the crawler from the Action menu.
-
It may take up to a couple of minutes for the crawler to finish crawling the bucket. You should be able to see a success message that there are two tables created by the crawler in dojodb database. These are two tables for the sales and customers data in Amazon S3.

-
Go back to the AWS Lake Formation console, click on the Tables menu in the left. You can see two tables sales and customers created.

-
You can click on the tables to check the schema definition created by the crawler for the data sets. As a next step, you will provide the salesuser and customersuser users access to the tables.