You are now ready to create the AWS Glue job which calls the REST API and copies the output data in the Amazon S3 bucket.
-
The AWS Glue Job will use the REST API URL given below to get the data. Click on the link below to check the output of the REST API.
-
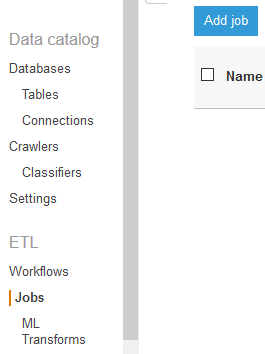
Go to the AWS Glue Console, select Jobs in left menu and click on the Add job button.
-
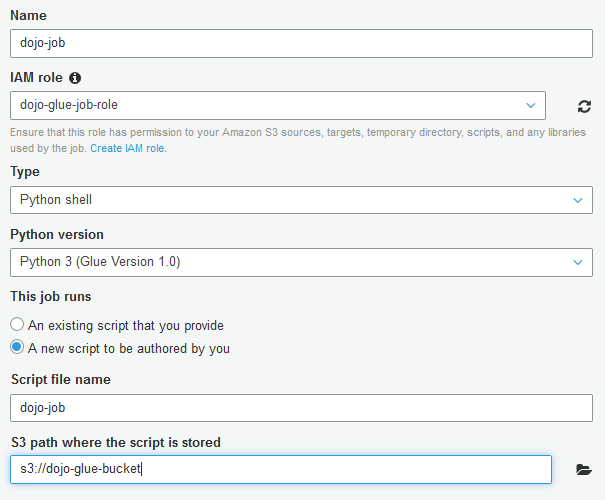
On the next screen, Enter dojo-job as the name, select dojo-glue-job-role as the IAM Role, select Python shell as the Type, select A new script to be authored by you option and select s3://dojo-glue-bucket for the S3 path where the script is stored field. If you created a different bucket in the earlier steps then choose that bucket. Click on the Next button.
-
On the next screen, select dojoconnection. By associating the job with the connection, you are allowing the job to use the ENI created by the connection in the private subnet. Click on the Save job and edit script button.

-
On the next screen, copy paste the code from the black area below. Please replace eu-west-3 (Paris Region) with the region you are using for the workshop. Also replace dojo-glue-bucket with the bucket name you created in the earlier steps. You are using Python shell script for the job which is calling the REST API and saving the result in the bucket with the object name mydata.txt. Click on the Save button and close the job screen using X icon.

import requests
import boto3

URL = "https://jsonplaceholder.typicode.com/todos/1"
r = requests.get(url = URL)

s3_client = boto3.client('s3',region_name='eu-west-3')
s3_client.put_object(Body=r.text, Bucket='dojo-glue-bucket', Key='mydata.txt')
`
-
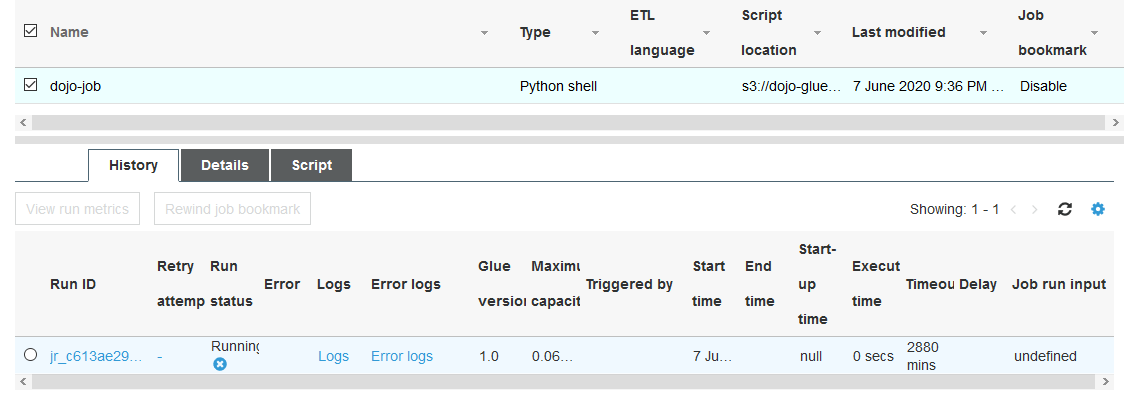
On the AWS Glue console, select dojo-job and click on Rub job under Action menu. On the popup screen, click on the Run job button again. It will start the job execution. You can select the job to check the job execution status and history in the lower part of the screen.
-
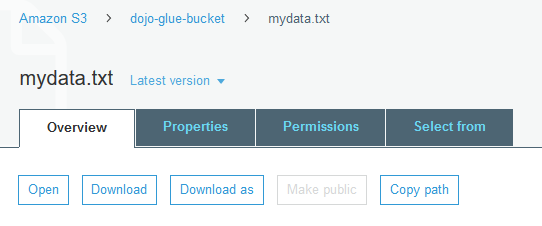
It will take couple of minutes to finish the job. Wait till the Run status of the job turns to Succeeded. The Job should have copied the output data from the REST API to the S3 bucket. Go to the S3 Management Console and click on the bucket to see the mydata.txt object created. You can download the file to check the content.
-
Congratulations, you completed the workshop successfully. Please move-on to the clean-up section to delete the AWS resources you created in the workshop to avoid any further cost.