Let’s do the interesting part of the workshop and configure the chat bot in Amazon Lex which uses the Lambda function as the backend.
-
Goto the Amazon Lex console and click on the Get Started button.
-
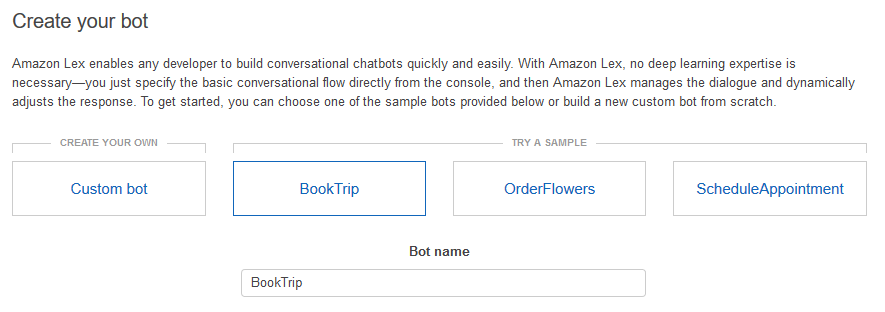
On the next screen, click on the Custom bot button.
-
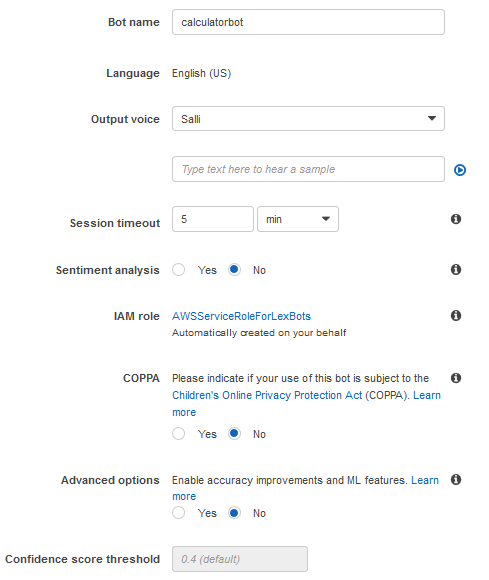
On the next screen, type in calculatorbot as the Bot name. Select Salli as the output voice. Type in 5 for the Session timeout. Select No option for Sentiment analysis, COPPA and Advanced options and click on the Create button.
-
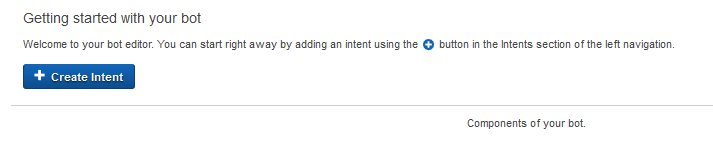
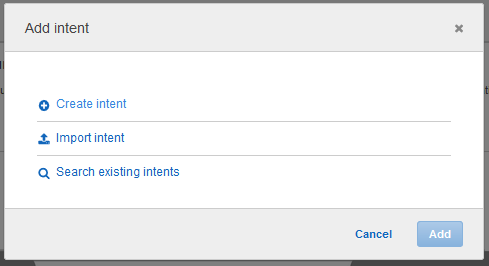
The bot is created in no time. Click on the + Create Intent button on the next page.
-
On the popup window, click on the Create Intent option.
-
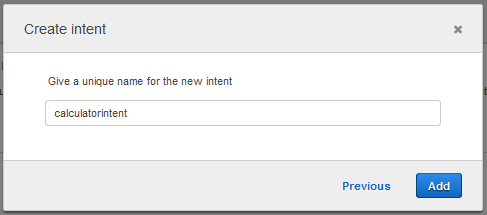
On the next popup screen, type in calculatorintent as the intent and click on the Add button.
-
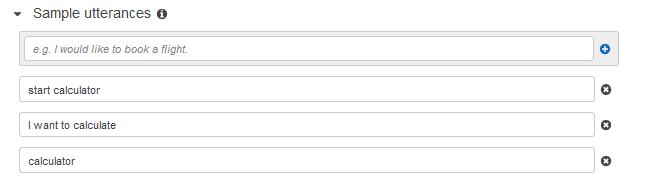
On the next calculatorintent screen, add the following Sample utterances. Utterances are the sentences / words which are used to invoke the corresponding intent.
calculator
I want to calculate
start calculator
-
In the Slots section, configure the slots as shown below. The slots are used to create interaction in the chat bot and capture the user input. You capture two numbers and the operation (+, -, *, /) for the calculation in the slots here. If you check the Lambda code again, you can related how the slot values are used to build business logic in the Lambda function. Please make sure all the slots are configured exactly how shown in the screen below.

-
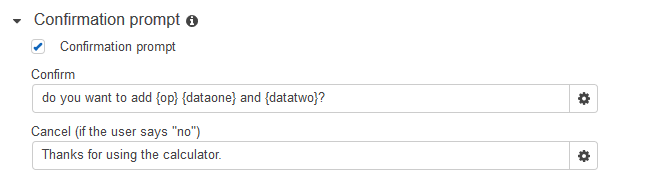
In the Confirmation prompt section, check for the Confirmation prompt option. Type in do you want to add {op} {dataone} and {datatwo}? in the confirm field and Thanks for using the calculator. in the cancel field. This section is used by the bot to have confirmation with the user.
-
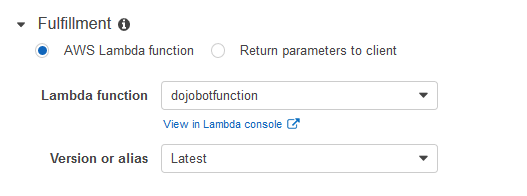
Next, in the Fulfillment section, select AWS Lambda function as the option. Select dojobotfunction as the Lambda Function and select Latest as the Version or alias. In this part, you configure to use Lambda function as the backend service.
-
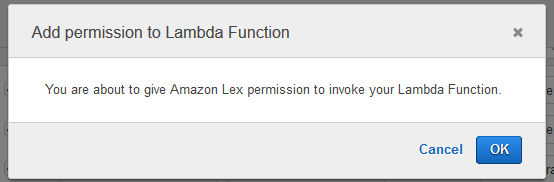
It will ask for the Lambda access permission in the popup, click OK on the popup window.
-
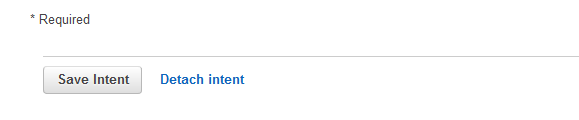
The intent configuration is complete. Click on the Save Intent button.
-
The intent is saved in no time. Click on the Build button on the top. When it asks for the confirmation in popup, click on the Build button again.

-
The build will start and it will take a while to finish. Wait till you see a confirmation message.

-
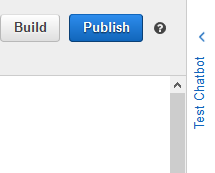
The bot is almost ready. Let’s test it before you publish. Lex comes with a built-in test client. Click on the Test Chatbot in the right.
-
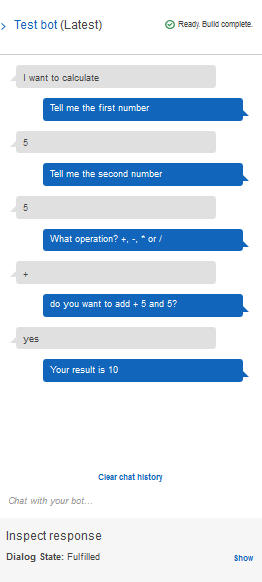
Perform test on the chat bot as shown below. You will start the chat, it will throw questions back to you based on the slots and you provide inputs. Finally it asks for the confirmation and once you say yes, it calls Lambda function and presents the return result back in the chat.
-
The chat bot is working as expected. Let’s publish it and we also build a client to use this chat bot. Click on the Publish button on the top.

-
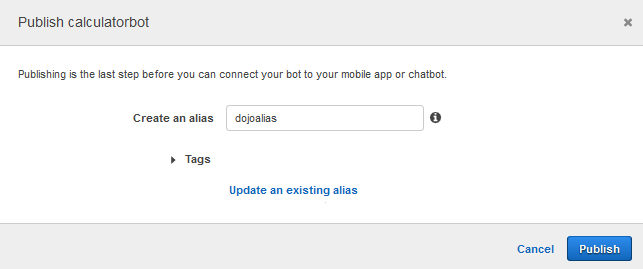
It throws a popup asking for the alias name for the chat bot. Type in dojoalias as the alias and click on the Publish button.
-
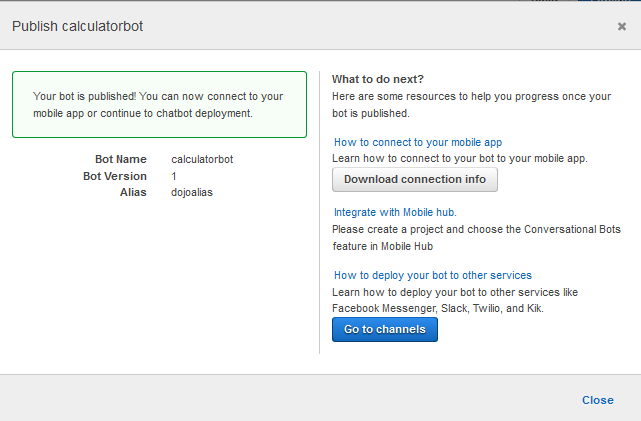
It will start the chat bot publishing which will take few mins to complete. Wait for the publishing to finish. Make note of the bot name calculatorbot and alias dojoalias as we need them in the next task. Click on the Close link.
-
The chat bot is ready. Let’s build chat client in the next task.