The device and AWS IoT Core use publish-subscribe based communication model using MQTT protocol. You create two files publish.py and subscribe.py. publish.py used to send message from the device to the AWS IoT core. subscribe.py is used to send message from the AWS IoT core to the device.
-
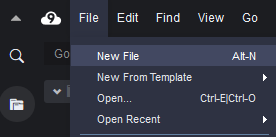
In AWS Cloud9 IDE, Click on the New File option under the File menu to create a new file.
-
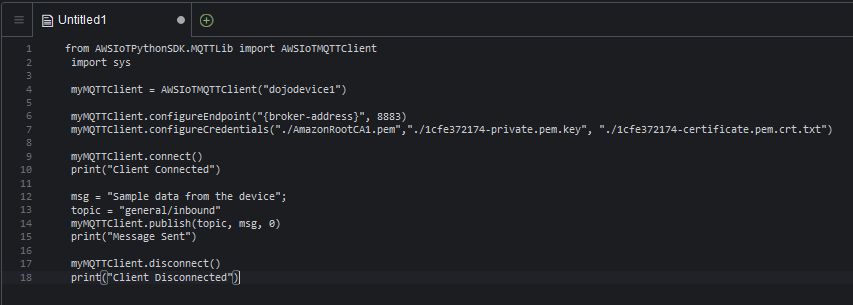
It creates a new Untitled1 file. Copy-paste the following code in the file.
from AWSIoTPythonSDK.MQTTLib import AWSIoTMQTTClient
import sys

myMQTTClient = AWSIoTMQTTClient("dojodevice1")

myMQTTClient.configureEndpoint("a1ihykag4g9hvw-ats.iot.eu-west-3.amazonaws.com", 8883)
myMQTTClient.configureCredentials("./AmazonRootCA1.pem","./1cfe372174-private.pem.key", "./1cfe372174-certificate.pem.crt.txt")

myMQTTClient.connect()
print("Client Connected")

msg = "Sample data from the device";
topic = "general/inbound"
myMQTTClient.publish(topic, msg, 0)
print("Message Sent")

myMQTTClient.disconnect()
print("Client Disconnected")
`
-
In the code above, replace {broker-address} with broker-address (at line 6) you noted down during device registration task earlier. Replace 1cfe372174-private.pem.key and 1cfe372174-certificate.pem.crt.txt (at line 7) with the private key and X509 file names you uploaded in the environment.
-
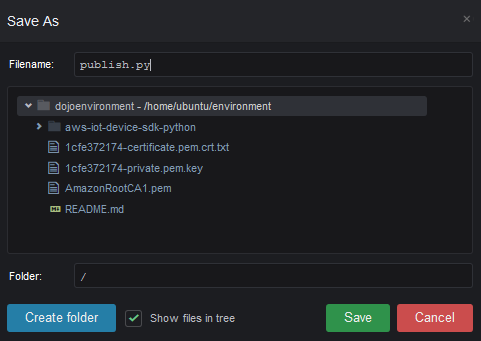
In AWS Cloud9 IDE, Click on the Save option under the File menu to save the file. In the popup, enter the file name as publish.py and click the Save button.
-
publish.py sends message to the AWS IoT core. It uses broker-address to connect to AWS IoT core using the certificates for the authentication. It then sends message to general/inbound topic. The IoT Core would be subscribed to the general/inbound topic. When the device publishes the message to the topic, AWS IoT core will receive it. Finally, the code closes the connection.
-
Repeat the above steps to create a new file subscribe.py with the code below.
import time

def customCallback(client,userdata,message):
    print("callback came...")
    print(message.payload)

from AWSIoTPythonSDK.MQTTLib import AWSIoTMQTTClient

myMQTTClient = AWSIoTMQTTClient("dojodevice1")
myMQTTClient.configureEndpoint("a1ihykag4g9hvw-ats.iot.eu-west-3.amazonaws.com", 8883)
myMQTTClient.configureCredentials("./AmazonRootCA1.pem","./1cfe372174-private.pem.key", "./1cfe372174-certificate.pem.crt.txt")

myMQTTClient.connect()
print("Client Connected")

myMQTTClient.subscribe("general/outbound", 1, customCallback)
print('waiting for the callback. Click to conntinue...')
x = input()

myMQTTClient.unsubscribe("general/outbound")
print("Client unsubscribed")


myMQTTClient.disconnect()
print("Client Disconnected")
`
-
Again like you did earlier, replace {broker-address}, private key and certificate file values in the code. subscribe.py receives message from the AWS IoT core. It uses broker-address to connect to AWS IoT core using the certificates for the authentication. It then subscribes to the general/outbound topic. The IoT Core would send message to the general/outbound topic and due to subscription the device will receive the message. The message receive will be handled by a callback function customCallback.
-
The python code is ready to exchange messages between the AWS IoT core and the device. Let’s test it in the coming tasks.